We’ve all been there, scrolling through Instagram at 2 AM, swooning over those impossibly perfect indoor jungles with 15-foot trees and century-old clay pots. But here’s the thing—most of those setups aren’t realistic for actual humans living in actual homes. Julie Khuu, a certified interior designer turned plant enthusiast, is here to show you how to style your space with house plants without breaking the bank or your back. Let’s dig in.
The Humble Beginning of an Indoor Jungle
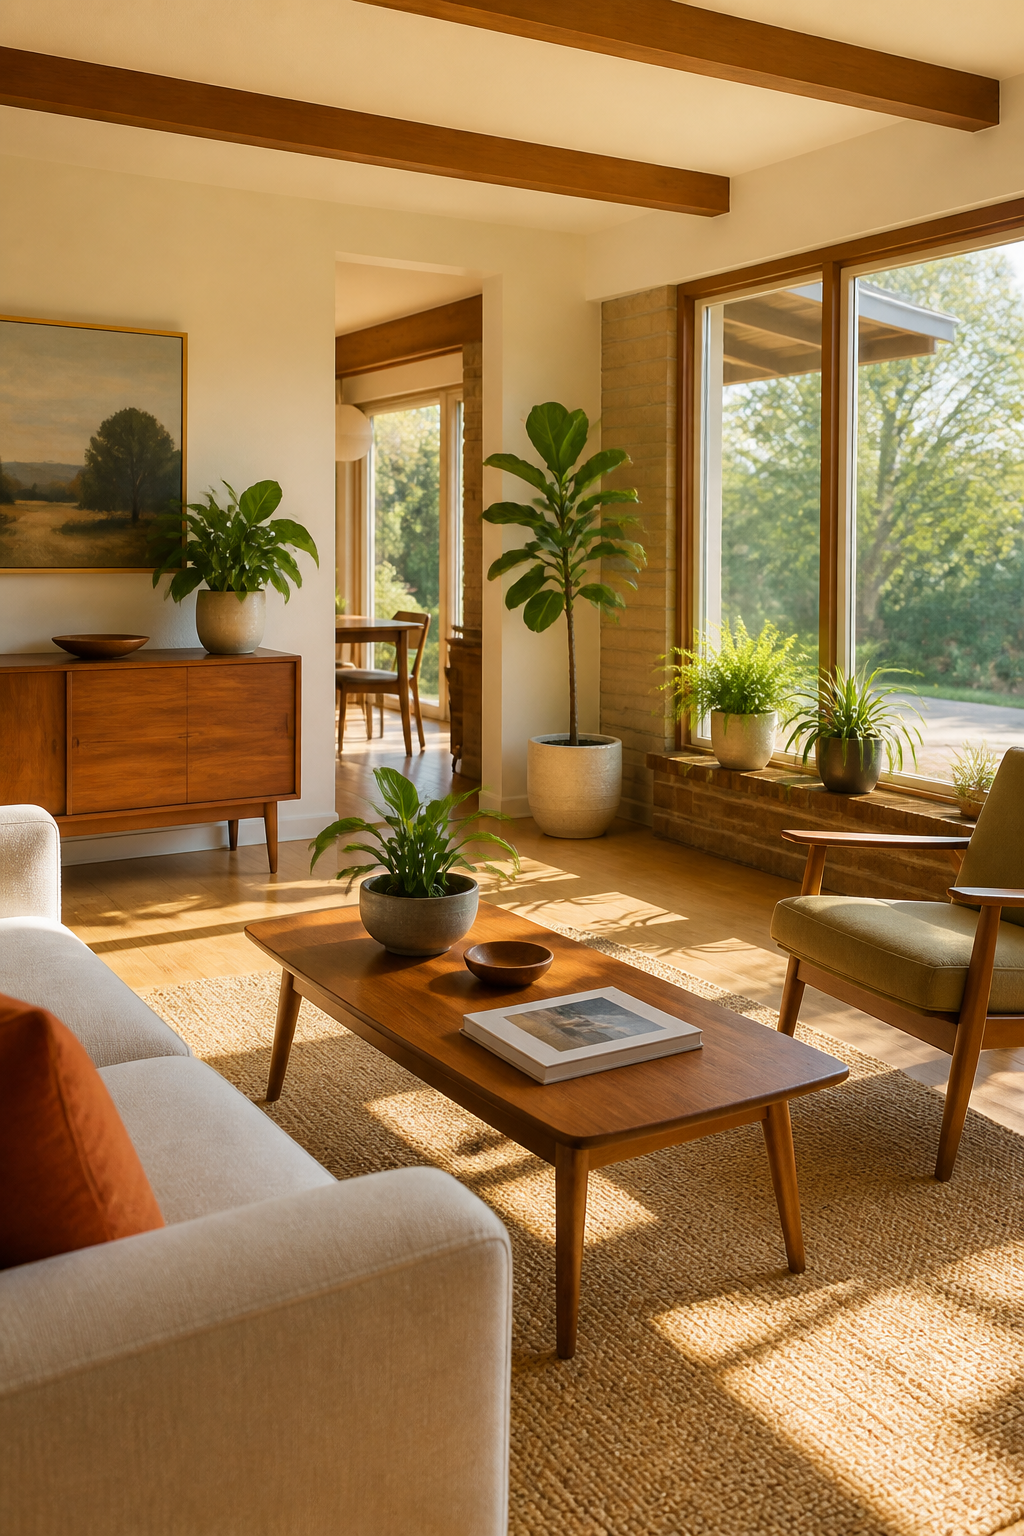
Julie’s plant journey didn’t start with some Pinterest-perfect setup. She lived in a tiny, dark studio apartment where she was terrified of killing plants (relatable, right?). Then she bought a mid-century ranch with gorgeous windows, and everything changed. What started with one humble corner gradually spread to every wing of her home.
But here’s what Instagram won’t tell you: this didn’t happen overnight. Building a plant collection takes time, experimentation, and yes, a few plant casualties along the way. The key is starting where you are and growing from there—literally and figuratively.
Three Golden Rules for Plant Newbies
Before you rush to the nursery and max out your credit card, Julie has three essential tips that’ll save you from becoming a plant serial killer.
Follow the Light (No, Seriously)
Natural light is your best friend when it comes to plants. Look for windows, door openings, and sliding glass doors first. These are your prime real estate spots. After you’ve mapped out your natural light sources, you can use artificial lighting as a supplement—not a replacement.
Do Your Homework (But Keep It Simple)
You don’t need a PhD in botany to own a pothos. Start with one plant you actually like, then learn the basics: when to water it, how much light it needs, and whether it’s toxic to pets. Julie learned this lesson the hard way when she over-fertilized a propagated fiddle leaf fig and killed it within a month. Now? She doesn’t fertilize anything until she’s done more research. That’s called working smarter, not harder.
Practice, Play, and Don’t Be Afraid to Fail
Here’s the thing about plants—you really can’t go wrong. Sure, you might kill a few (we all have), but you can compost those failures and turn them into plant food. Get your hands dirty. Experiment with different locations. Move things around. The worst thing you can do is nothing because you’re scared of messing up.
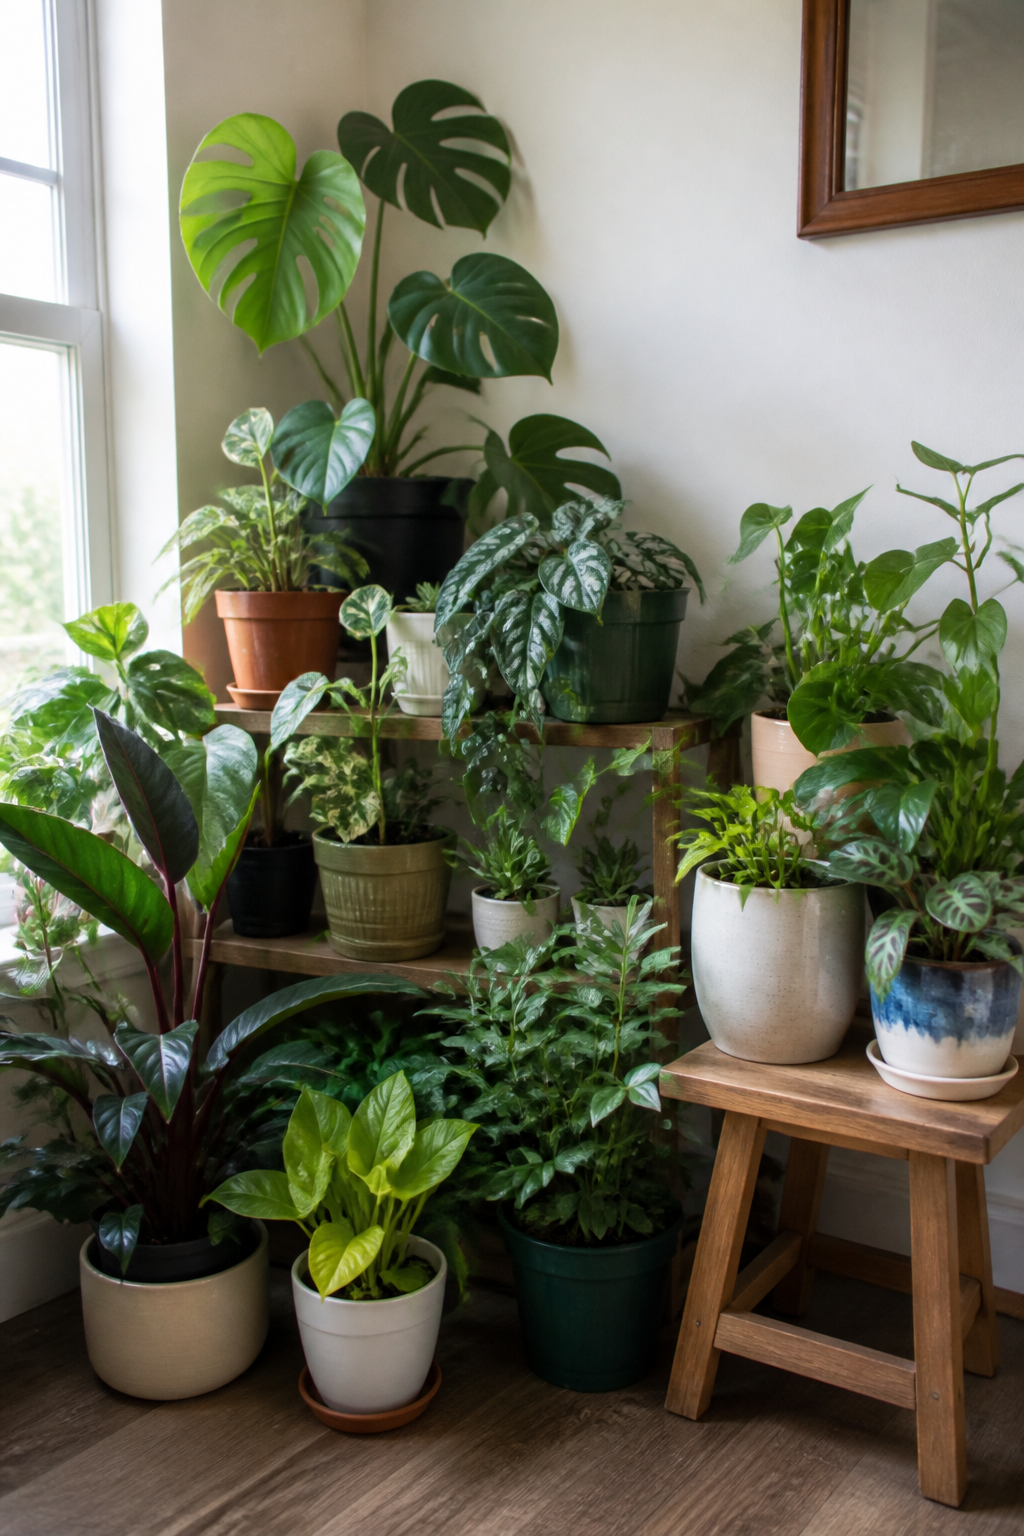
Styling Tips That Actually Make Sense
Once you’ve got a little collection going, it’s time to make it look intentional instead of like a random assortment of green things. Julie’s got some designer tricks up her sleeve that anyone can pull off.
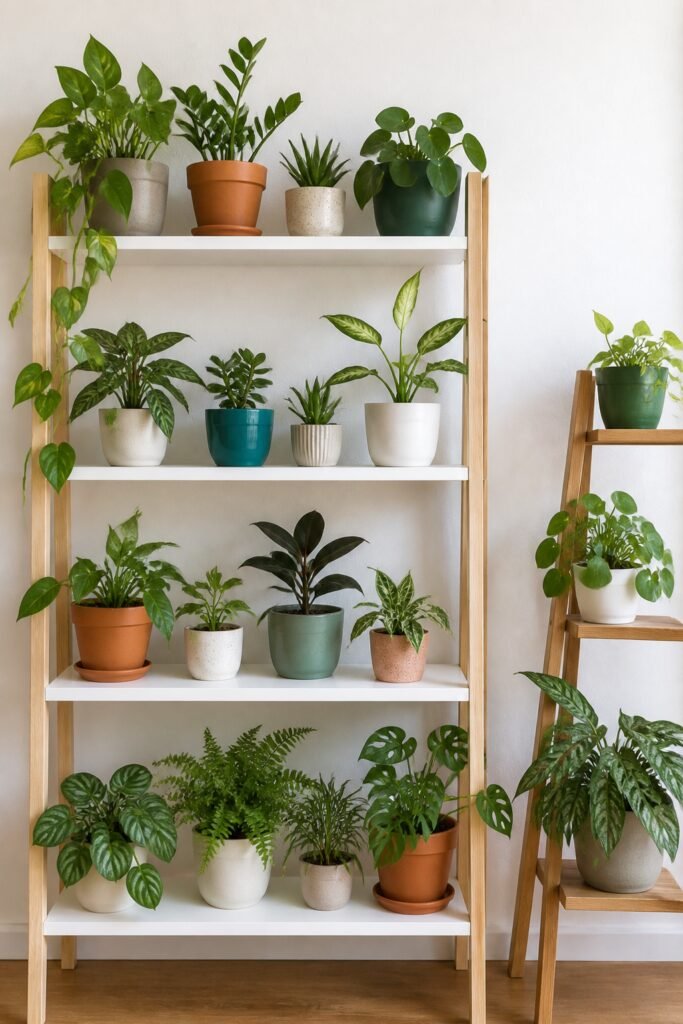
Think Vertically
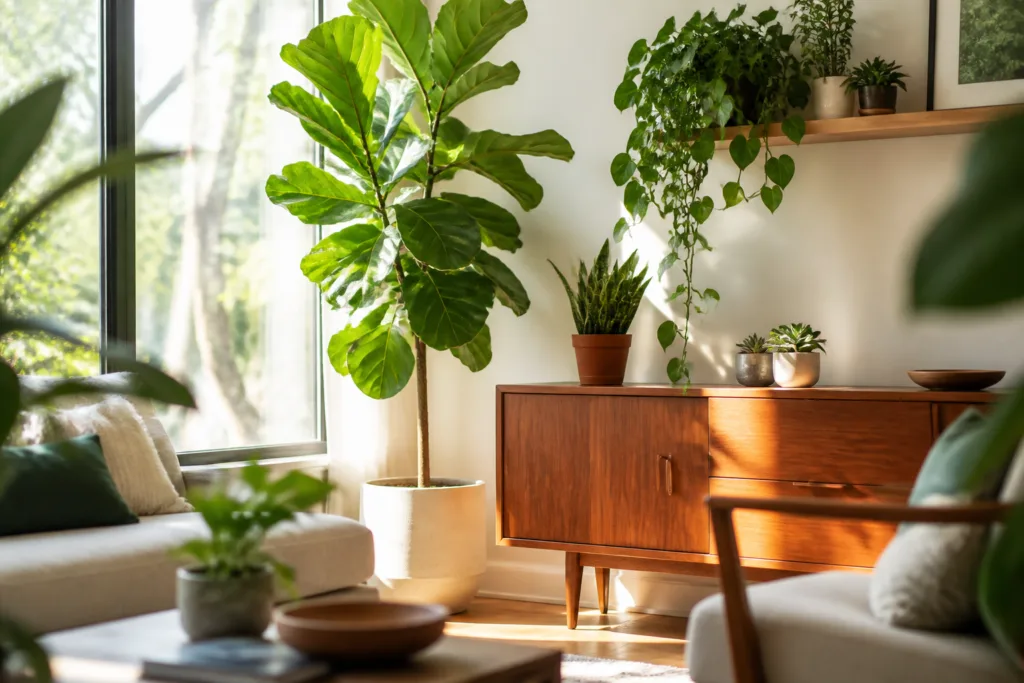
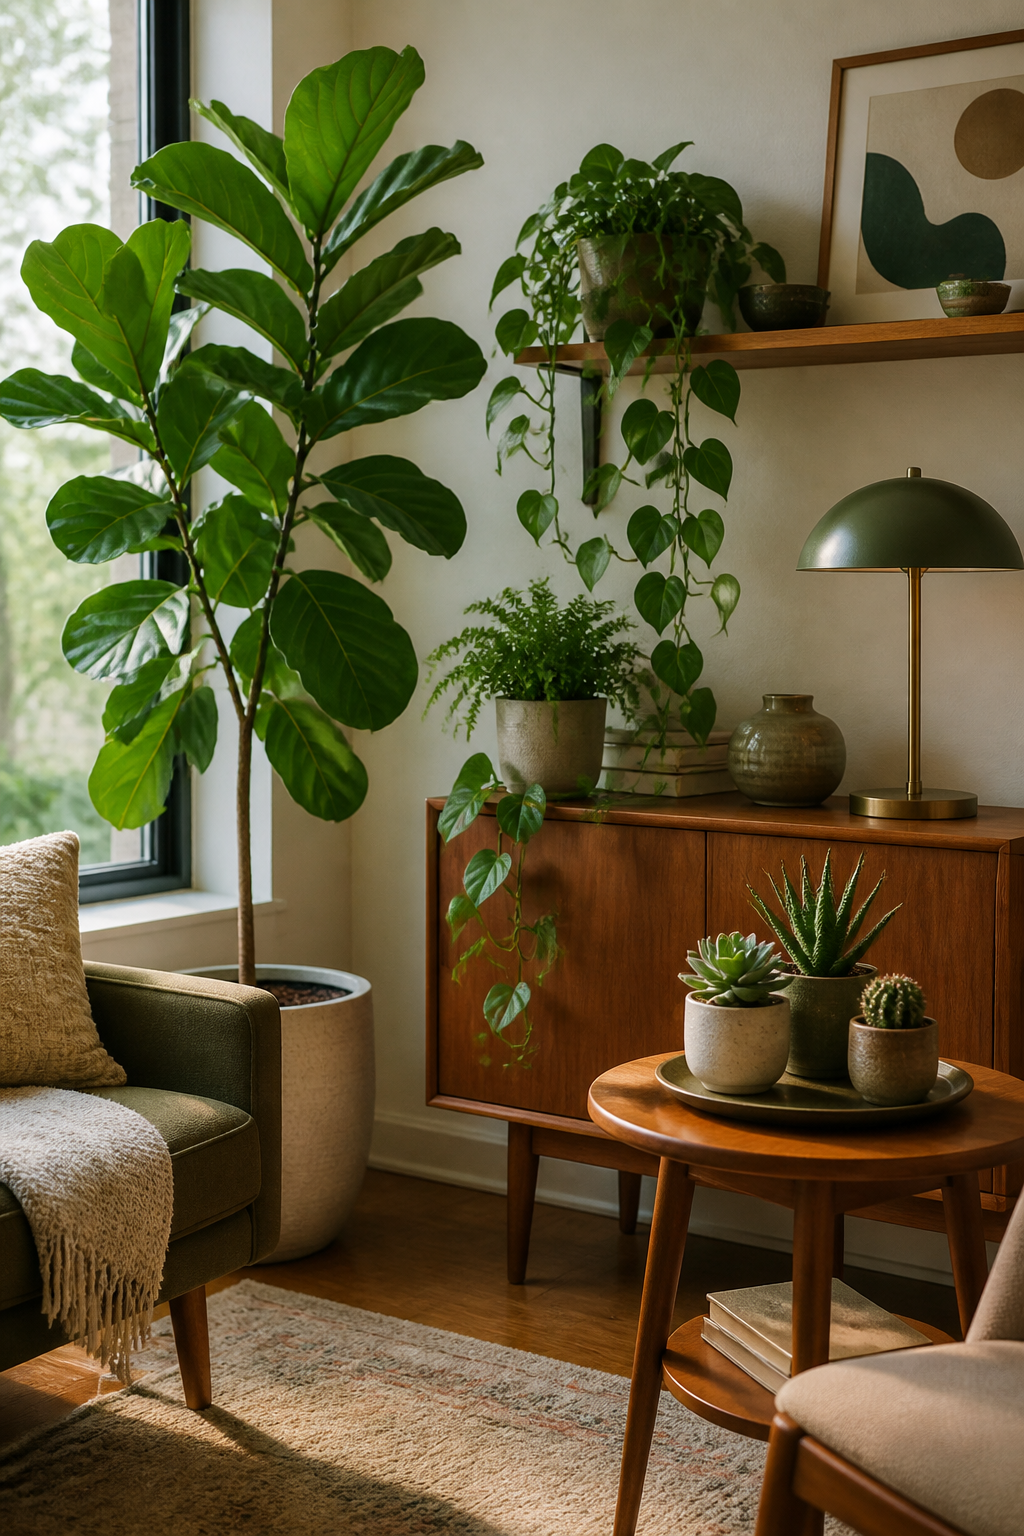
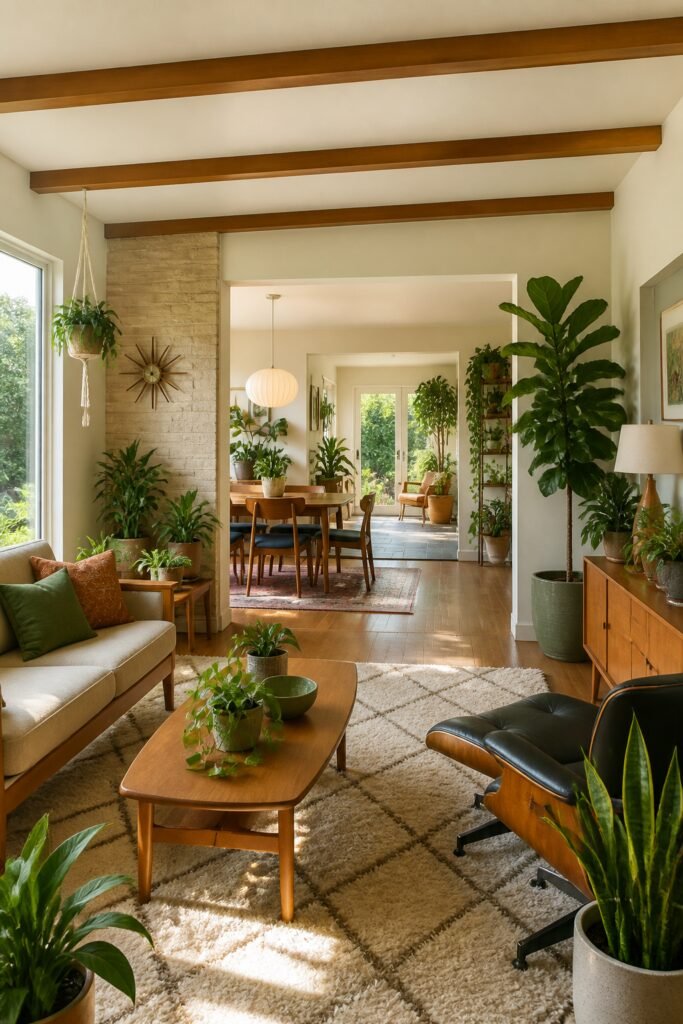
Julie installed bookshelves right in front of a window (yes, really) to create vertical space for her plant babies. Not only does this expand your collection without eating up floor space, but it also creates visual interest and brings the outdoors in. She’s got pepperomias, watermelon plants, and propagation stations all living happily on these shelves.
The west-facing window means lots of light, and those big waxy leaves on pepperomias make them low-maintenance champions. Plus, she leaves them in their nursery pots and just pops them into cute ceramic vessels with drainage trays. Instant style upgrade with zero repotting stress.
The Neutral Vase Strategy
Want to know the secret to making your plant collection look cohesive instead of chaotic? Stick with neutral planters. Julie swears by creams, ivories, beiges, and concrete finishes. When everything’s in the same color family, your collection looks intentional even when you’re mixing different plant types and sizes.
That said, she does sprinkle in special pieces—like her mom’s 30-year-old antique vase or unique vintage finds from thrift stores. These statement pieces add personality without making the whole setup look like a garage sale.
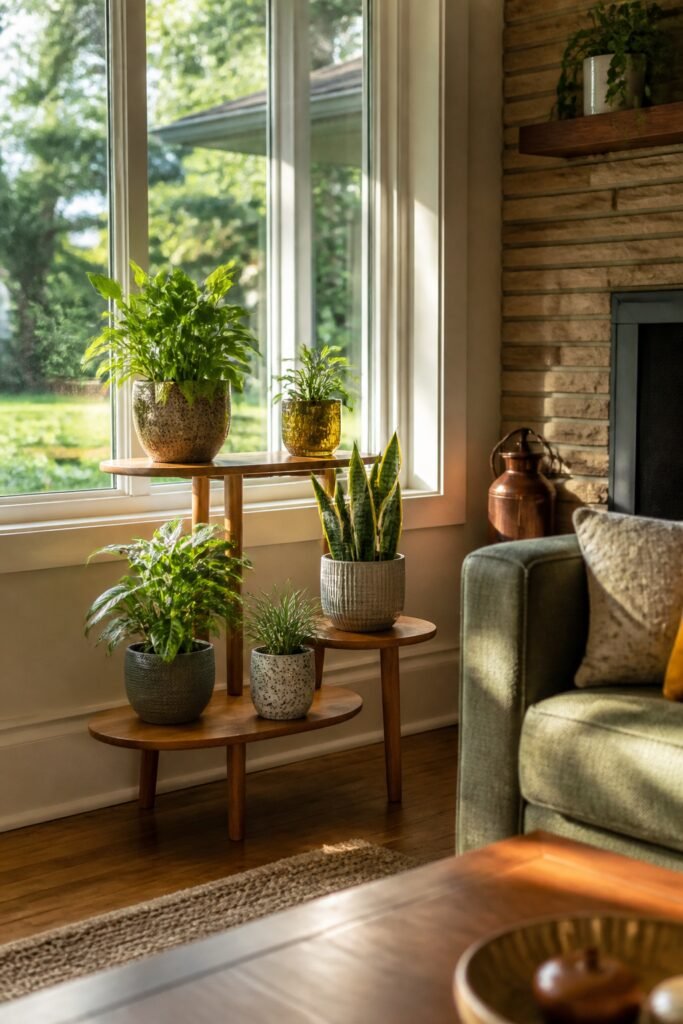
The Rule of Threes
Here’s a design trick that works every single time: group plants in odd numbers like three or five. This creates natural symmetry and balance. Julie uses this principle throughout her home, from her bookshelf displays to the matching vases on either side of her media console.
Real Talk: When Styling Takes a Backseat
Julie’s entryway features what she calls “the ugliest entryway plant styling you’ve ever seen”—her money tree (Pachira aquatica) sitting right by the front door. Is it the most Instagram-worthy placement? Nope. But you know what? That plant is thriving there, and that matters more than aesthetics.
This is the reality check we all need: if your plant is happy somewhere, don’t move it just because it doesn’t look magazine-perfect. Her money tree loves the clerestory windows in that spot, so there it stays. Sometimes function beats form, and that’s okay.
On the flip side, her monstera gets the fancy treatment—sitting pretty on a brass and marble side table from Wayfair. Why? Because it’s thriving AND it looks gorgeous. When you can have both, go for it.
Work With What You’ve Got
Not all corners of your home are created equal. Julie’s lounge area has north and east-facing windows, which means less natural light. Instead of forcing sun-loving plants into that space, she embraces it with ferns and trailing ivies that actually prefer lower light conditions.
Her ficus elastica (rubber plant) lives in this spot because its dark green, waxy leaves complement the black and white accents in her adjacent dining room. See what she did there? She’s not just thinking about plant care—she’s considering how the plant’s colors vibe with the room’s existing palette.
The Hanging Garden Situation
Trailing plants like spider plants and marble queen pothos basically beg to be hung up. Julie uses macramé hangers she bought on her honeymoon in Amsterdam (cute backstory, right?). When she needed more to complete the look, she found quality dupes that matched the originals perfectly.
Don’t be scared of drilling hooks into your ceiling. Julie did the whole installation in less than five minutes. The hard part? Deciding which plants go in which baskets. But that’s the fun part, IMO.
The Evolution of a Plant Parent
Julie’s first plant in her current home was a fiddle leaf fig from the hardware store—$60 well spent. It grew so massive it eventually hit the ceiling. She propagated it like crazy and gave away all the babies over the years. Now she doesn’t have any fiddle leaf figs left, but her rubber plant has taken its place as the star of the show.
This is what a real plant journey looks like. Your collection will change. Plants will come and go. Some will thrive, some won’t make it, and that’s all part of the process. The key is to keep experimenting and learning from what works (and what doesn’t).
Layering Like a Designer
Julie uses an antique side table that has water damage, but instead of tossing it, she covers the damage with a brass tray. On top of that? A plant stand to elevate her trailing ivies. This is next-level styling—she’s solving a problem while creating visual interest through different shapes and heights.
Think about it: square table, round tray, round plant stand, round pots. That repetition of shapes? That’s Design 101, and it makes everything look intentional and pulled together.
Frequently Asked Questions
Should I repot my plants immediately after buying them?
Not necessarily! Julie leaves most of her plants in their nursery pots and simply places them inside prettier decorative vessels. This makes it easier to water (you can lift them out to drain) and gives you flexibility to swap plants between different decorative pots as your styling needs change.
How do I make my plant collection look cohesive?
Stick with neutral-colored planters in creams, beiges, concrete, and natural finishes. When all your vessels are in the same color family, you can mix different plant types without the setup looking chaotic. Add one or two statement pieces for personality, but keep the majority neutral.
What if my plant isn’t thriving where I want to style it?
Move it! Julie’s ZZ plant looks great on her media console for symmetry, but it’s not thriving there. She knows she’ll need to relocate it eventually because plant health trumps aesthetics. If a plant is happy in an “ugly” spot, that’s where it should live. You can always find creative ways to make that spot look better.
How do I know if a spot has enough light for plants?
Look for natural light sources first—windows and glass doors are your friends. Even if you think you need to sacrifice a window (like Julie did with her bookshelf), you might have enough other light sources to make it work. West and south-facing windows typically get the most light, while north-facing windows get the least.
Where should I buy planters on a budget?
Julie thrifts many of her planters for as little as $5.99. Thrift stores, garage sales, and online marketplaces are goldmines for unique vessels. She also recommends checking out Wayfair during sales—you can snag quality planters at great prices, especially during events like their Memorial Day sale.
Do I really need to fertilize my plants?
Not if you’re just starting out! Julie killed a propagated fiddle leaf fig by fertilizing it incorrectly, so now she skips that step entirely until she does more research. Your plants can survive and even thrive without fertilizer, especially if you’re still learning the basics of watering and light requirements.
Growing Into Your Green Thumb
Julie’s plant journey went from teenage grass-watering duties (boring!) to creating an entire indoor jungle. That’s the thing about plants—they have a way of growing on you, both literally and figuratively. What starts as one small plant in a sunny corner can evolve into a full-blown obsession that transforms your entire home.
The most important takeaway? Start where you are, use what you have, and do what you can. Don’t compare your three-plant collection to someone’s Instagram jungle that probably cost thousands of dollars. Your plants don’t care about being Insta-worthy—they just want the right light, the right amount of water, and a little attention now and then. Everything else is just bonus styling points.