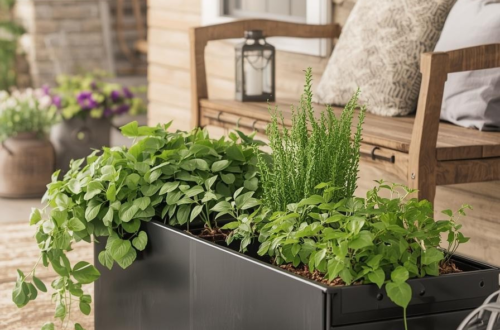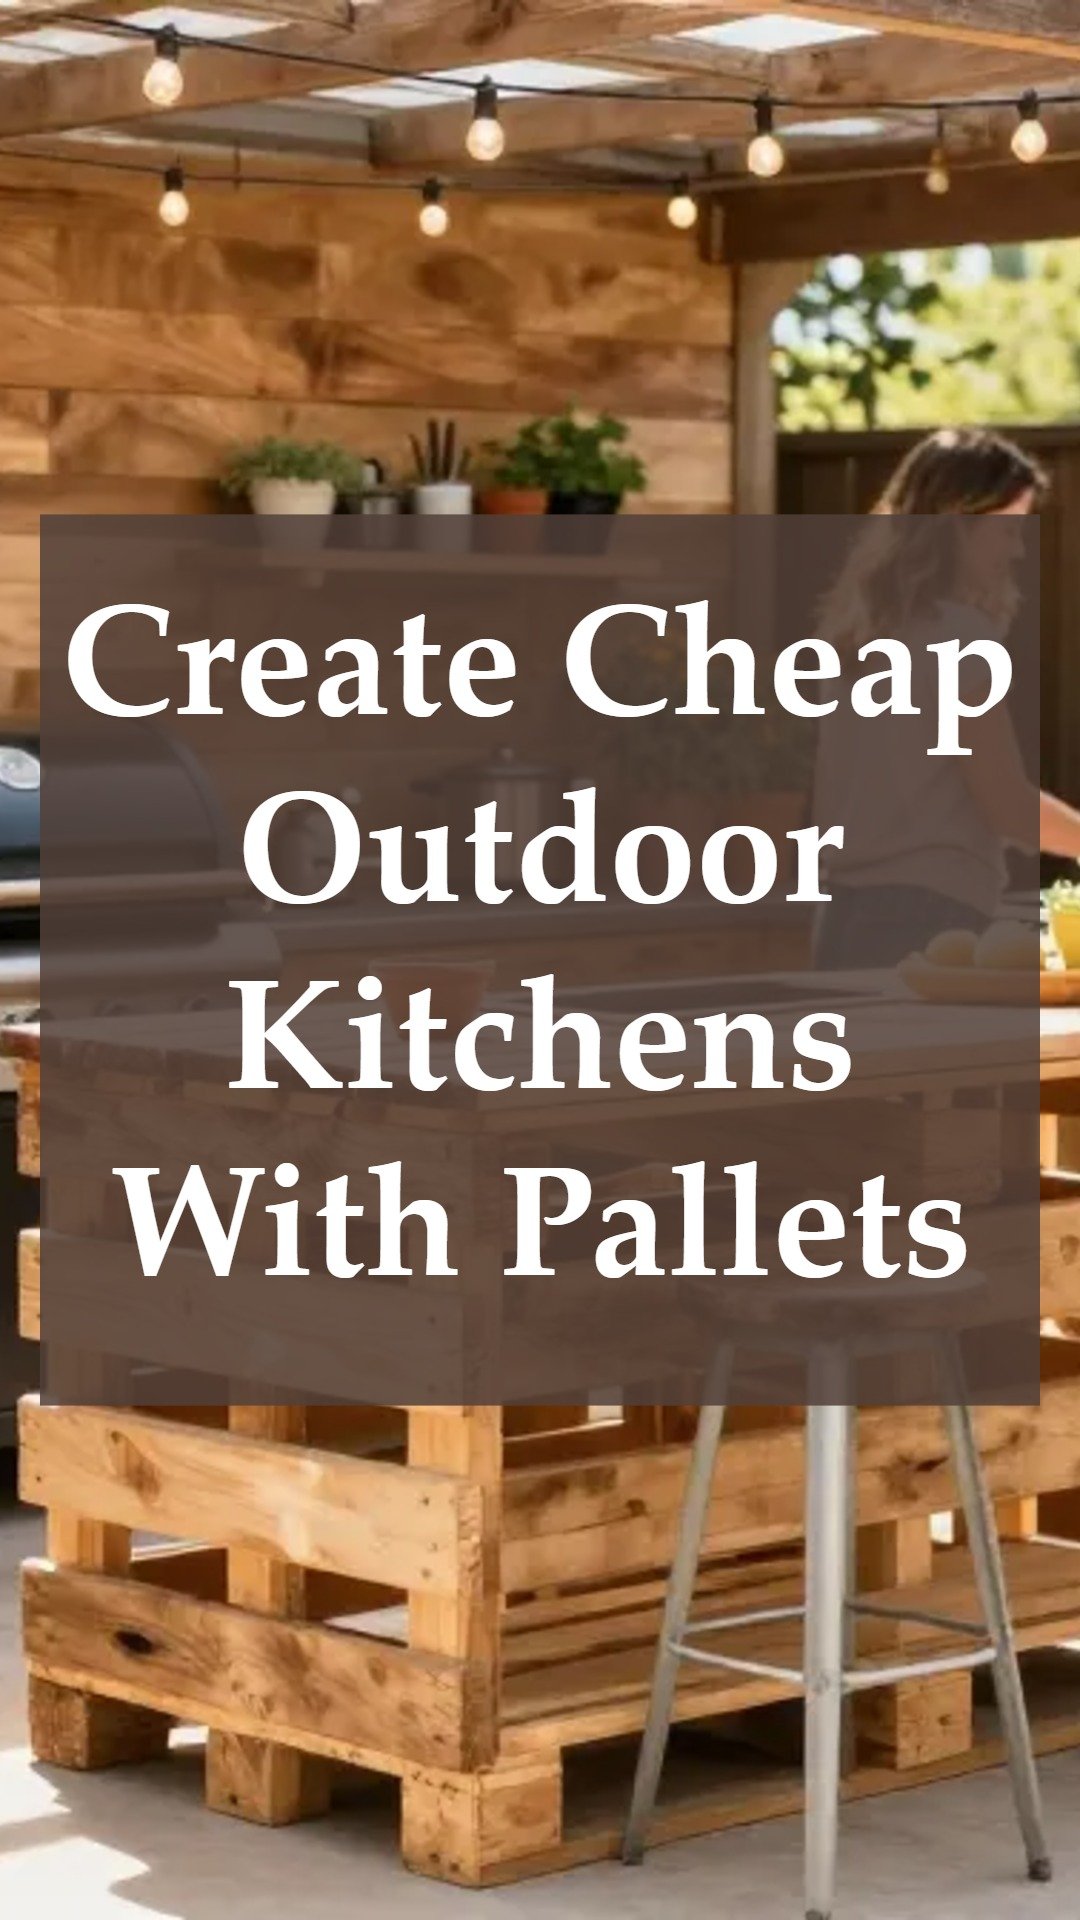
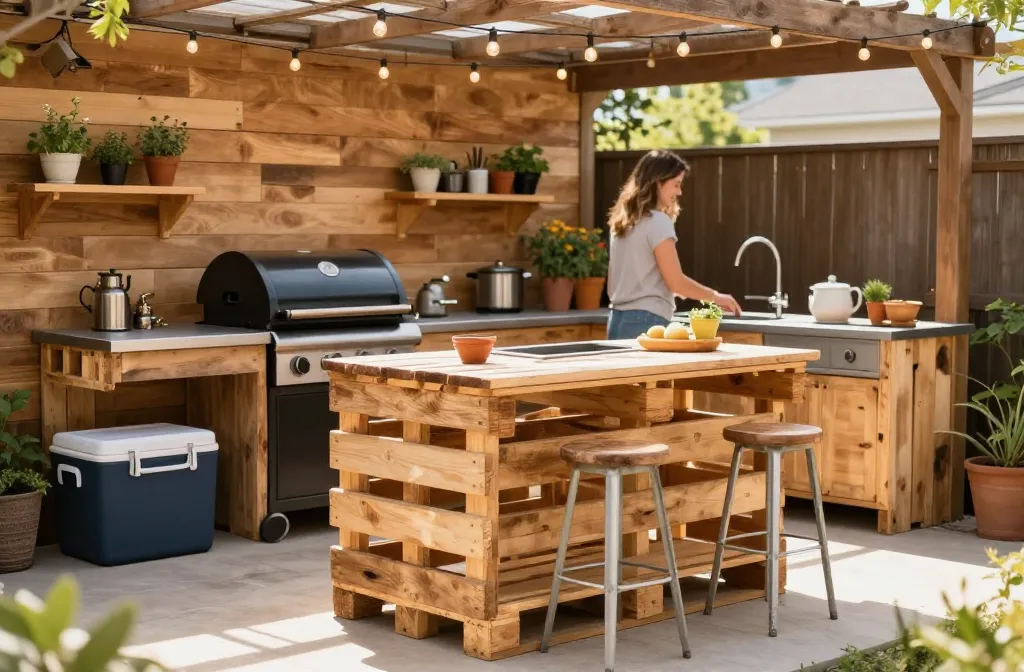
An early-morning breeze whispers through the yard, carrying the scent of fresh-cut cedar and sizzling grill marks. The sun peeks over a row of potted herbs, and a DIY pallet island stands proudly between a trusty charcoal grill and a freestanding cooler. You can almost hear the clink of glass, soft music, and the cheerful banter of friends gathering for backyard burgers. This is the scene you’re aiming for: a warm, inviting outdoor kitchen that doesn’t break the bank.
Join home improvement author Chris Peterson for a complete guide to deconstructing and repurposing pallets to serve a new purpose. From quick and easy builds like a bird house and a wall clock to more complex projects like a garden cold frame and a kitchen island, there’s something for everyone—and every pallet.
The secret to a budget-friendly DIY pallet outdoor kitchen isn’t about cutting corners—it’s about clever constraints. You optimize materials you already have, repurpose pallets safely, and design for modularity. The goal: a space that’s sturdy, weather-aware, and charming enough to rival pricey setups. When you design with purpose, you gain comfort, function, and a sense of ownership that money can’t buy.
You, too, can pull this off without turning your weekend into a DIY horror show. The trick lies in planning, safety, and smart upcycling. And yes, you’ll feel proud when neighbors ask, “Where did you get that grill station?” and you get to say, “I made it.”
If you’ve ever tried to build outdoors and felt overwhelmed by costs, inconsistent wood quality, or weather worries, you’re not alone. Pallet projects can seem like a never-ending puzzle: which pallets are safe, how to seal against rain, where to anchor a sink, and how to keep it all stable on uneven ground. The fear isn’t just about money—it’s about time, safety, and getting it right so your kitchen lasts.
You deserve a backyard that looks and performs like a custom build—without the premium price tag. I’ve built and tweaked several pallet setups, and I’ll share practical, tested steps you can follow. You’ll learn how to pick sturdy pallets, prepare surfaces properly, assemble a functional layout, and add affordable, durable finishes. FYI, you’ll also get troubleshooting tips for common hiccups so you can keep the momentum.
Plan Your Pallet Outdoor Kitchen: Layout, Budget, and Materials

– Start with a simple layout
– Map your space and sketch a rough footprint for your grill, prep station, seating, and storage.
– Keep circulation in mind: at least 3 feet of clearance around the grill for safety.
– Decide your anchor pieces
– Grill station, prep table, and a cooler or mini-fridge station are common anchors.
– A pallet island can hold utensils, spices, and a trash/recycle bin.
– Budget smart from the start
– Allocate a core spend for weatherproofing (sealer, weatherproof screws), then use pallet wood for the aesthetic.
– Reserve a small fund for castors, a simple sink option, or a DIY countertop top if you want a more upscale look.
– Materials to gather
– Pallets that are heat-treated (HT) and marked accordingly—avoid pallets with chemical marks or heavy-use storage pallets.
– Exterior-grade screws, weatherproof sealant, exterior plywood for countertops, and optional butcher-block or composite for a chef’s-friendly surface.
– Paint or stain rated for outdoor use, along with a UV protector.
Subsection: Design considerations for durability
– Elevation and stability
– Elevate the pallet structures with sturdy legs or caster wheels to prevent ground moisture from seeping up.
– Use metal L-brackets or steel braces at corners for extra rigidity.
– Weatherproofing basics
– Seal all edges, cut ends, and any exposed fasteners with outdoor-grade sealant.
– Consider a simple roof or pergola if you want shade and rain protection.
Safely Source and Prepare Pallets for a Sturdy Outdoor Kitchen

– How to pick pallets that won’t bite you later
– Look for HT stamped pallets; avoid anything that smells like solvent or has excessive chemical markings.
– Check for cracks, loose boards, or warped sections. If it’s too rough, don’t use it for the top surfaces.
– Clean, sanitize, and prep
– Scrub down with warm soapy water, rinse, and allow to dry completely.
– Sand rough edges to prevent splinters. Wear a mask if you’re sensitive to dust.
– Basic safety rules
– Never use pallets that were used to store chemicals, paints, or pesticides.
– Use food-safe contact surfaces for any prep areas that touch food.
Subsection: How to treat surfaces without losing the rustic vibe
– Sanding strategy
– Lightly sand to keep the rustic texture while removing splinters.
– Sealing and protection
– Apply a UV-blocking outdoor sealant on bare wood, then a topcoat for durability.
– For visible countertops, consider a food-safe oil finish if you’re DIY-ing a wooden surface.
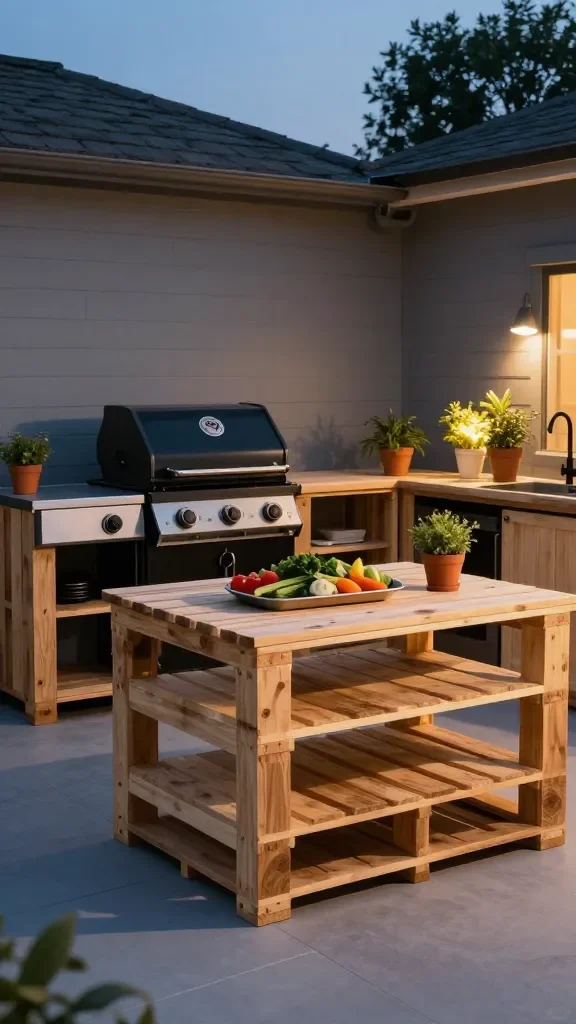
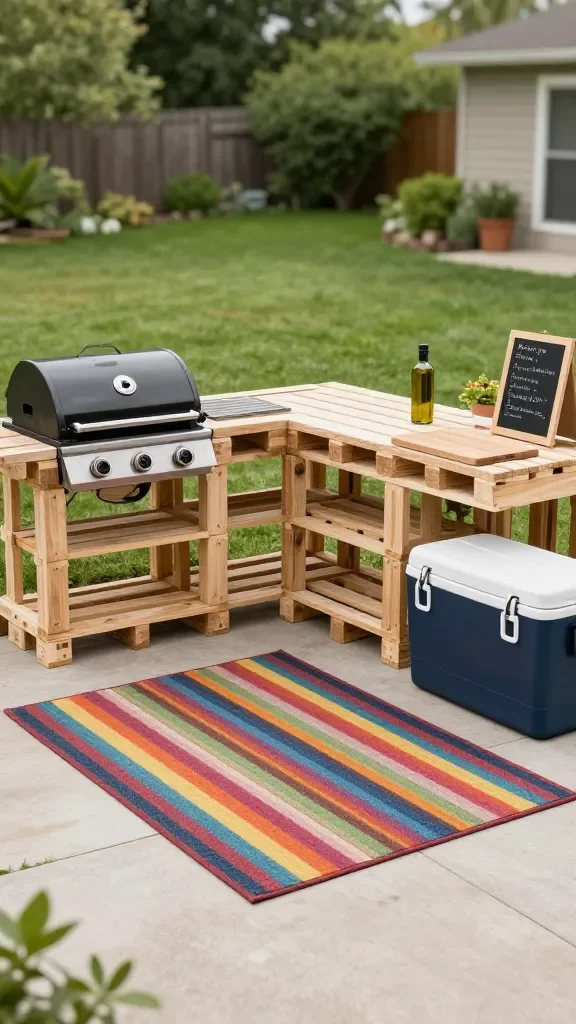
Build the Core: Sturdy Pallet Stations and a Cozy Prep Nook
– Palette-friendly assembly ideas
– Use pallets to create a low, but sturdy cooking island with storage underneath.
– Build a wall segment with pallet slats to mount tools, spices, and hooks.
– The essential components
– Grill station: ensure there’s space for a fuel source, ash collection, and safe clearance.
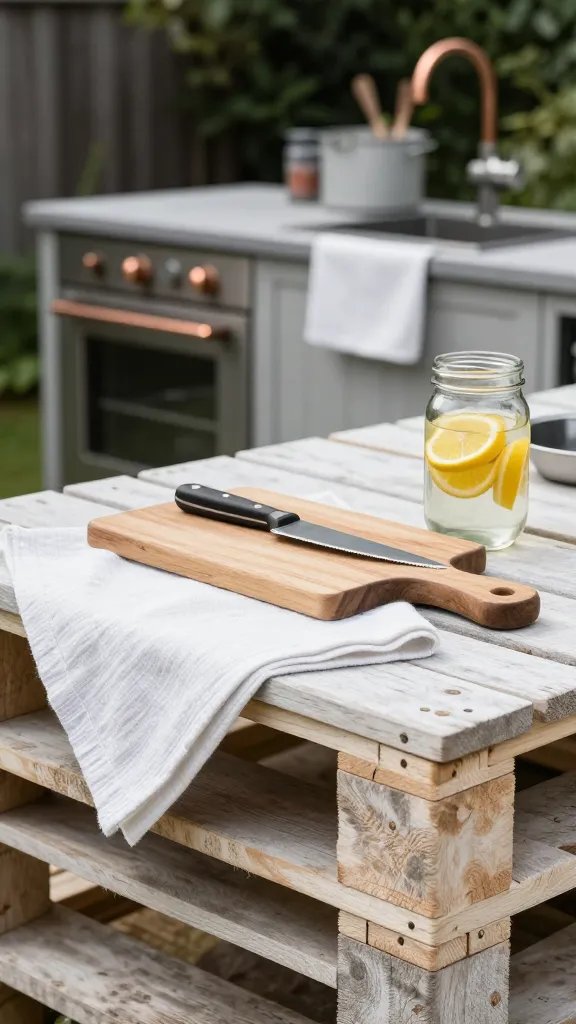
– Prep station: a clean, flat surface with space to chop and mix.
– Storage: shelves or cubbies for plates, utensils, and non-perishables.
– Seating: add a small bar-height counter or attach stools to the island for entertaining.
– Quick-build tips
– Use exterior plywood for a lightweight countertop option, then clad with pallet boards for the aesthetic.
– Attach casters to the island for easy relocation and cleaning.
Subsection: A simple, safe countertop plan
– Measure twice, cut once
– Pick a standard height for the prep area—roughly 36 inches works for most folks.
– Ensure the surface is even and sturdy; shim as needed to prevent wobble.
– Surface finishes
– Use outdoor-grade finish on the countertop; you can also install a removable cutting board to protect the wood.
Make It Weather-Ready: Finishes, Hardware, and Kitchen Essentials
– Finishes that withstand the elements
– Exterior stain or paint plus a clear sealant for extra protection.
– If you want a two-tone look, separate the island body from the countertop with contrasting stain.
– Hardware that helps you actually cook
– Hooks for tongs, grills mitts, and handling tools keep everything at arm’s reach.
– A magnetic strip for knives or metal tools is a simple upgrade.
– Storage solutions
– Use pallet slats to create vertical bottle racks or spice shelves.
– Build a small bin or trash/recycling station near the prep zone to keep things tidy.
Subsection: Cost-saving upgrades you’ll actually use
– DIY countertops
– Use reclaimed or salvaged wood for an affordable yet stylish surface.
– Lighting on a budget
– Solar-powered or LED string lights add charm and function at night without wiring fuss.
Keep It Safe, Secure, and Lasting: Maintenance and Longevity
– Safety basics you can’t ignore
– Ensure all electrical outlets or lighting are rated for outdoor use and installed by a professional if needed.
– Keep a clear, non-slip area around the grill to prevent accidents.
– Maintenance routine
– Wipe down surfaces after use to prevent staining.
– Reapply sealant every couple of years or as needed to maintain weather resistance.
– Seasonal care
– When not in use for extended periods, cover the setup to protect from rain and sun.
Subsection: Troubleshooting common issues
– Warping or loosening boards
– Tighten screws or replace affected slats; consider adding cross-supports for extra stability.
– Moisture creeping in
– Re-coat with outdoor sealant and ensure there’s proper drainage under the island.
FAQ
How do I choose pallets that are safe for food contact?
Pallets stamped with HT (heat-treated) and free of chemical residues are your safest bet. Avoid pallets with black marks, chemical odors, or visible damage. Sanitize thoroughly before using for any food prep area.
Can I build this without power tools?
Yes, you can. Manual saws, screwdrivers, and a drill with the right bits will handle most jobs. Plan for simpler joints and consider pre-cut boards at a hardware store to save time.
What’s the best way to seal pallets for outdoor use?
Clean, dry wood responds well to exterior grade sealants or penetrating oils. Apply evenly, allow to cure, and top with a protective sealant. Reapply as needed to combat sun and rain.
How do I prevent rust on hardware and screws?
Use exterior-grade or stainless steel fasteners. A light coat of primer and paint on exposed metal adds extra protection. Keep hardware clean and dry after rain.
Is a pallet outdoor kitchen worth the effort if I have a small space?
Absolutely. A compact pallet island or a modular setup can maximize every inch. The key is smart planning—think multi-use surfaces, vertical storage, and a layout that flows with your yard.
What are some budget-friendly add-ons I can consider later?
Think about adding a small sink, a simple water reservoir, or a bamboo rolling cart for extra prep space. Lighting upgrades and a pergola for shade can be added over time as funds allow.
Conclusion
Bringing It All Together: Your Budget-Friendly DIY Pallet Outdoor Kitchen

If you’re nodding along and picturing that scene in your own yard, you’re already on the right track. You don’t need to break the bank to create a space that feels intentional, stylish, and incredibly practical. Start with a clear layout, choose safe pallets, seal and finish for longevity, and treat your outdoor kitchen as an evolving project. You’ll love how it grows with you—season after season.
So, what’s stopping you from grabbing a few pallets this weekend, laying down a simple layout, and inviting friends over for tacos al fresco? IMO, the simplest setups often become the most cherished spaces. With a little planning, you’ll transform a basic pallet kitchen into a cornerstone of weekend memories, all while keeping your budget on track.
Ready to start? Share your plan in the comments, and I’ll help you refine the layout, pick materials, and troubleshoot any stubborn spots. You’ve got this.