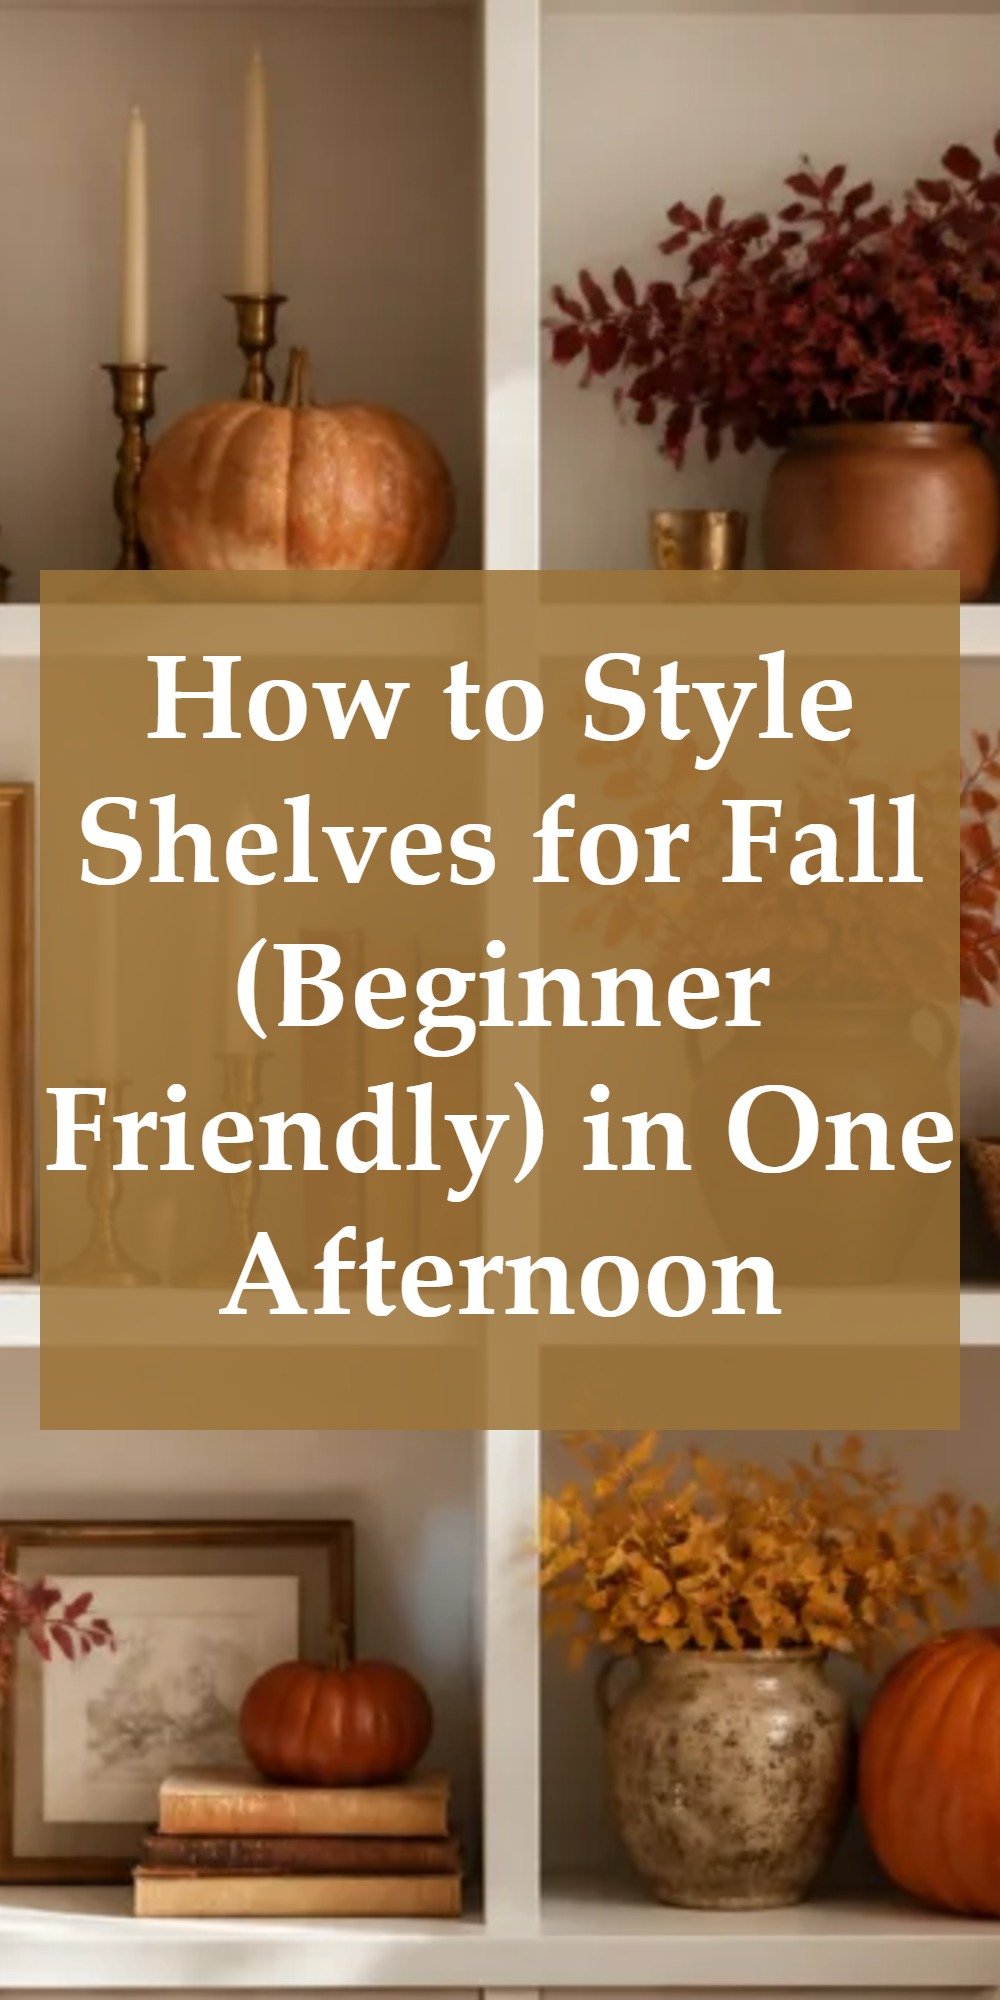
Ready to give your shelves that cozy autumn glow? Styling shelves for fall doesn’t have to be complicated or require a design degree. With a few simple tricks and the right seasonal touches, you can transform your bookcases from blah to beautiful in just one afternoon. Let’s break down exactly how to create that Pinterest-worthy shelf styling you’ve been dreaming about.
Why Fall Shelf Styling Feels So Good
There’s something magical about switching up your shelves when the seasons change. Fall décor brings in those warm, rich tones and cozy textures that make your entire room feel like a hug. Plus, styled shelves are like functional art—they show off your personality while keeping your space organized.
The best part? You don’t need to buy a ton of new stuff. Most of what you’ll use is probably already hiding in your home, just waiting to be rearranged with a seasonal twist.
Step 1: Start With a Completely Blank Canvas
Here’s your permission slip to clear everything off those shelves. Seriously, everything. This is the secret that makes the biggest difference, and most beginners skip it because it feels like extra work.
But trust me on this—starting with empty shelves lets you see the space with fresh eyes. You’ll notice architectural details you forgot about, you’ll actually dust (bonus!), and you won’t be tempted to just squeeze fall items into an already-crowded shelf.
Once your shelves are bare, gather all the décor items you’re considering. Lay them out on your coffee table, dining table, or even the floor. Group similar items together: all your books in one pile, artwork in another, vases together, small decorative objects in their own section. This sorting step is a game-changer because you can actually see what you’re working with.
Step 2: Books Are Your Foundation (Use Them Strategically)
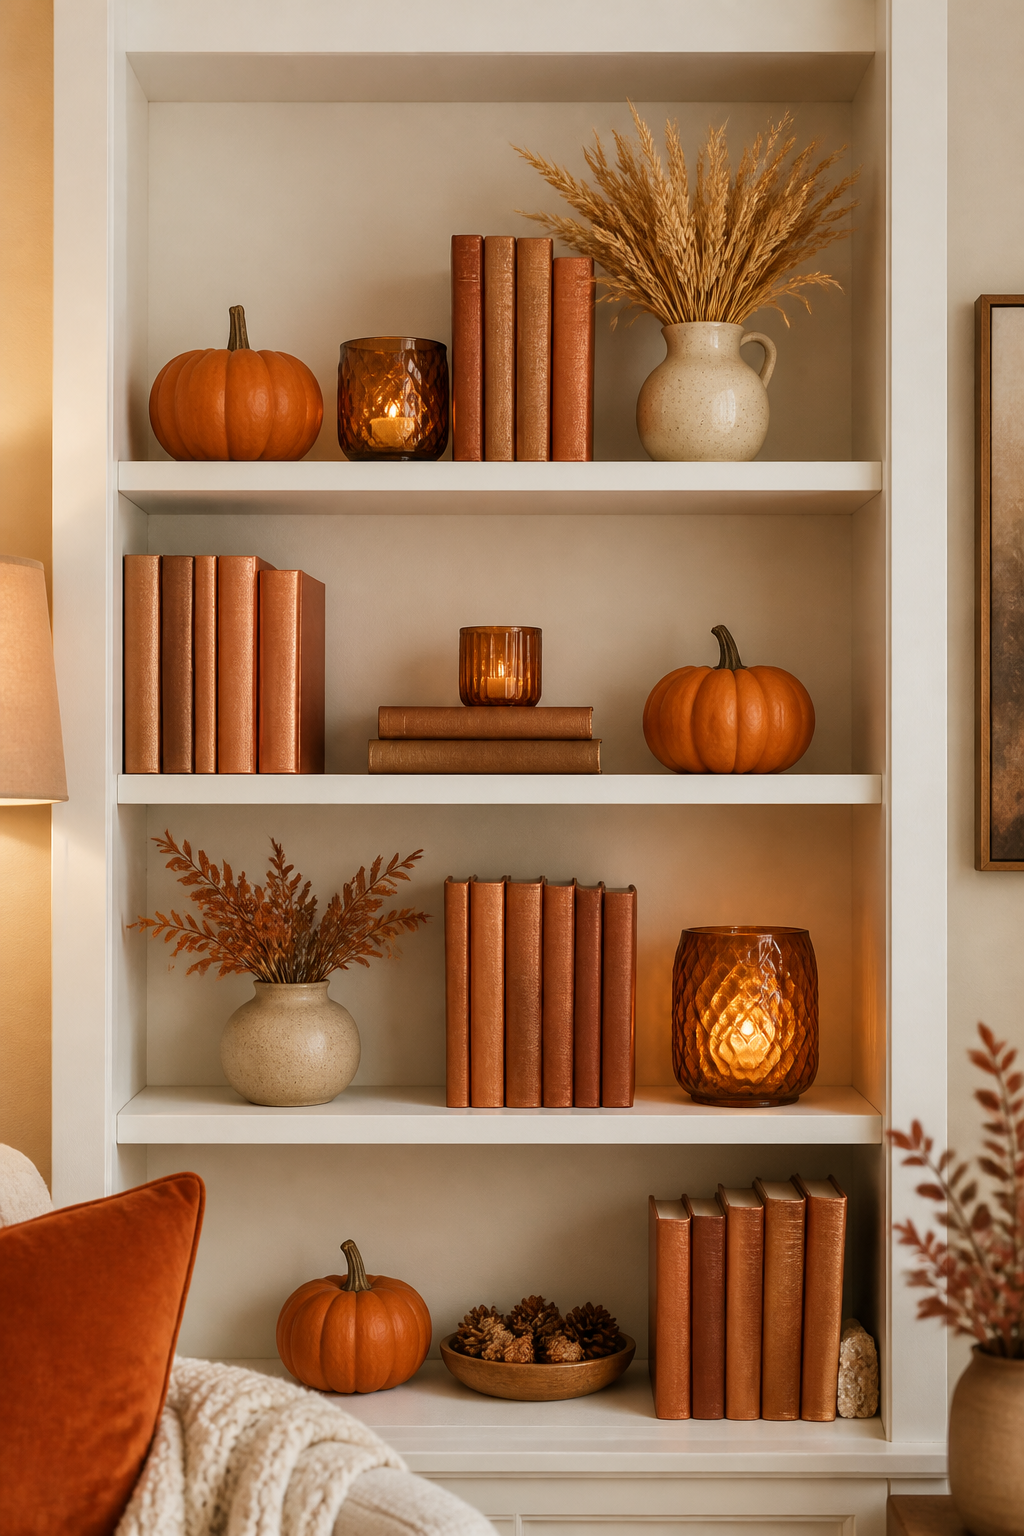
Coffee table books and decorative books are the unsung heroes of shelf styling. They add color, height variation, and visual weight without feeling cluttered.
The key is mixing up how you arrange them. Stack some horizontally to create platforms for other objects. Stand others vertically like you’re actually organizing a library. Use bookends for some vertical stacks, but let others lean freely for a more relaxed vibe.
Pro tip: For fall specifically, you might want to use fewer books than usual if you’re planning to bring in more seasonal artwork or decorative pieces. Books are anchor pieces, but you don’t want them stealing the show during your cozy autumn moment.
Step 3: Layer Your Artwork and Family Photos Like a Gallery Wall
This is where your shelves start developing serious personality. Forget about hanging everything on the wall—leaning artwork against the back of your shelves creates a relaxed, collected-over-time look that feels effortlessly chic.
Here’s how to make it work: Place larger frames in the back, then layer smaller family photos in front of them. Stack framed prints on top of those horizontal book piles. Mix frame materials and finishes—wood, metal, brass, matte black—because variety adds visual interest without looking chaotic.
Switching Out Prints for the Season
One of the easiest ways to transform your shelves for fall is swapping out the art inside your existing frames. Look for prints with autumn colors (think burnt orange, deep burgundy, mustard yellow, warm browns), fall botanicals, cozy quotes, or abstract pieces in seasonal palettes. You can find affordable printable art on Etsy or even create your own.
This approach saves money and storage space since you’re reusing the same frames season after season.
Step 4: Anchor Each Shelf With Statement Pieces
Now it’s time to bring in the bigger decorative items. Think larger vases, ceramic pots, decorative bowls, or sculptural objects. These pieces give your shelves structure and prevent everything from looking too small and fussy.
Distribute these larger items throughout your shelving unit rather than clustering them all on one shelf. This creates visual balance and draws the eye up and down and across the entire display.
Don’t worry about filling these vases with greenery yet—just place the containers first. You’re building in layers, and the greenery comes later. Some of these vessels might stay empty, and that’s perfectly fine. Negative space is your friend.
Step 5: Start at the Top and Work Your Way Down
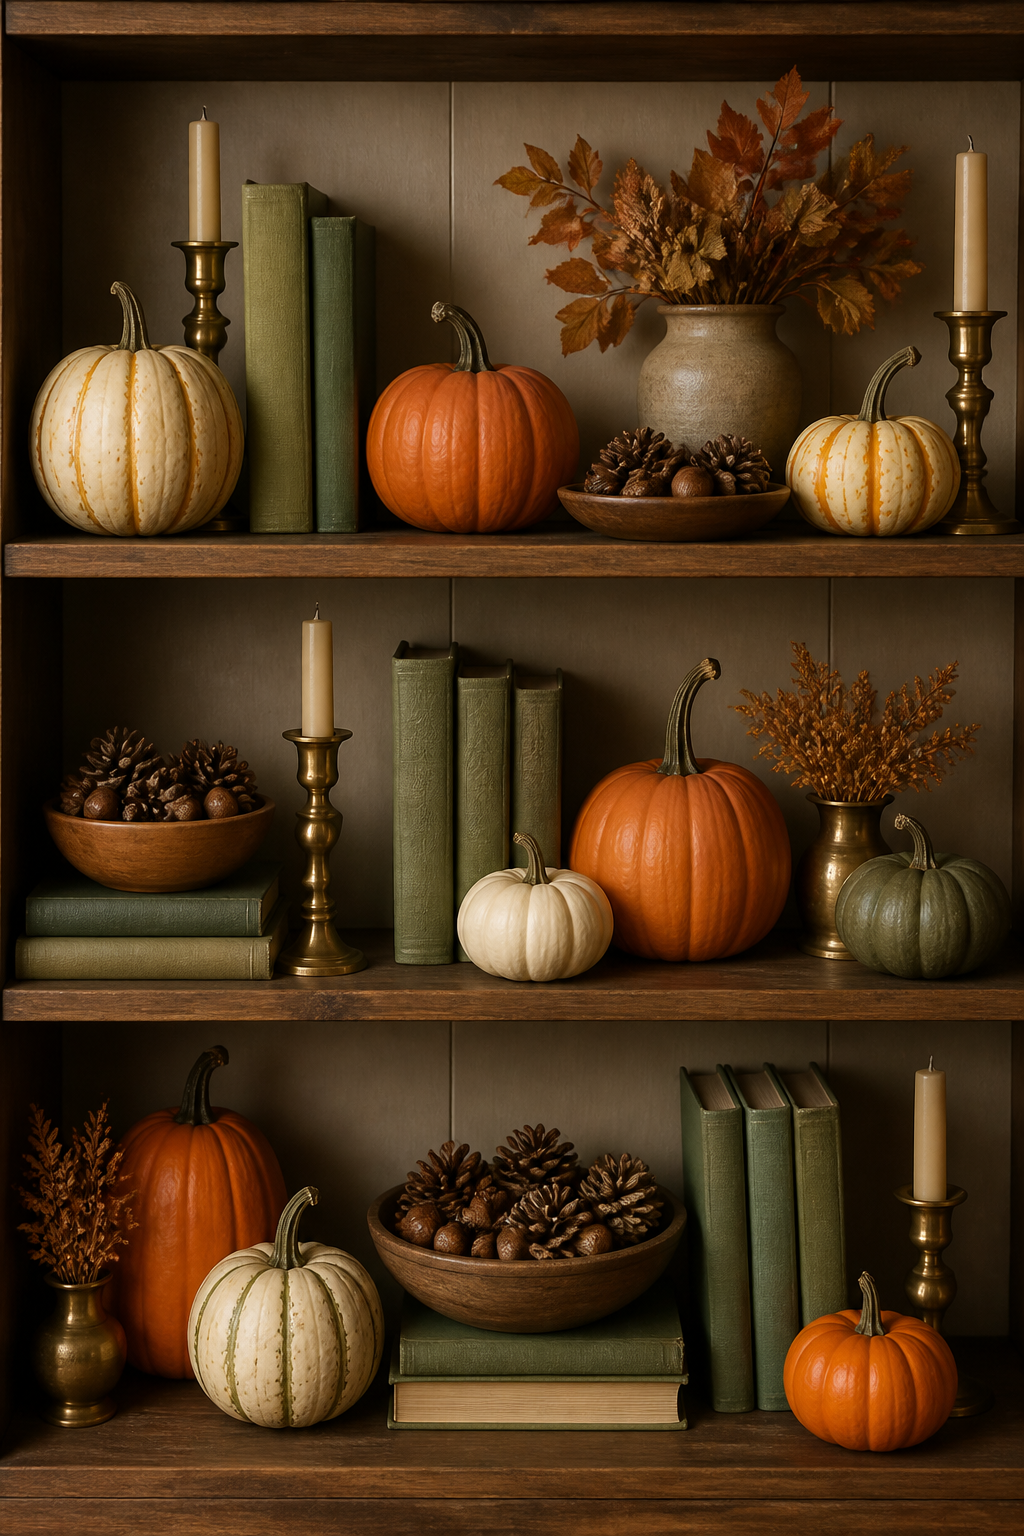
Here’s a styling trick that makes the whole process easier: complete your top shelf first, then work downward. When the top shelf is balanced and beautiful, it’s much easier to create harmony on the shelves below.
For that top shelf, try this winning combination: stack a few books, place a small decorative object on top (ceramic beads, a small box, a petite vase), and balance it with a taller item on the opposite side. Play with different heights and textures until it feels right.
The rule of three works wonders here. Odd numbers of objects are more visually appealing than even numbers. So if you’re styling one shelf, aim for three, five, or seven items rather than two, four, or six.
Step 6: Fill in the Gaps With Smaller Treasures
Now comes the fun part—adding all those smaller decorative touches that make your shelves feel curated and personal. Think small ceramic boxes, tiny planters, decorative objects, mini baskets, quirky bookends, or little trinkets you’ve collected.
These small items work beautifully when you:
- Tuck them in front of larger artwork
- Stack them on top of horizontal books
- Use them as unexpected bookends
- Cluster a few together on one shelf
- Mix textures (smooth ceramic next to woven baskets, for example)
For fall, look for items in seasonal materials like wood, copper, brass, ceramic in warm glazes, or natural woven textures. Pumpkins (real or decorative), acorns, pinecones, and fall foliage motifs all work beautifully here.
Step 7: Bring in the Greenery and Fresh Elements
The final layer is what brings everything to life—literally. Adding greenery and fresh or faux florals softens all those hard edges and introduces organic shapes into your display.
For fall shelf styling, consider these options:
- Faux eucalyptus branches in warm, muted tones
- Dried pampas grass for texture and movement
- Autumn leaves (real or high-quality faux)
- Wheat stalks or dried grasses
- Small potted mums or other fall flowers
- Branches with berries
You don’t need greenery on every single shelf. In fact, leaving some shelves plant-free creates better visual balance. Sprinkle your greenery throughout, focusing on those larger vases you placed earlier. One or two shelves with fresh elements (even just a small pot with fresh stems) adds that special touch.
Fall Shelf Styling Ideas That Always Work
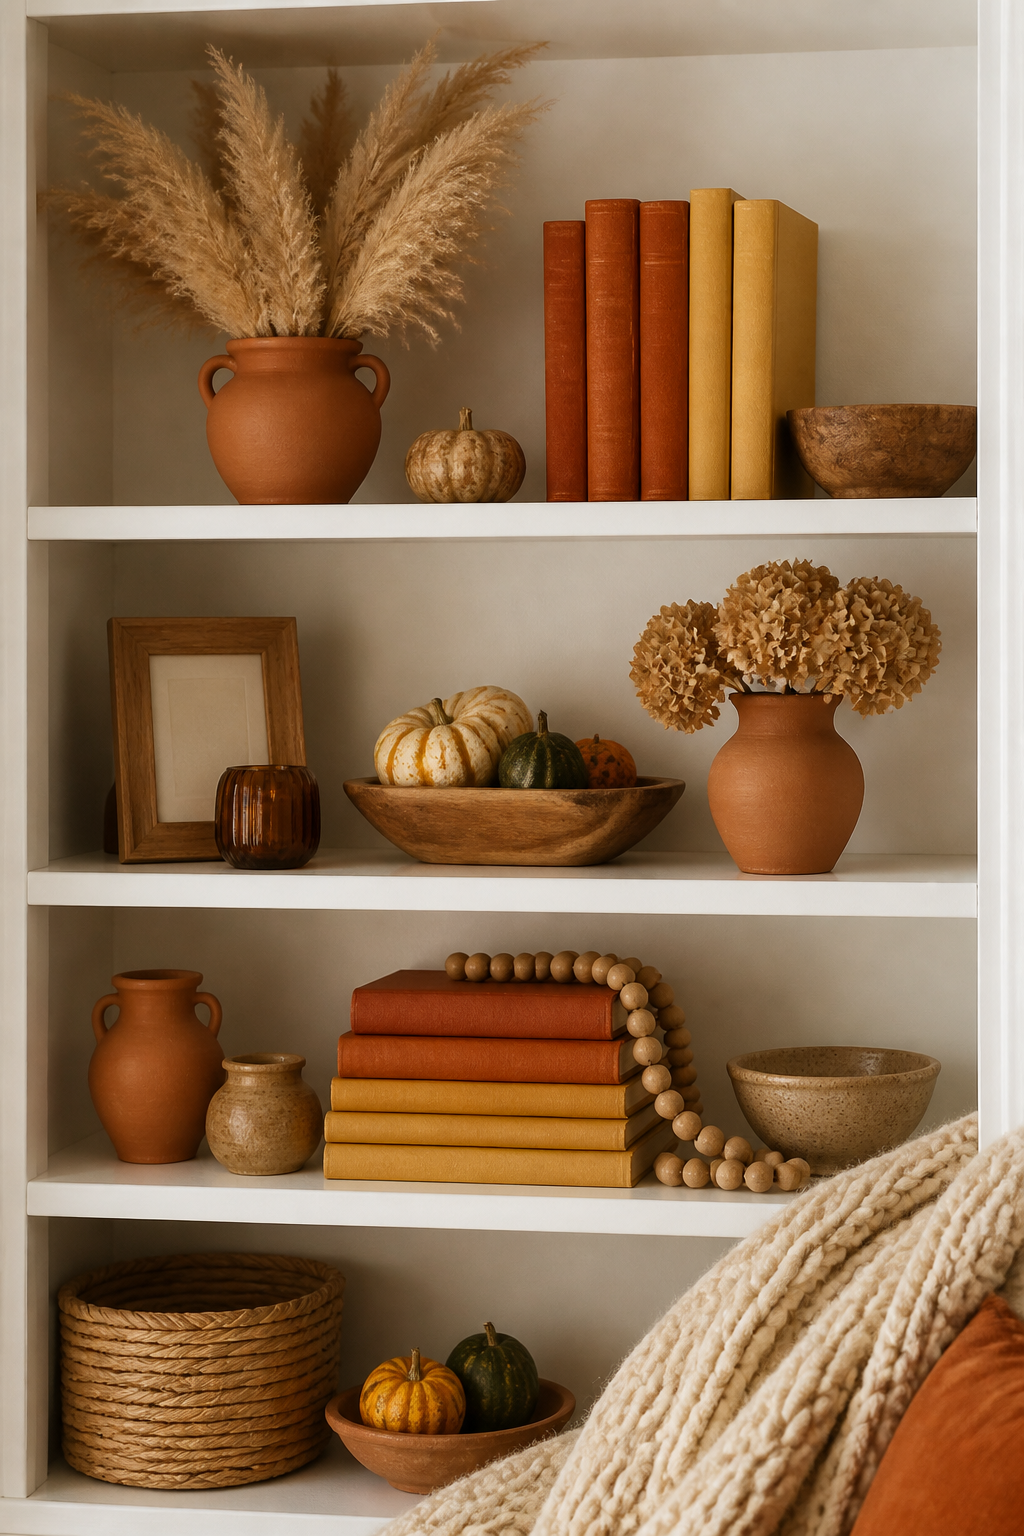
Need some specific inspiration? Here are tried-and-true combinations that look amazing for autumn:
The Cozy Reader Shelf
Stack warm-toned books horizontally, top with a small brass candle holder and cream-colored candle, lean a fall-themed print behind it, and add a small potted succulent in a terracotta pot.
The Natural Elements Shelf
Place a large ceramic vase with dried pampas grass on one side, balance with stacked books topped with a wooden bowl, and lean a simple botanical print in the center.
The Mixed Metals Moment
Combine brass bookends holding vertical books, a copper vase with eucalyptus, a small gold-framed family photo, and a matte black decorative object for contrast.
The Layered Gallery Shelf
Start with a large framed fall landscape print leaning against the back wall, layer a smaller family photo in front, stack two books to one side, and add a tiny vase with a single stem.
The beauty of this seven-step method is that it works whether you’re styling an entire wall of built-ins or just three floating shelves. The principles stay the same—you’re just scaling up or down based on your space.
Common Shelf Styling Mistakes to Avoid
Even with a solid process, there are a few pitfalls that can trip up beginners. Here’s what to watch out for:
Overcrowding: Less really is more when it comes to shelf styling. If every inch is packed with stuff, nothing stands out and the whole display feels chaotic. Aim to leave about 30-40% of your shelf space empty or very minimal.
Matching everything too perfectly: When all your items are the same height, color, and style, it looks more like a store display than a home. Mix it up! Combine different textures, heights, and even styles for a collected look.
Ignoring scale: Tiny objects on a large, deep shelf get lost. Make sure you have items in various sizes that are proportional to your shelf dimensions.
Forgetting about color balance: Distribute your fall colors throughout the entire shelving unit rather than clustering all the orange on one shelf and all the cream on another. Your eye should move smoothly across the whole display.
How to Make Your Fall Shelves Feel Cohesive
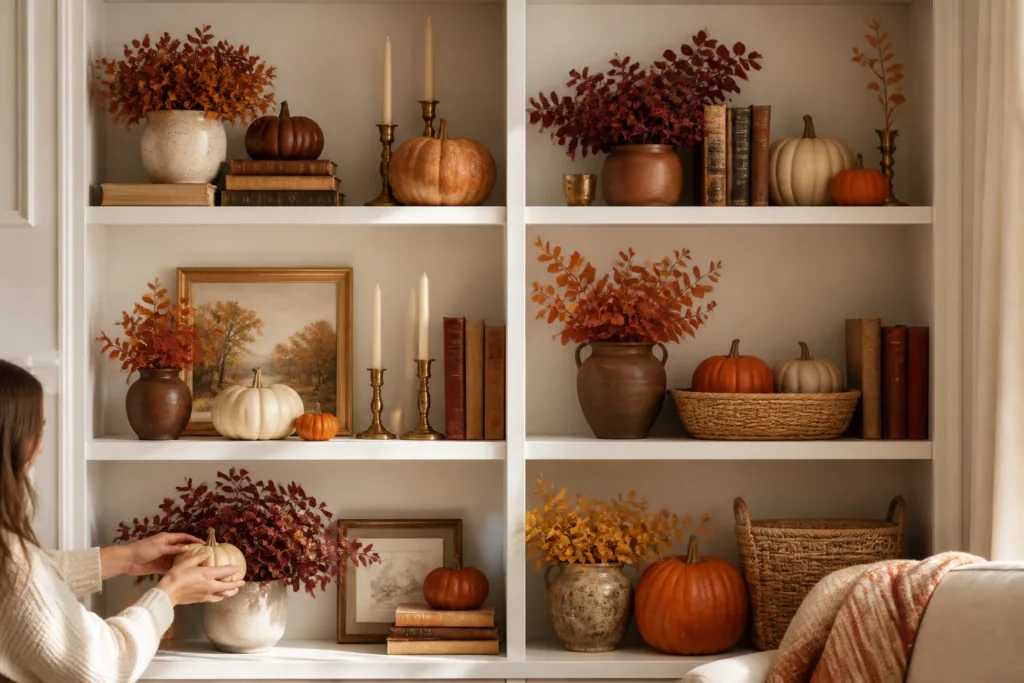
The difference between shelves that look “styled” versus shelves that look “cluttered” often comes down to cohesion. Here’s how to tie everything together:
Choose a color palette and stick to it. For fall, this might be warm neutrals with pops of rust and mustard, or deep greens with burgundy and cream. Having a consistent color story makes even an eclectic mix of items feel intentional.
Repeat elements throughout your shelves. If you use brass on one shelf, echo it on another shelf somewhere else. If you have a round ceramic bowl on the top shelf, include another round object lower down. This repetition creates visual rhythm.
Vary your heights on each individual shelf, but keep a similar overall “weight” on each level. You don’t want your top shelf looking super full and heavy while your bottom shelf is nearly bare.
Budget-Friendly Fall Shelf Styling Tips
You absolutely do not need to buy all new décor to create gorgeous fall shelves. Here’s how to do this on a budget:
Shop your home first. Walk through every room and pull items that could work for fall—that wooden cutting board in your kitchen, the cream throw blanket in your bedroom (fold it on a shelf!), candles from the bathroom, books from other rooms.
Bring in nature for free. Take a walk and gather pinecones, interesting branches, colorful leaves, or acorns. Display them in bowls or vases you already own.
Switch out just the small stuff. Keep your larger, neutral items in place year-round and only swap the smaller, more affordable seasonal touches. A $5 bundle of faux fall stems can completely transform a shelf that’s already well-structured.
DIY your fall prints. Create your own artwork using free design tools like Canva, print them at home or at a print shop, and pop them into frames you already have.
Frequently Asked Questions About Fall Shelf Styling
How many items should I put on each shelf?
There’s no magic number, but a good rule of thumb is 3-5 items per shelf, depending on the size of your shelves. Remember that “items” can be grouped—like three small objects clustered together count as one visual grouping. The goal is to create visual interest without overcrowding. Stand back every few minutes and look at your work from across the room to check if it feels balanced.
Should I style all my shelves the same way?
Definitely not! Variety is what makes shelf styling interesting. Mix up your approach from shelf to shelf—one might be mostly books with one small object, another might feature a large vase with greenery, and another might showcase layered artwork. This variety keeps the eye moving and prevents the display from feeling repetitive or boring.
How do I incorporate fall colors without it looking too Halloween-y?
Stick to a more sophisticated autumn palette rather than bright orange and black. Think rust, terracotta, burnt orange, mustard yellow, deep burgundy, warm browns, cream, and muted greens. These colors feel distinctly fall without screaming “trick or treat.” Focus on natural materials and organic shapes rather than overtly themed items.
What if my shelves are really deep?
Deep shelves can be tricky, but they’re perfect for layering. Use the back for taller items and artwork, the middle for medium-height objects, and the front edge for smaller pieces. You can also use small risers or stacked books in the back to elevate items so they’re more visible. Just make sure nothing important gets completely hidden in the depths where you can’t see it.
How often should I change my shelf styling?
This is totally up to you! Some people love to restyle with every season (four times a year), while others prefer to do it twice a year for fall and spring. FYI, you can also keep your base styling the same year-round and just swap out 2-3 seasonal accent pieces. Do whatever feels manageable and brings you joy.
Can I mix real and faux greenery?
Absolutely! In fact, this is a smart approach. High-quality faux greenery can look surprisingly realistic and lasts forever, while a few fresh stems add that special something and subtle fragrance. Just make sure your faux pieces are good quality—cheap fake plants can actually make a display look worse. It’s better to have one really good faux stem than five obviously plastic ones.
Make These Fall Shelves Your Own
The most important thing to remember about styling shelves for fall? There are no hard rules. These seven steps give you a framework, but your personality should shine through in the final result.
Mix in items that mean something to you—family heirlooms, travel souvenirs, handmade pieces, or quirky finds from the thrift store. The shelves that get the most compliments are usually the ones that feel authentic to the person who styled them. So take these guidelines, make them work for your space and your style, and create a fall display that makes you smile every time you walk past it.
Pin this for later when you’re ready to transition your shelves into winter, because these same principles work for every season!