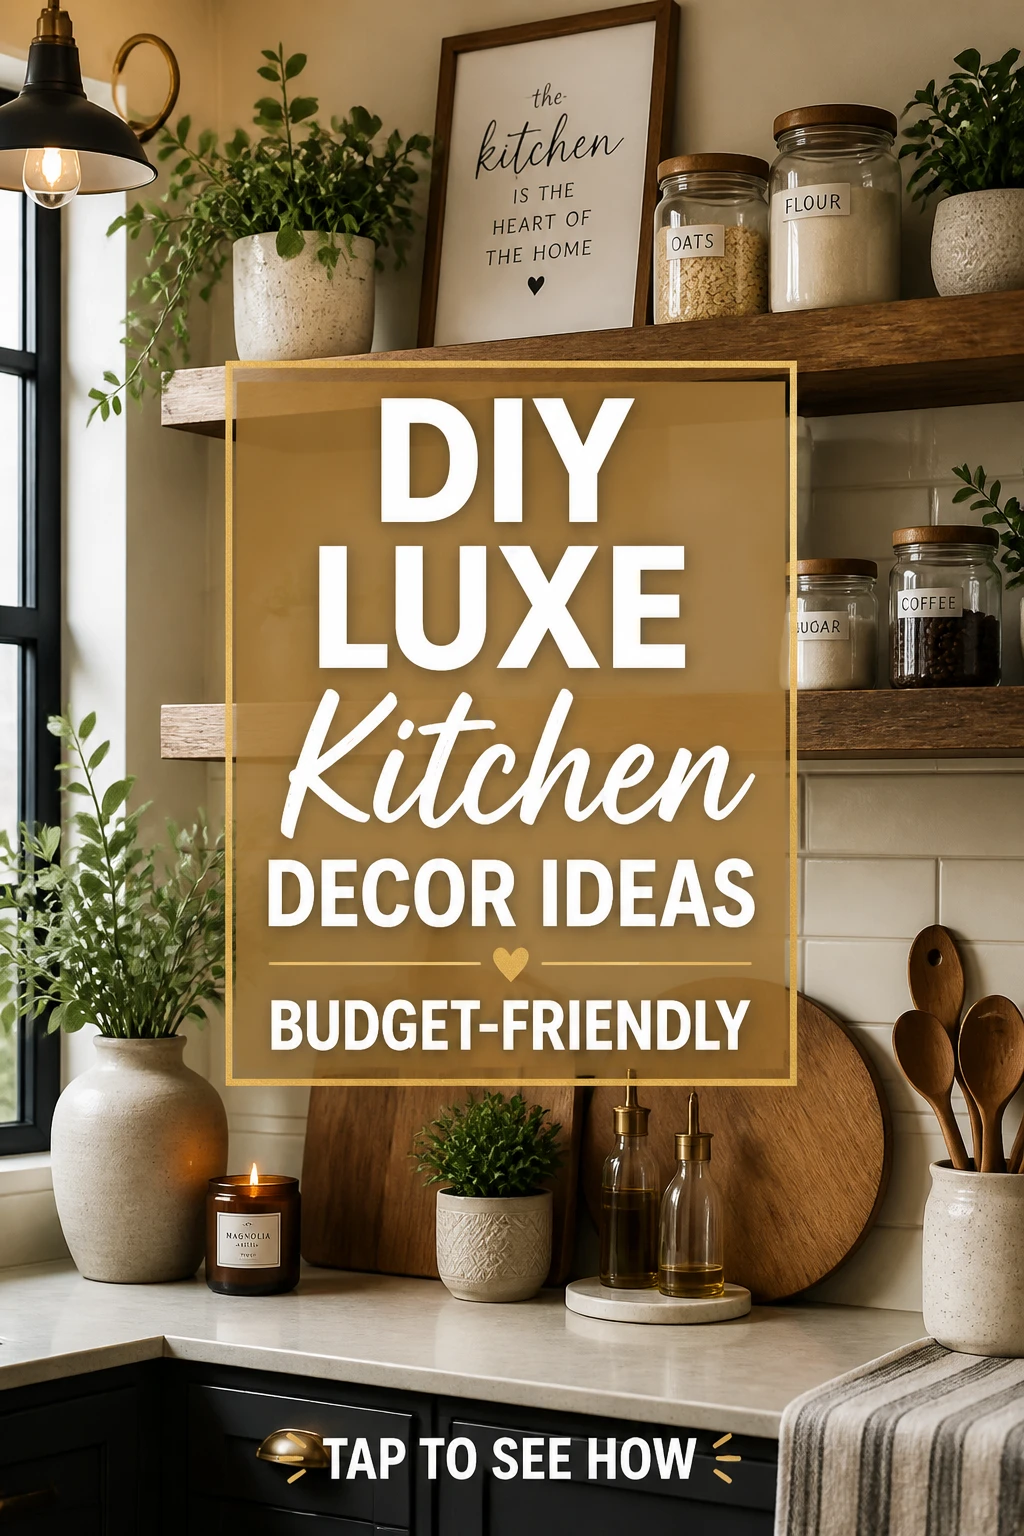
Ready to transform your kitchen vibe without breaking the bank? This guide turns simple, affordable finds into high-end, magazine-worthy decor that you’ll actually want to show off on Pinterest. Think rustic wood elements, clever storage upgrades, and small details that read luxe—without the luxury price tag. Let’s dive into a doable, beginner-friendly plan that looks like a million bucks and costs a fraction of that.
1) Craft a Rustic Console Piece That Feels Expensive
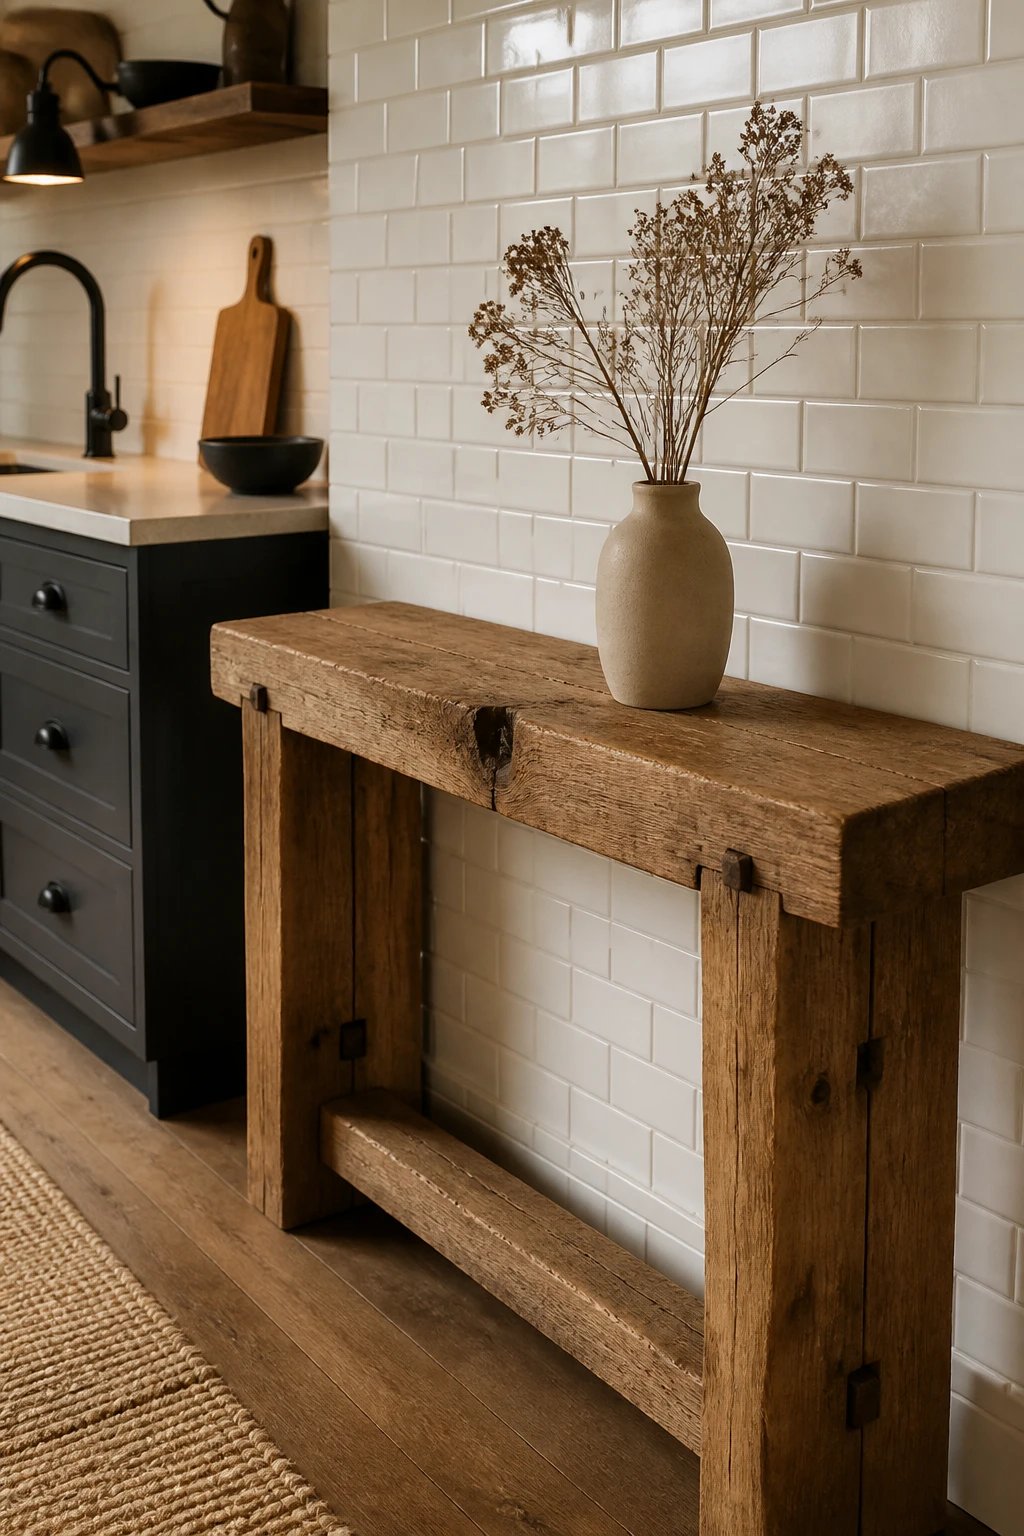
If you’ve been eyeing those Instagram-worthy wood accents but balking at the price, you’re in luck. The trick is to start with a rough, character-filled timber piece and give it a deliberate, “found object” finish. Here’s how to recreate the vibe:
- Source a sturdy, affordable timber frame or post from a home improvement store. Look for something with natural imperfections—these quirks read as “authentic rustic” in photos.
- Cut and reconfigure to create a long, shallow shelf or a compact console that can sit at the edge of your dining nook or kitchen island.
- Rough it up on purpose: rough edges, shallow chisel marks, and a light hammer-tap texture mimic reclaimed wood without the price tag.
- Finish with a matte sealant that keeps the look natural rather than glossy. If you’re feeling adventurous, skip staining to keep the raw, driftwood vibe intact.
Why it works for Pinterest: this kind of “imperfect” wood look is endlessly save-worthy. It combines tactile texture with a modern silhouette, easily photographed from multiple angles. Bonus points for showing before-and-after progress in a pin-friendly carousel.
Pro Tips
- Document each step with bright, natural light. Pinterest loves clean, well-lit images.
- Pair the wood with black metal hardware or accents for a contemporary contrast that reads high-end.
- Use this console as a base for a seasonal display—think candles, glass cloches, and a couple of fresh stems.
2) Elevate Your Pantry: Glass Jars, Labels, and Soft Organization
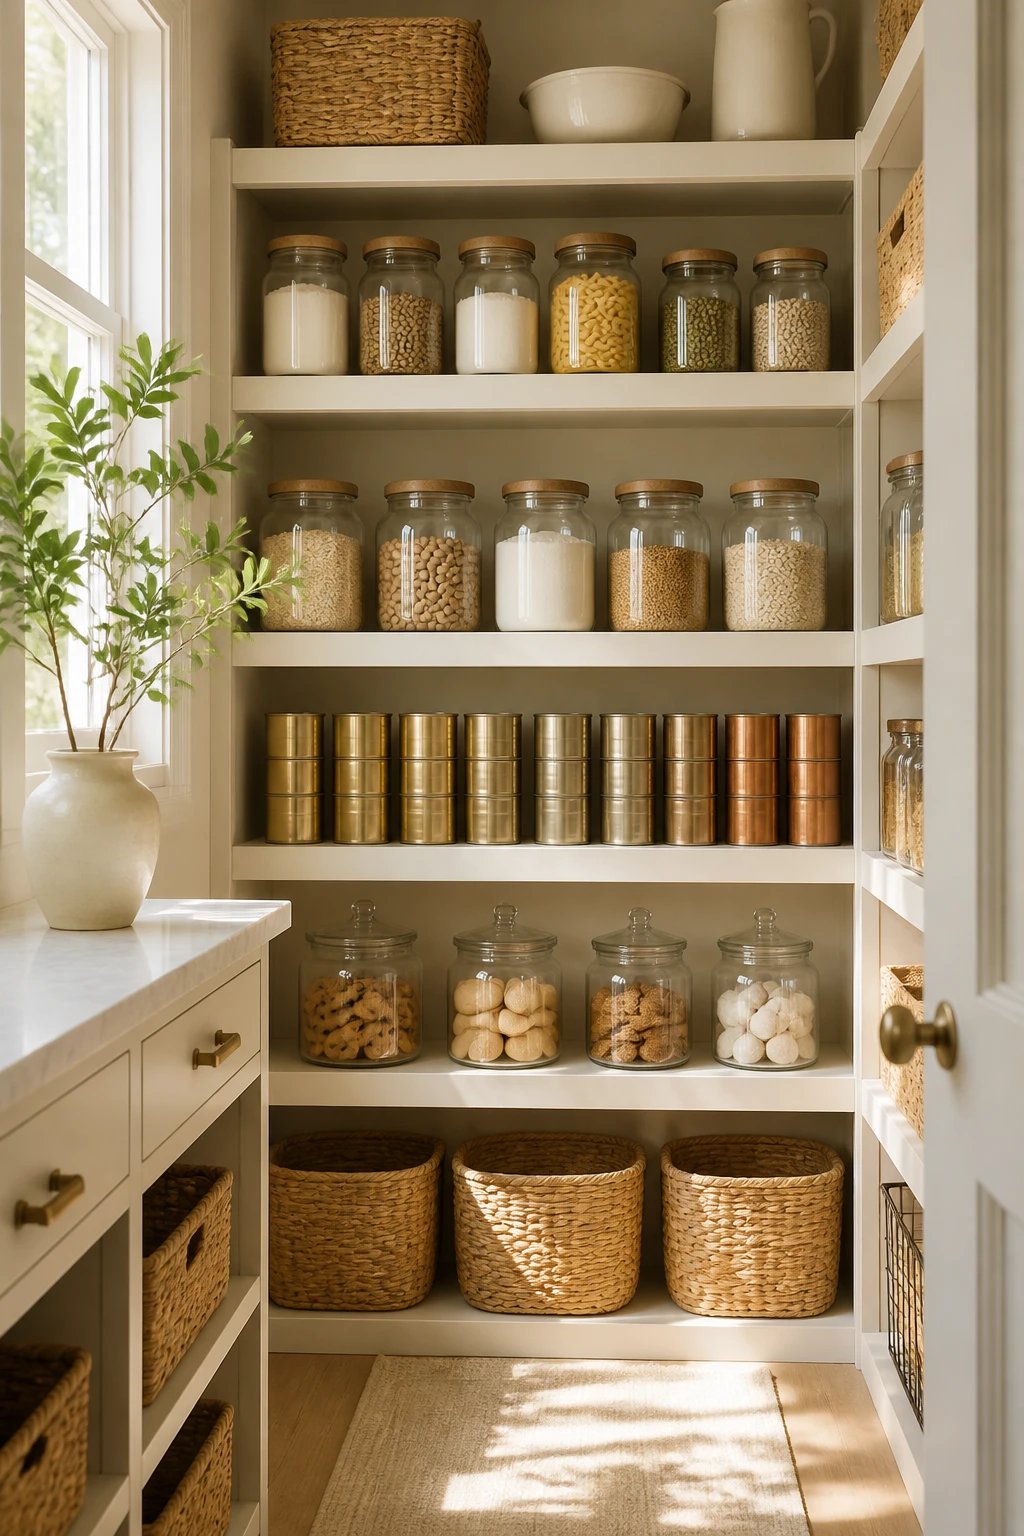
Visible storage can feel messy, or it can feel chic—your choice. This section shows you how to turn simple jars into a polished, studio-grade pantry display that’s ultra practical too.
- Invest in a set of airtight jars with uniform shapes. Clear glass lets you admire color and texture, while keeping ingredients fresh.
- Print simple, elegant labels on water-resistant paper (affiliate-free I promise) using a free printable design you love. For a luxe twist, seal labels with a triple-thick clear glaze to give them a glassy, sticker-free finish.
- Arrange jars by category or color family for a cohesive look. A staggered height arrangement adds visual interest in photos.
Step-by-step for the labels (so you can pin this later):
- Print labels on waterproof label paper or use decorative printable on transfer film. Trim neatly.
- Seal with three light coats of a clear glaze, letting each coat dry 15 minutes between layers.
- Attach labels to jars in a uniform orientation to keep the collection visually cohesive.
3) A Simple Yet Luxe Bread-and-Sugar Display (Tell Your Kitchen Story)

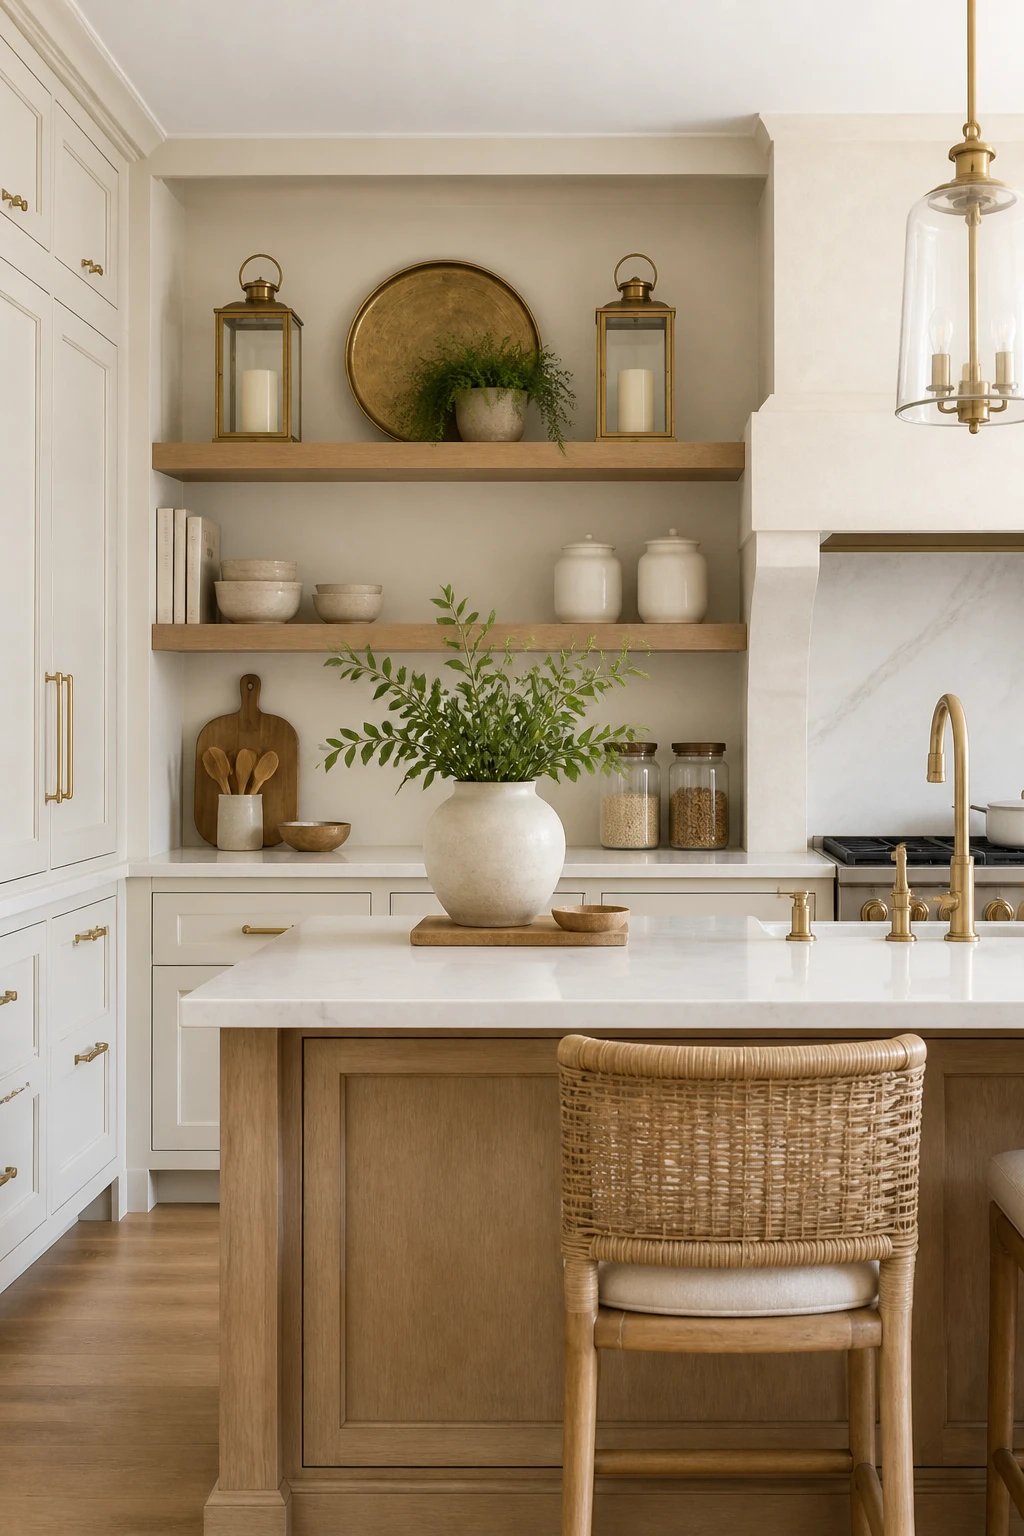
Your kitchen deserves a little storytelling moment—the kind of vignette you’d save as a pin and recreate in your own space. Here’s a fast, affordable setup that feels editorial.
- Choose a shallow, wide tray or tray-like board to serve as the base. A wood slice, a tray with a lip, or even a butcher-block section can work beautifully.
- Place a couple of glass crocks or canisters for staples like flour, sugar, and brown sugar. The key is cohesive containers and a neat label system as discussed above.
- Show a pop of texture with a small plant or a vase of dried stems at one end to balance the height and add color without shouting.
Optional: add a small open book or a recipe card on a stand to give the scene a lived-in, “home chef” vibe. Save-worthy for sure, and easy to recreate with items you already have.
Styling Tips
- Use a neutral palette with one or two accent tones to keep things cohesive in photos.
- Keep the container shapes consistent—rounded jars with square labels, or tall cylinders with flat labels—to maintain polish.
4) The Paper-Towel Holder Makeover: Industrial to Elegant

This is a clever, budget-friendly upgrade that feels custom. A simple DIY transform can turn a plain roll holder into a chic, gallery-worthy desk-to-dine display piece. Here’s a streamlined approach:
- Start with a basic wooden or polymer roll holder and remove any extraneous hardware for a clean silhouette.
- Trim a wooden round to fit the holder base snugly, then fasten with wood glue and finish nails for a sturdy base.
- Add a decorative cap or finial on top to give it a refined edge. A small, rounded wood ball or metal accent works beautifully.
- Paint with a matte black finish or a deep charcoal, then lightly rub a gold wax or gilding wax on the raised edges for subtle luxe shine.
- Seal with a matte sealer to keep the look smooth and resistant to kitchen splashes.
Result? A high-end vibe that’s totally functional and budget-friendly. It’s the kind of small detail that elevates a counter or island in photos—and in real life.
Pin-Ready Styling
- Decorate around the holder with a small stack of recipe cards tied with twine and a sprig of greenery to create a magazine-worthy still life.
- Capture a close-up of the texture and the subtle gold accents for a “luxury on a budget” pin.
5) A Playful Knick-Knack Swap: Reusable Stems, Vials, and Seasonal Moments
Tiny details can carry big impact. This section explores affordable, flexible decor elements that you can swap with the seasons to keep your space feeling fresh and premium.
- Use small glass vials or test tubes as stems holders inside a wood base or glass tray. They look luxe and can hold seasonal twigs, dried flowers, or faux berries.
- Switch in and out elements to reflect fall, winter, or spring. For example, eucalyptus stems for a cool look, or pine and red berries for holidays.
- Store the extra stems in a labeled box so you can swap them in with ease and keep your space cohesive.
6) Playful Yet Polished Baking Station: The Capsule Kitchen Gallery
A compact, well-styled baking shelf is incredibly Pinterest-friendly. Here’s how to construct a small, affordable station that looks curated and ready for dessert photos.
- Set a shallow shelf against a backsplash line or on a kitchen island. A couple of small bins for measuring spoons and packets keep the surface clean.
- Use the airtight jars described earlier for dry ingredients. Layer a uniform height arrangement along the back row for depth in photos.
- Add a tiny chalkboard label with a simple, elegant font to indicate essentials like “Sugar,” “Flour,” and “Brown Sugar.”
- Top with a modest potted herb and a small tray of baking accessories to complete the story.
FAQ: Budget-Friendly Kitchen Decor That Looks Luxe
How can I recreate a high-end kitchen look on a tight budget?
Start with a few statement pieces (a rustic wood element, a stylish glass jar collection, a chic paper napkin holder) and build around them. Keep colors cohesive, use matte finishes, and allow imperfect textures to read as intentional. Pin the before-and-after shots to prove the transformation—and your followers will love the journey.
What small changes can make a big visual difference in photos?
Texture is your friend. Mix matte paints with natural wood and glass, keep lines clean, and stage items on a simple surface with good light. A single dramatic accent (like a gold-tinished trim on a mat black holder) catches the eye in a scroll-stopping image.
Which materials read as “high-end” ?
Matte blacks, warm wood tones, frosted or clear glass, and subtle metallic accents (gold or brass) tend to photograph well and read as luxe on a budget. Avoid overly glossy plastics and you’ll keep the premium vibe.
What are some quick, budget-friendly upgrades that still feel luxe?
A few items can accomplish a lot: a rustic wood piece with a matte seal, a set of uniform glass jars with curated labels, and a small, sophisticated accessory like a gilded napkin holder or a black-and-bronze napkin stand. The key is consistency and restraint—don’t overdo the metallics or textures.
7) Final Flourish: Put It All Together for Your Personal “Scandinavian-Coastal, Rustic-Luxe” Kitchen
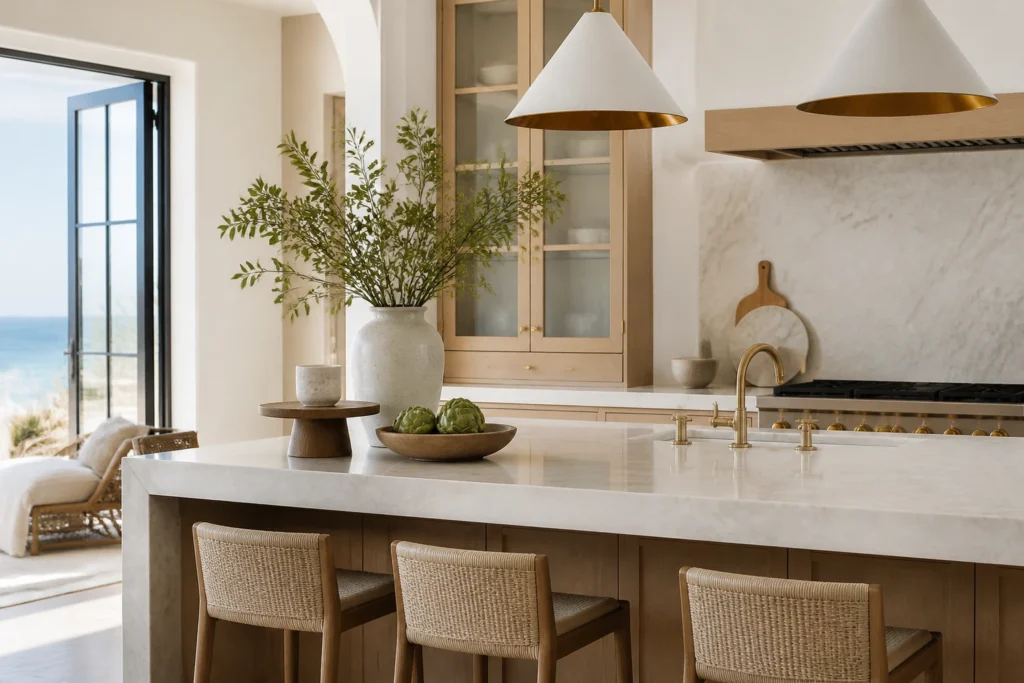
Now that you’ve built a few core pieces and a handful of small upgrades, it’s time to curate your own cohesive kitchen vignette. The secret sauce is repetition with intent: repeat finishes, materials, and color families across different pieces to achieve that high-end look without the shopping spree.
- Keep surfaces uncluttered. A clean canvas makes the artful pieces pop and ensures your space reads as intentional, not cluttered.
- Play with height. Use stands, small pedestals, or shoehorned booklets to create vertical interest that photographs beautifully.
- Switch out seasonal accents. A few new stems, a different label set, or a revised tray arrangement can transform the mood in seconds.
This approach creates a space that feels curated, thoughtful, and uniquely you—all on a budget. The beauty of these projects is their adaptability: you can mix-and-match, upgrade gradually, and still maintain a cohesive kitchen story that shines in photos.
Conclusion: Pin This Look, Make It Yours
If you loved these ideas, you’re not alone—the Pinterest crowd adores a practical, stylish, and inexpensive kitchen upgrade. The best part is you can steal this look one piece at a time: start with a statement wood element, frame your jars with elegant labels, and finish with a few small, high-end touches like a gilded napkin holder or a lacquered paper-towel stand. Keep your palette cohesive, your textures varied, and your photos bright and inviting. Pin-worthy, affordable, and completely doable—your dream kitchen decor is just a few clicks away.
Remember: you’re more powerful than you think. With a little DIY spirit and a clear vision, you can create a kitchen that looks expertly curated—without the designer price tag. Thanks for hanging out, friend. See you next time for more budget-friendly, high-end vibes you can actually recreate at home.