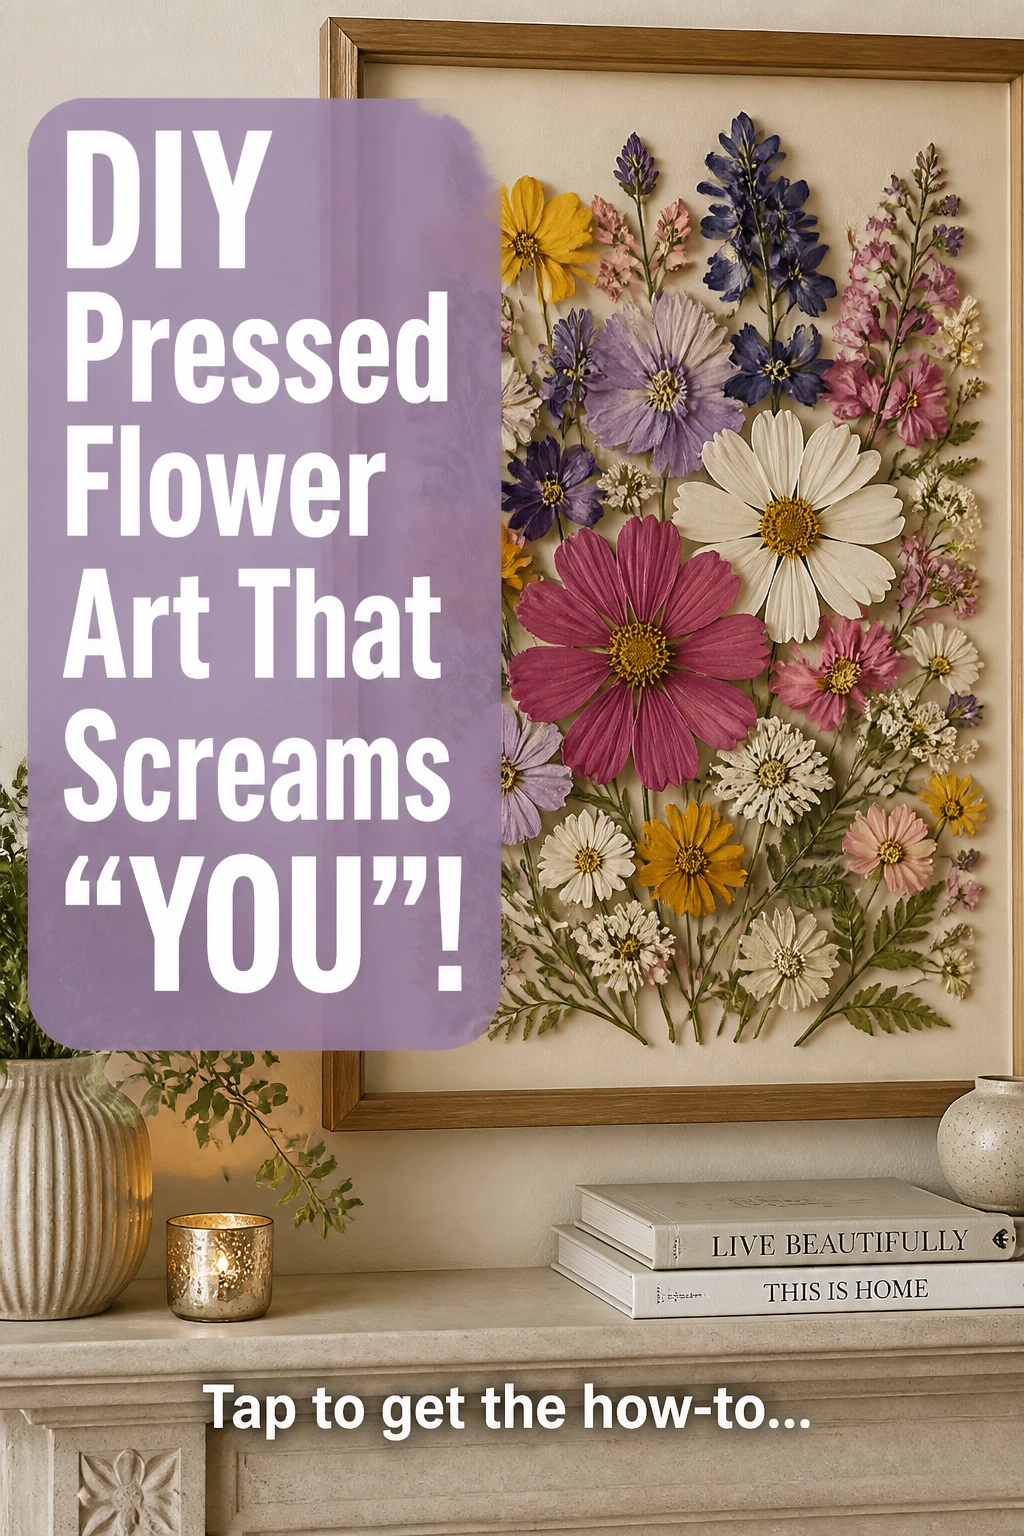
If you’re itching to turn delicate florals into glossy, glassy keepsakes in minutes, you’ve landed in the right cozy corner. This playful, rule‑breaking method proves you can press flowers with a microwave and still end up with art that looks and feels magical. Ready to shop your kitchen for craft gold? Let’s dive in and make something you’ll want to pin, again and again.
Quick-Press Magic: How to Press Flowers in the Microwave Like a Pro
Pressed florals can feel fussy, but not with this speedy technique. You’ll learn how to prep blooms, stack them with care, and coax every petal into a flat, dry dream under just the right amount of heat. This is the kind of DIY that makes busy days feel achievable—no long wait times, no special equipment required.
Essentials That Make It Work
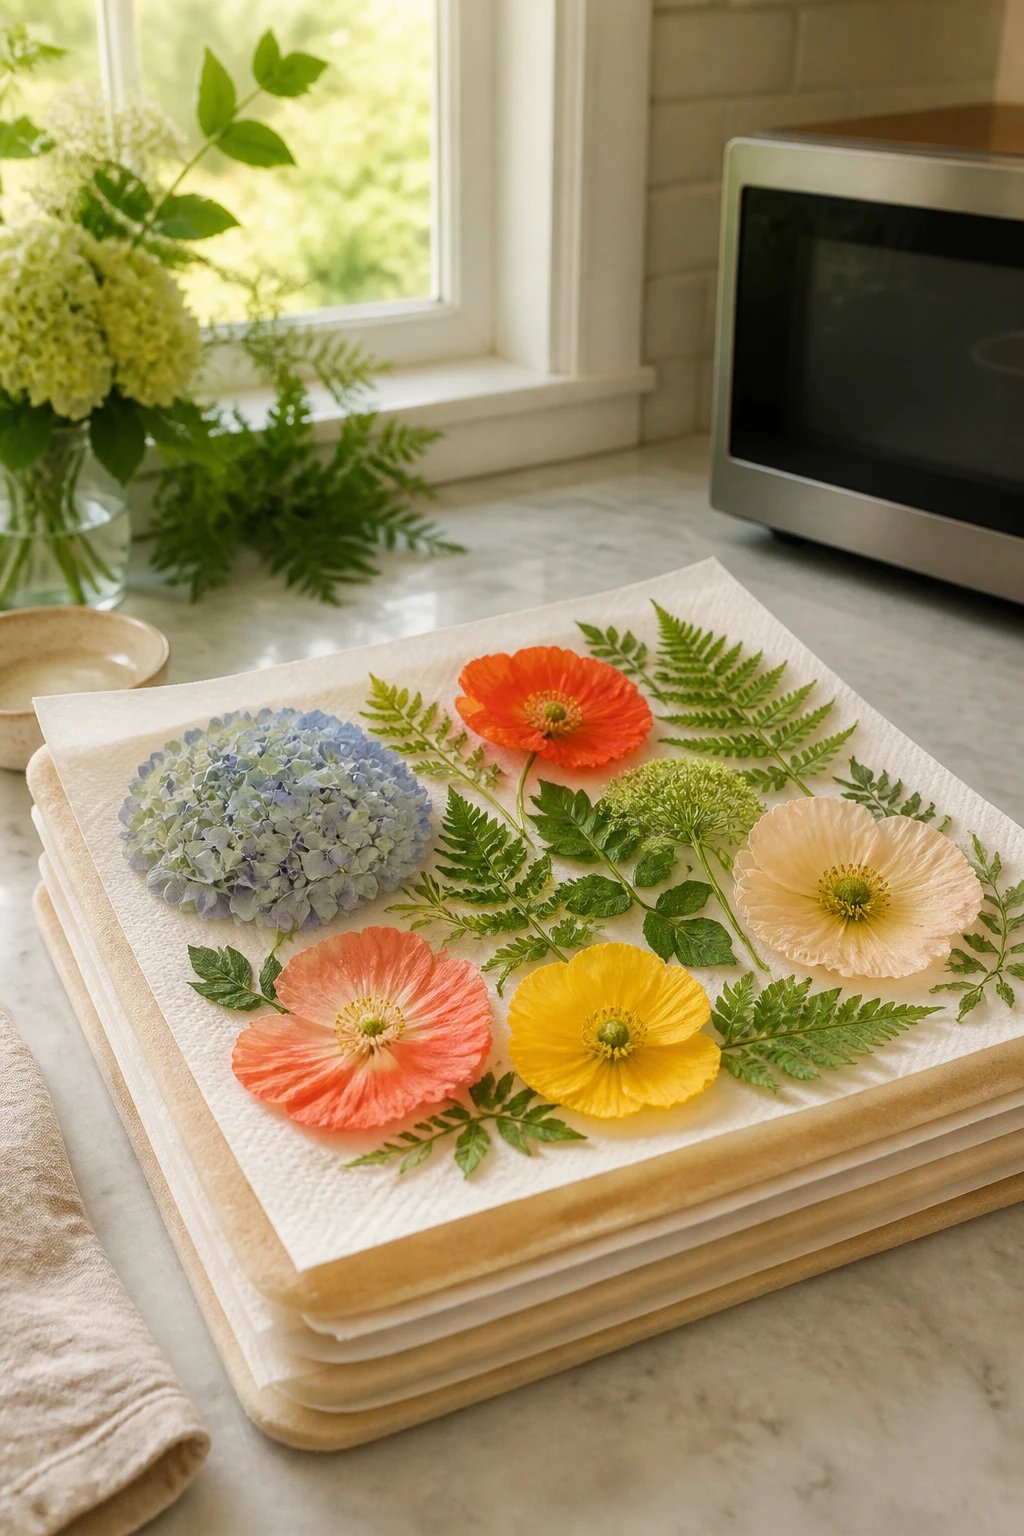
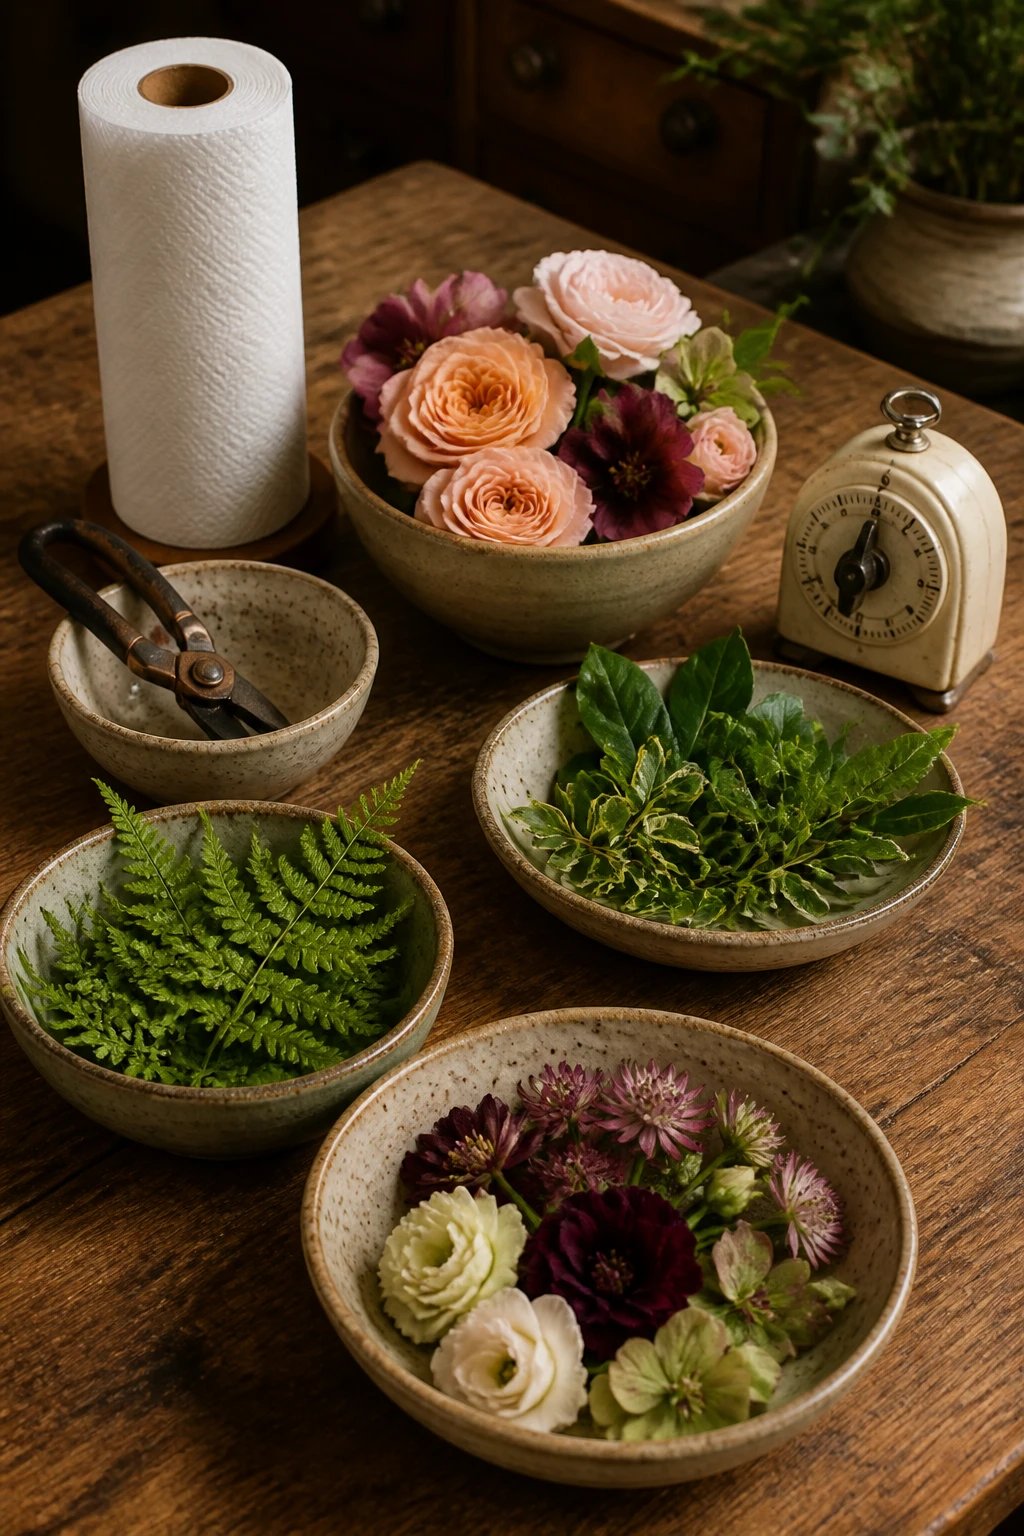
– Clip a mix of blooms, plus a few leaves and ferns for natural filler. The greenery adds depth and texture, so your pieces don’t look flat.
– Cut blooms close to the base, and for plump flowers like roses, push out the center petals to flatten the face. This little trick keeps everything smooth as it presses.
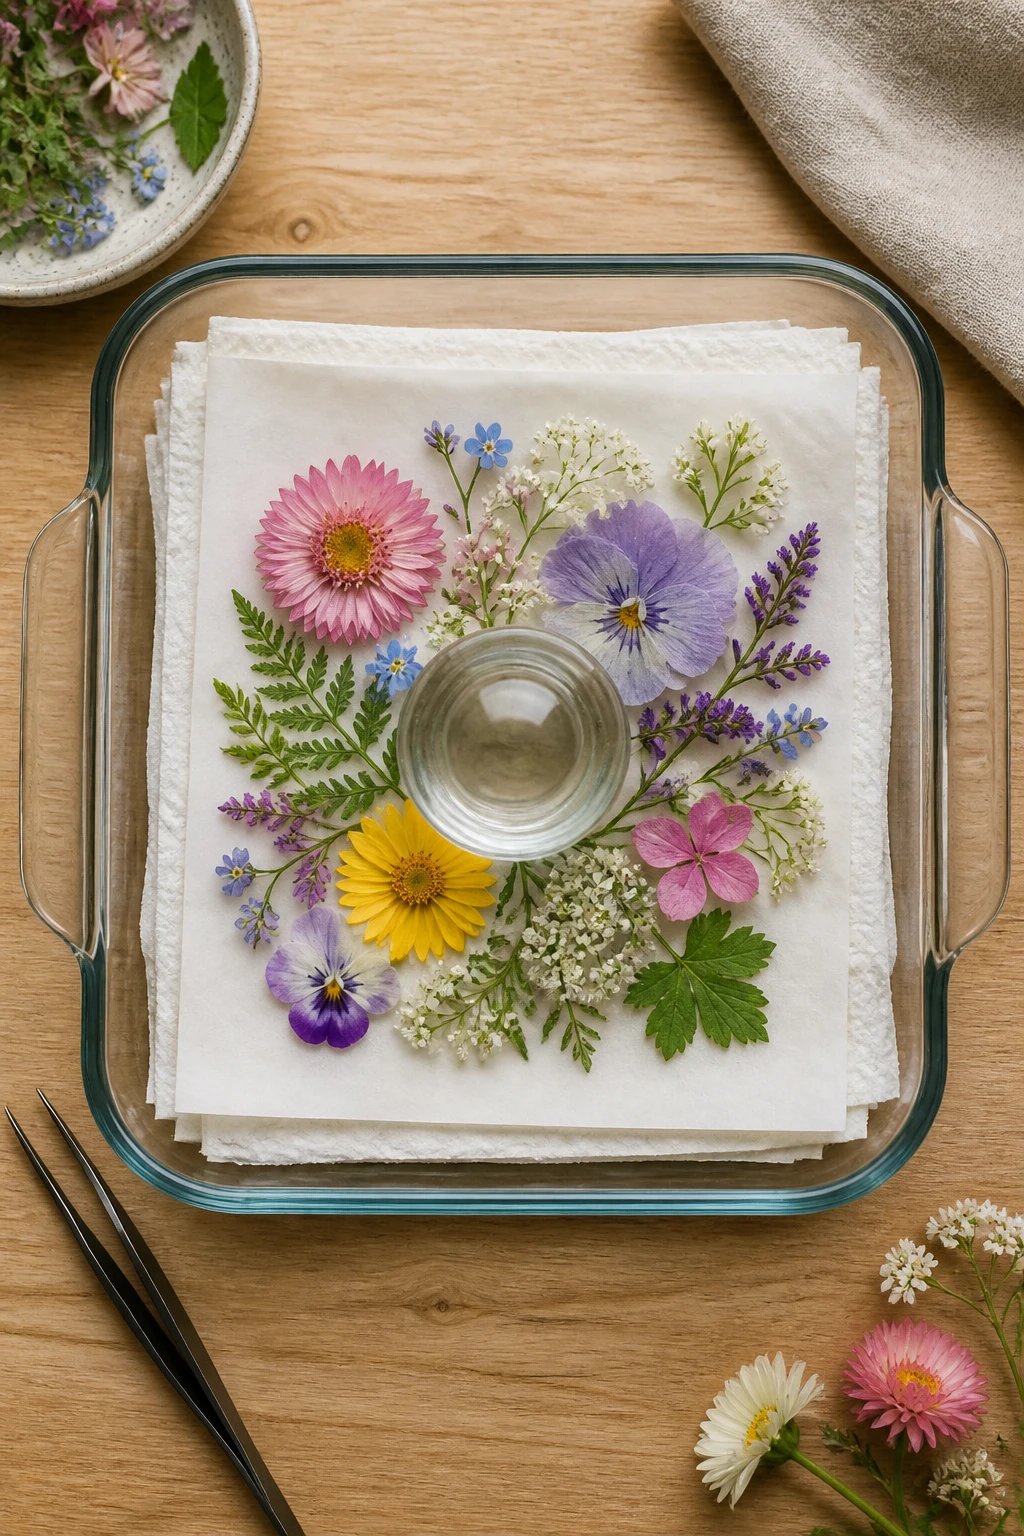
– Layer your materials between paper towels, then add a weight. A microwave‑safe casserole dish is perfect, but a ceramic tile or a brick works too. Just don’t press—let the weight do the work.
– Start with a short burst of heat. A minute on the defrost setting, then 30‑second checks, helps you tailor the timing to each bloom. Smaller blooms usually need less time; larger ones, more.
– After pressing, you can press them again under a book or flatten with a single clean layer of wax paper for a crisp, even finish.
Color Confidence: Which Flowers Shine in the Microwave
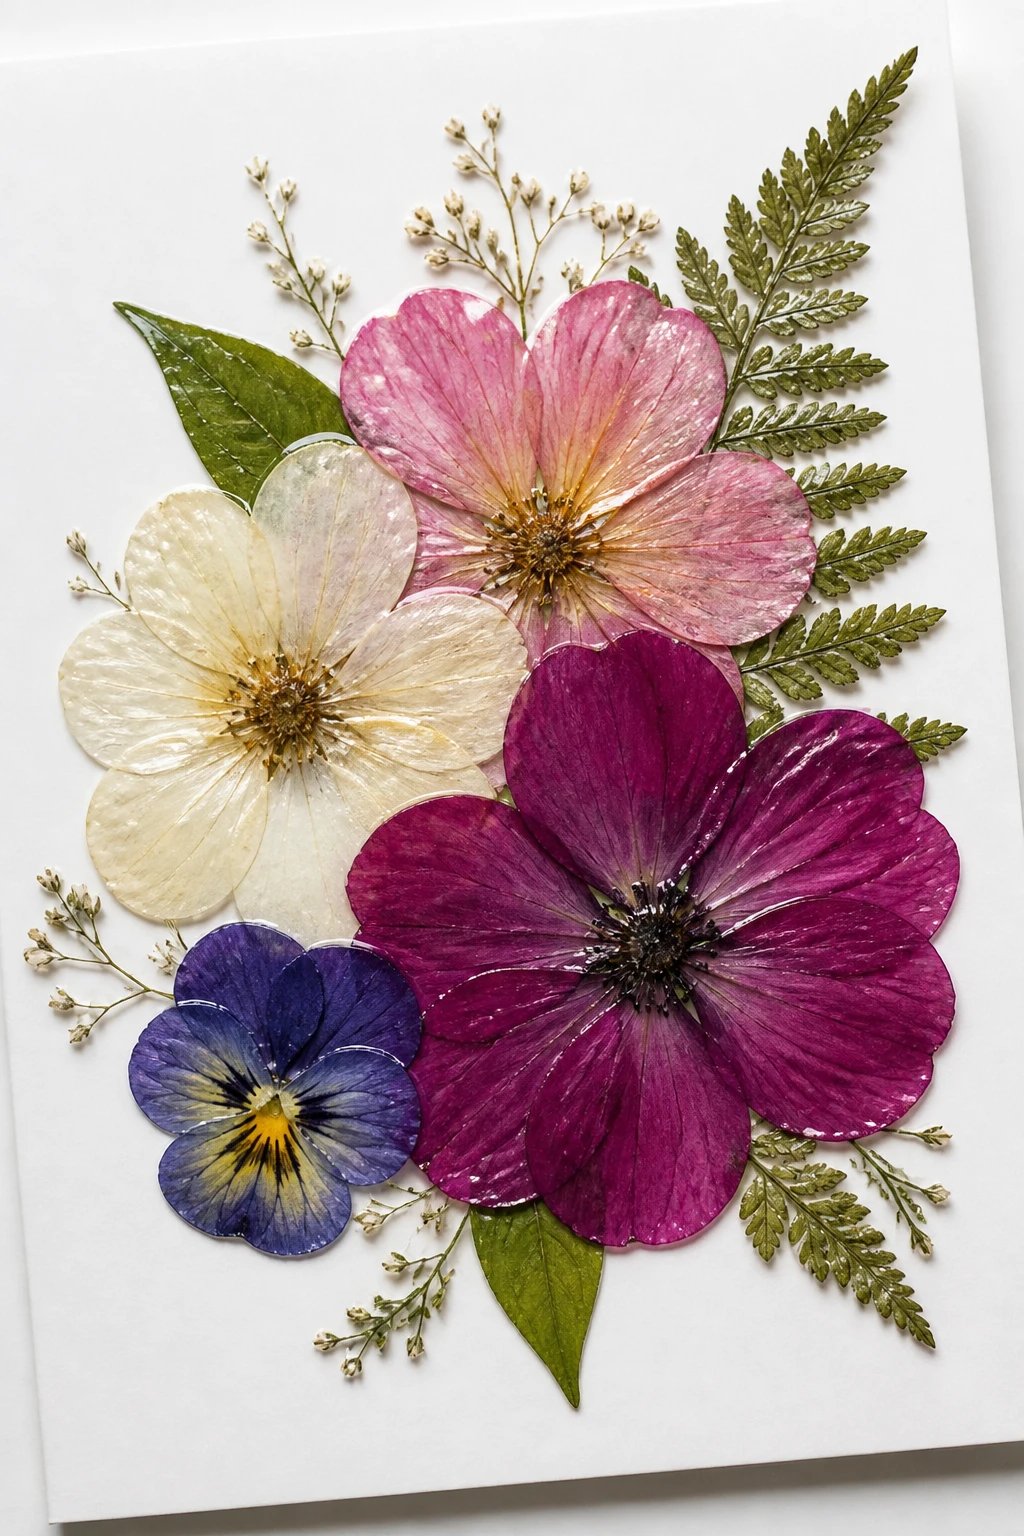
Not every blossom loves a microwave moment. The color story matters: vivid petals hold up best, while whites can shift a bit. This is your chance to curate a color‑savvy bouquet that translates beautifully into wall art, tags, or jewelry‑style pieces.
Tips for Bright, Beautiful Results
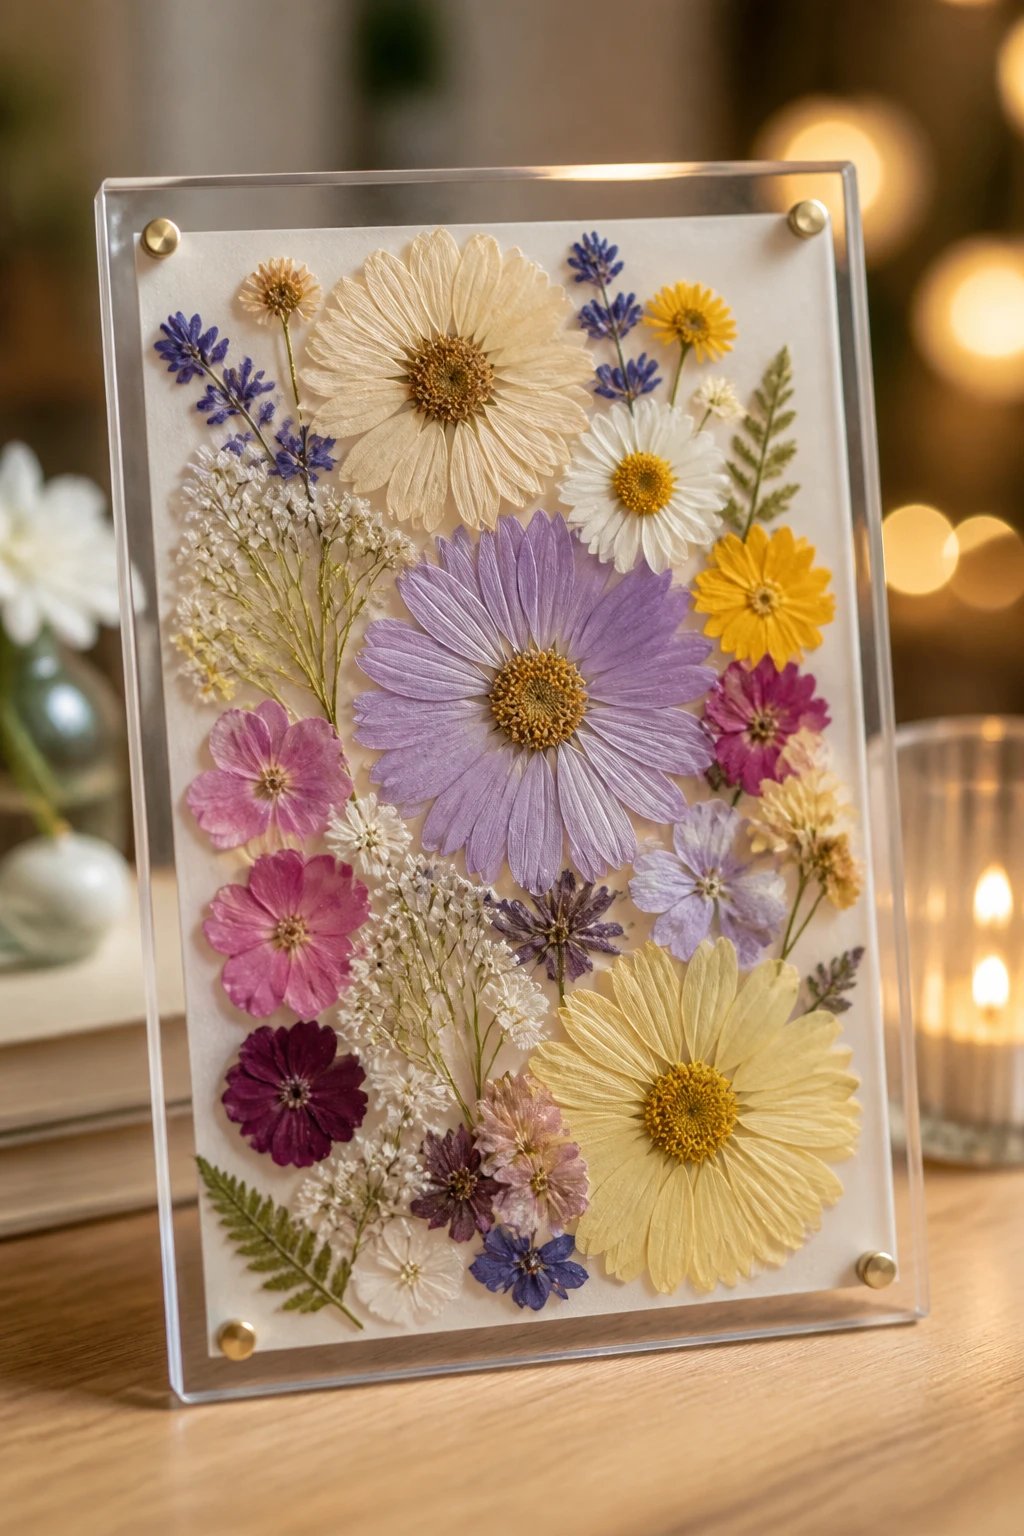
– Mix colors and sizes for a dynamic, collage‑like effect. Variety keeps the piece lively and eye‑catching.
– Be mindful of whites. They can brown or dull after microwaving, so test a small sample first if your palette leans toward pale petals.
– Don’t forget the stems and ferns. They translate beautifully into monograms, tags, and mini botanical frames.
From Flat Blooms to Fabulous Displays: DIY Projects You’ll Want to Pin
Pressed flowers aren’t just pretty—they’re incredibly versatile. Here are some high‑impact ideas you can copy, save, and adapt for every season.
1) Floral Monograms: Personalize Your Space
Take a float frame, stretch two layers of white voile or “tool” around it, then reassemble the frame. Arrange pressed blooms to form a striking letter or initial—think “H” for handmade, or your family name. It’s a delicate, chic focal point that feels custom but still totally doable.
2) Gorgeous Gift Tags: Tiny Touches, Big Wow
Thick cardstock tags become little canvases for pressed petals. Glue down your blooms, then seal with a couple of coats of glue to protect during handling. It’s a charming way to elevate gift wrap and give your presents a boutique vibe.
3) Pressed Flower Gift Boxes: Decor Your Paper Goods
Dress up plain craft boxes with pressed florals for a cohesive, high-end look. A little glue and sealant go a long way toward creating a coordinated gift set that feels thoughtful and luxury.
4) Four Pretty Phone Case Looks: Your Case, Your Garden
This is where you get to “steal this look” from the pages of a magazine and apply it to your phone. Clean the case, lay out a rainbow of petals and leaves, then secure with a clear adhesive. Add resin to seal everything in—and yes, you’ll want to try a few styles: a full floral scene, a single dramatic bloom, a tiny landscape, or a classic, simple accent. It’s like carrying a little garden with you everywhere you go.
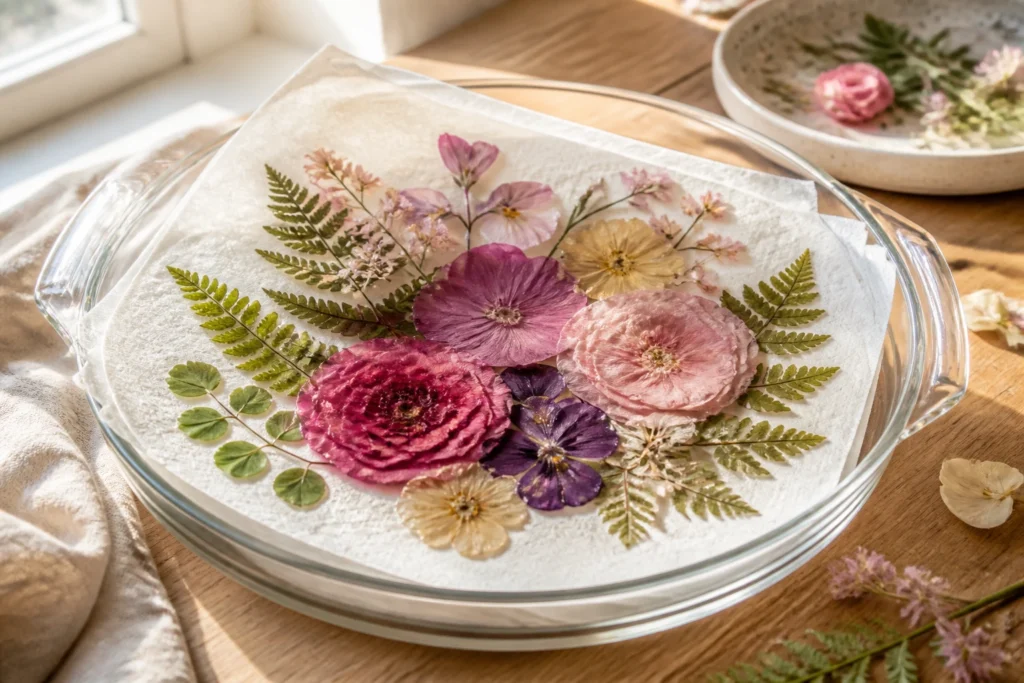
5) Resin Magic: Epoxy for Depth and Shine
Resin can be a touch intimidating, but it’s also the most transformative element here. Choose a clear, non‑yellowing two‑part epoxy, mix precisely, and pour in layers to avoid bubbles. You’ll get durable, glossy pieces that resist fingerprints and look like they came from a fancy studio. Pro tip: pour small dollops of resin and spread with a toothpick, then watch for any air pockets and pop them as they appear.
Resin Layouts, Gold Flakes, and the Art of Quiet Confidence
If you want a little extra sparkle, add gold leaf flakes to your resin before pouring into molds. It creates confetti‑bright pockets that catch the light and make your pieces feel one‑of‑a‑kind. Adjust the flakes after pouring to balance the composition. And yes, patience matters here—let the resin cure fully before you remove from molds to avoid dings and warps.
Bookmarks: Tiny Keepsakes with Big Impact
Iced in gold flecks and dried blooms, these bookmarks are the perfect project to finish a reading month with style. The trick is to lay out your design first, then pour resin. If you’re unsure, arrange for balance, and you’ll thank yourself later when you see the finished piece peeking out from your favorite novel.
Resin Essentials: What You Need To Gather Before You Start
– A reliable, non‑yellowing two‑part epoxy kit. Check for curing times and safety data, especially if you’re new to resin.
– Disposable cups and wooden stir sticks. Accuracy matters, so measure precisely and stir slowly to avoid air pockets.
– Gloves and a protected workspace. Resin is messy, so prepare with a cover and good ventilation.
– Tweezers for delicate placement. Small tools help you handle tiny petals without smudging or bending.
Care and Curation: How to Preserve Your Pressed Flowers Long‑Term
Once your projects are complete, protect them with a light sealant if you want extra durability, or simply frame, gift, or add to a journal. Pressed botanicals love a little sunlight, but direct sun can fade some colors over time. Treat them like you would a delicate print: handle with care and display thoughtfully.
Decor, DIY, and the “No Rules” Mindset
This method is all about creative freedom. It’s not about perfect perfection; it’s about collecting memories, textures, and color stories in a way that fits your home aesthetic. Mix petal shapes, contrast colors, and layer elements to build something that reflects your vibe. The most Pinterest‑worthy pieces are often the ones that feel personal, a little imperfect, and absolutely you.
Frequently Asked Questions (FAQ)
What’s the easiest flower to press in a microwave?
Roses and daisies are reliable favorites because they break into flat, crisp layers without too much fuss. Start with petals that lay flat, then build out with a few complementary greens for extra texture.
How do I avoid white flowers turning brown after microwaving?
Test a small sample first, and consider pairing whites with brighter, bolder colors. White flowers can discolor, so plan for them in smaller accents or as part of a more saturated palette.
Can I press multiple flowers at once in the microwave?
Yes—just ensure you have even weight and space between blooms to prevent overlap. If some are bulkier, press them on their own or trim to keep everything flat.
How long does resin take to cure, and how should I store finished pieces?
Most resins set in hours and cure completely by the next day. Store finished pieces away from direct sunlight to preserve color and gloss, and keep them in a cool, dry place.
Is resin toxic or messy to work with?
Always wear gloves and work in a well‑ventilated area. Clean spills with appropriate solvents recommended by your resin kit, and keep a dedicated workspace to minimize cleanup headaches.
Can I reuse old frames or templates for monograms?
Absolutely. Reuse frames, stabilize torn or frayed textiles with a little glue, and you’ll have a custom piece that looks high‑end but feels DIY.
Conclusion: Embrace the Joy of No Rules, Just Roses
Pressed flower art in a microwave isn’t just a craft trick—it’s a playful invitation to remix your home, your gifts, and your personal style. The vibe is accessible, the results feel museum‑worthy, and the process is satisfying in all the best ways. Pin this guide, gather a bouquet of colors, and let your creativity bloom on the journey from petals to polished pieces. Your next favorite project is just a microwave minute away.