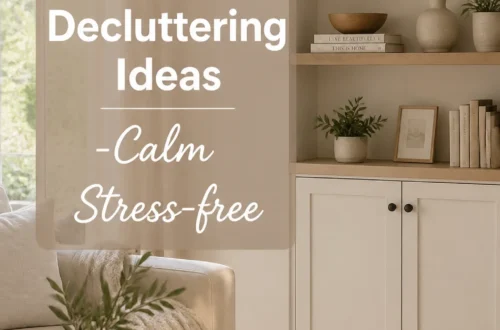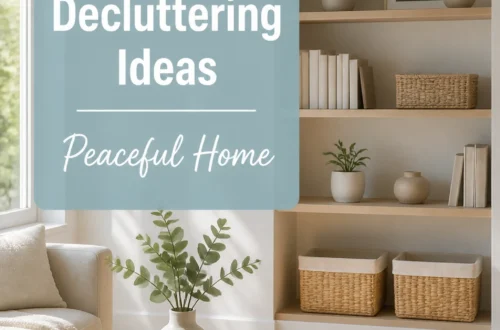
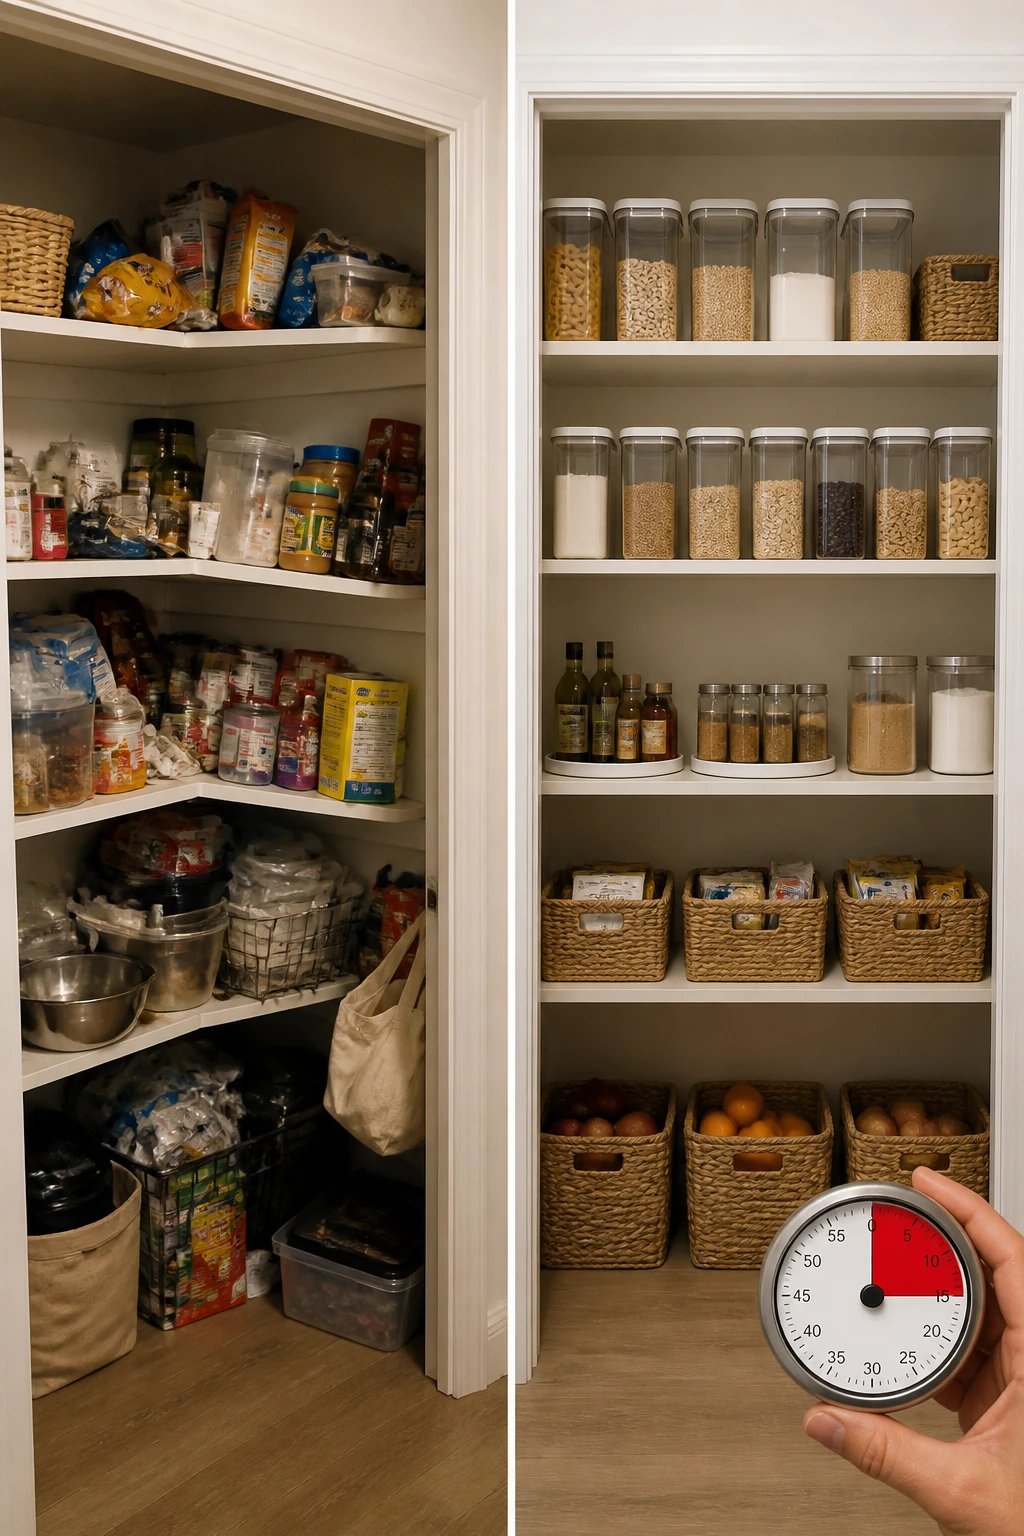
Want a pantry that sparks joy in under 15 minutes? This playful, practical guide takes the core ideas from a relatable decluttering moment and turns them into a stylish, Pinterest‑worthy routine you can actually do. No more stalking bulky shelves or buying duplicates of the same crackers. Just a quick purge, smart storage, and a little panache that makes your kitchen feel new again. Ready to transform your food storage into a visually delightful, easy‑to‑navigate haven? Let’s go.
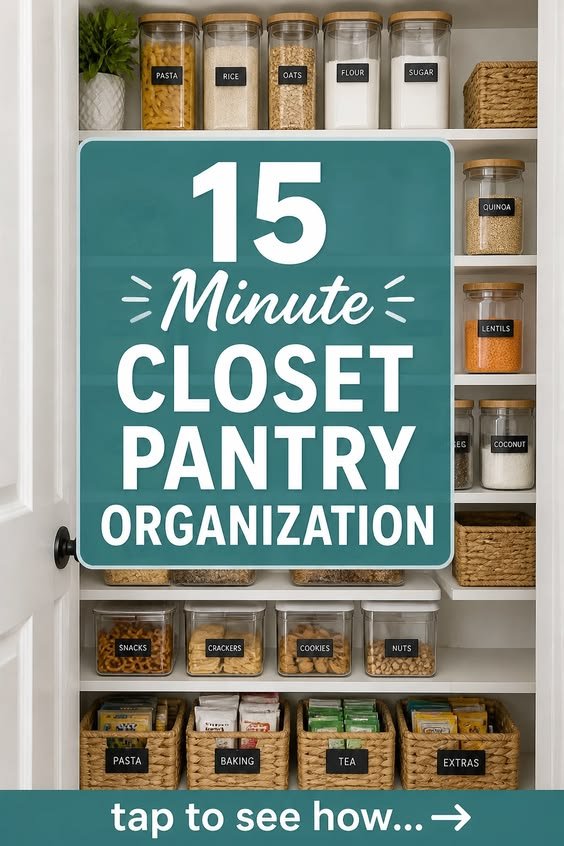
1) Quick Kickoff: 15‑Minute Pantry Purge for Maximum Impact
Set a timer, grab a box, and start small. The goal is to identify what you’re actually going to eat, what’s expired, and what’s been hiding in plain sight. Yes, even unopened items can go if they’ve outstayed their welcome or don’t fit your current menu plan. This isn’t about perfection; it’s about reclaiming space and clarity in under a quarter of an hour. Pin this as your “15 minute purge” routine and repeat weekly or monthly.
Think of it as a rapid‑fire inventory: check dates, sniff for flavor fatigue, and yes, donate what’s unopened but not something you’ll realistically use. A lighter pantry is easier to maintain—and it looks gorgeous in time‑lapse videos you’ll want to recreate.
2) Smart Pantry Redesign: Built‑In Style Storage On a Budget
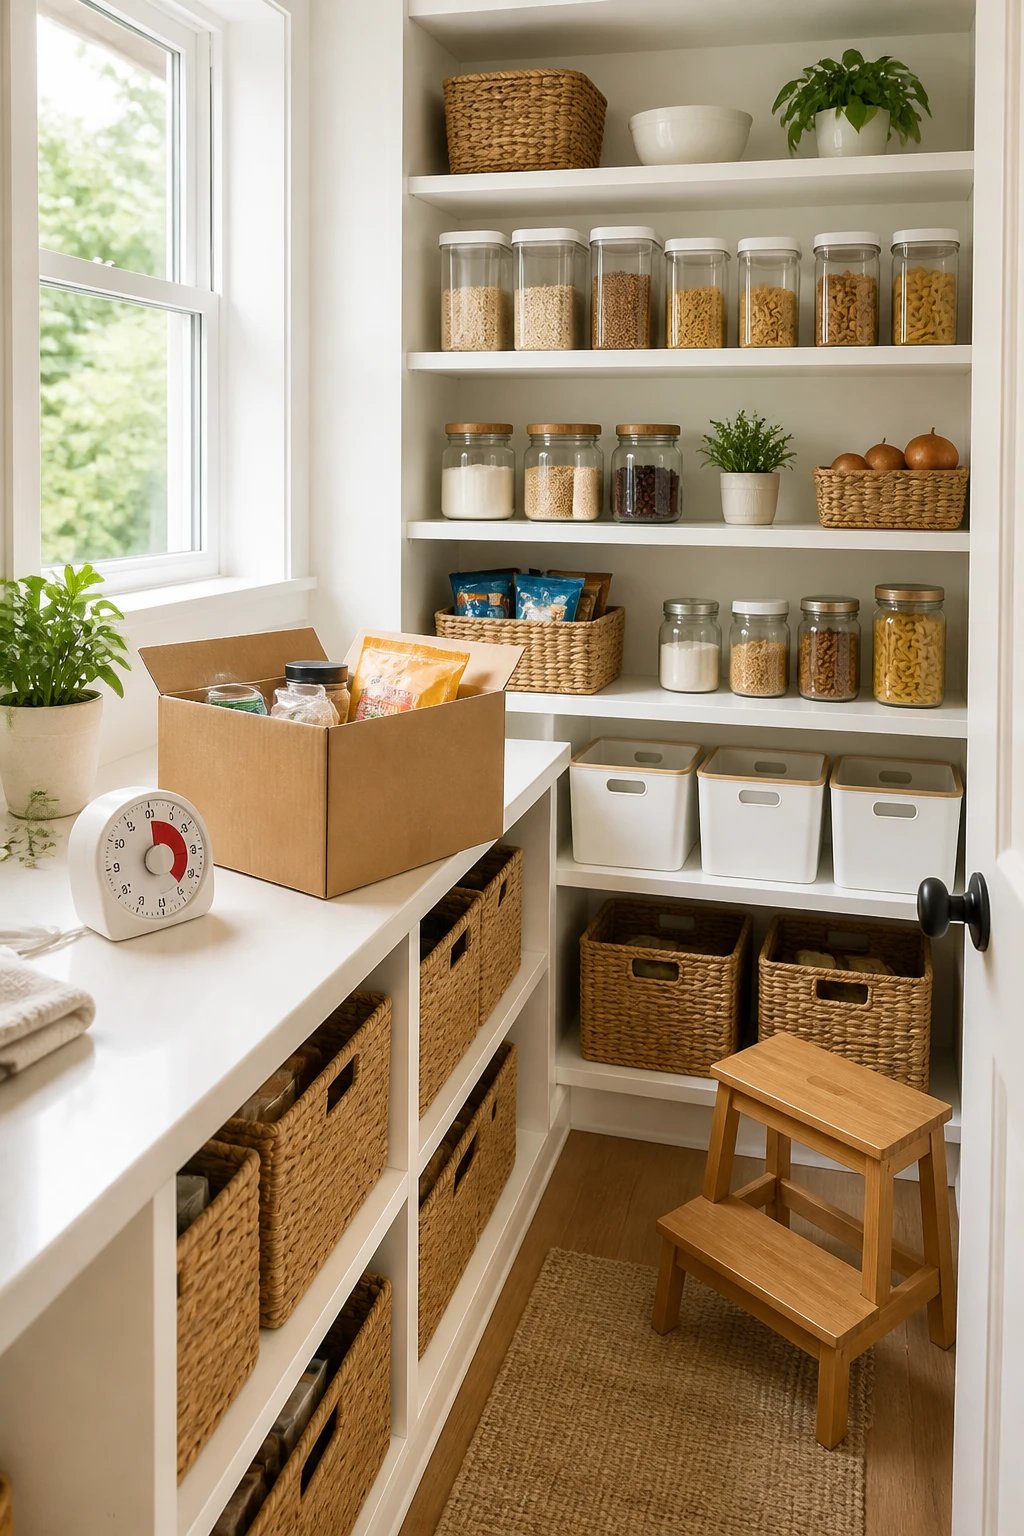
Even if your kitchen is compact, smart organization can maximize every inch. Consider a built‑in vibe with wall space that’s been gifted unused corners or a shallow redesign that slides into a wall cavity. If you don’t have a pantry, pivot to the most visible food storage zones in your cabinets and reframe them as “pantry zones” with intention. The aesthetic here is clean lines, accessible fronts, and clear labeling. Pinworthy tip: opt for wire organizers and tiered racks to see and reach everything without digging.
Visual cue: install adjustable or modular containers so you can adapt as your recipes evolve. A pull‑out bread tray, a designated cracker bin, and a spice corner can transform the whole room from clutter to calm.
3) The Art of Purge and Donate: How to Decide What Stays
This is the emotionally honest part: it’s easy to hang on to “maybe someday” foods. But the magic happens when you decide what you’re truly likely to eat in the next few weeks. Unopened items that don’t fit your current eating plan can bless someone else’s pantry—think local food banks or neighbors. Expired crackers, stale snacks, and items you’ll never touch make space for what you actually enjoy. Pin this as a guideline: if you wouldn’t buy it again today, it’s probably not worth keeping.
Pro tip: keep a running list of staples you’ll actually use, so you don’t overspend on impulse buys. Use categorized bins so your brain can “see” the food categories at a glance.
4) Containers That Save Counter Space—and Your Sanity
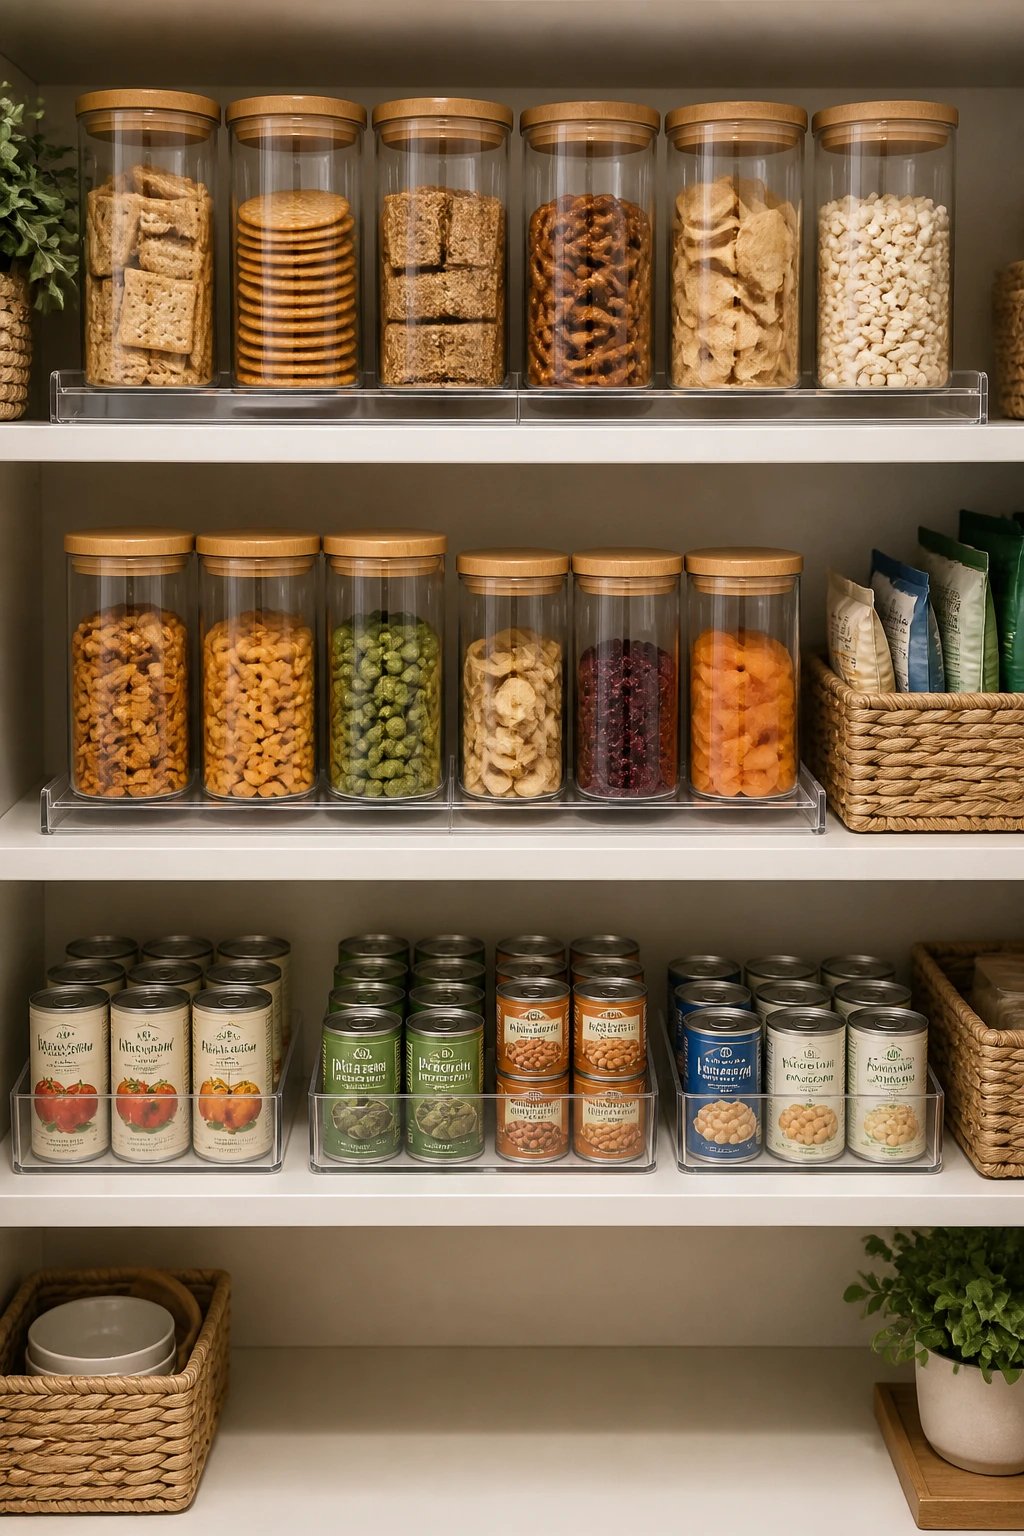
Crackers deserve their own spot, bread deserves a pull‑out, and cans deserve visibility. Dollar‑store finds can be surprisingly effective when you’re aiming for a cohesive look and practical function. Use clear containers for dry goods, layered can dispensers for canned favorites, and a tiered rack to maximize depth. The payoff? A pantry that breathes. You can actually see what you have, which means fewer impulse buys and more intentional meals. Pin this “drawer‑worthy” setup for your next kitchen makeover.
Smart can organization
– Use a tiered rack so cans in the back don’t get buried.
– Group by type (vegetables, soups, sauces) to speed cooking.
– Label with short, legible tags for quick scanning.
Cracker and snack storage
– Store crackers in clear, flat bins to keep stacks tidy.
– Keep spreads nearby in a small pull‑out or cabinet tray.
5) The “Bread in a Drawer” Trick: Keeping Baked Goods Fresh and Accessible
Sound fancy? It’s simple and incredibly effective: dedicate a shallow pull‑out or bin specifically for bread and spreads. This keeps your countertop clear and your bread from going stale. It’s the kind of small tweak that feels luxurious in photos and saves you minutes every morning when you’re rushing to breakfast. Pin this setup as “steal this look.”
6) Finishing Touches: Tidy Baking and Snack Zones
After you’ve sorted the pantry itself, take a few minutes to tidy other food zones. The goal is a cohesive, homey system where every category has its own confident space. When you can see where things belong at a glance, you’ll naturally put them back in their rightful spots. This is your stage to show off a curated, photo‑worthy kitchen.
7) A Personal Note: The Power of Tiny Decisions
decluttering isn’t just about a clean shelf; it’s about reclaiming time and mental clarity. The process you start today can ripple through your week, your meals, and your mood. The creator behind this method believes in action over perfection—start small, celebrate the wins, and let the rest follow. Tiny decisions compound into big improvements, and that makes your kitchen look as good as it feels.
FAQ: Pantry Organization Q&A
How can I start if I don’t have a traditional pantry?
Start with the most visible storage spots in your kitchen. Use labeled bins or baskets in a deep cabinet and add a photo label for quick recognition. Turn under‑sink or high shelves into “pantry zones” with pull‑out organizers so everything remains reachable.
What should be the first thing to purge?
Expired items should be the first to go, followed by foods you won’t realistically eat soon. Unopened products that have been sitting long past their prime can be donated. The goal is to create space for items you actually reach for.
Which storage solutions are best for a small pantry?
Clear containers, wire can dispensers, and adjustable shelves are your friends. Use vertical organizers to maximize depth, and label everything so you can scan your shelves in seconds. Pin this as your “small space, big impact” approach.
How do I keep this organized long‑term?
Institute a weekly 5‑minute reset: check dates, return items to their homes, and wipe down shelves. Rotate things so the oldest items are used first. A simple routine beats chaos every time.
What are some budget friendly, Pinterest‑worthy upgrades?
Dollar store containers with a clean, consistent color palette create a cohesive look. Add reusable labels, a slim bread bin, and a slim pull‑out for spreads. Consistency is the visual magic that makes photos pop.
Conclusion: Your 15 Minute Pantry Makeover, Ready to Pin
If you’ve ever wished for a pantry you’d actually want to photograph, this plan delivers. A 15‑minute purge, clever storage solutions, and a touch of personal flair come together to transform your kitchen mood in just one sitting. It’s not about chasing perfection; it’s about crafting a space that’s easy to maintain and genuinely beautiful to look at. Pin this routine, copy the idea, and steal the look for your own home. Your future, more organized pantry awaits.