Spring is officially here, and your home deserves a refresh that screams ‘happy’! Forget boring decor; we’re diving into 10 unbelievably easy and stylish ideas, complete with adorable DIY Easter crafts. Get ready to transform your space into a vibrant, cheerful haven that everyone will adore.
1. Embrace Fresh Blooms & DIY Charm
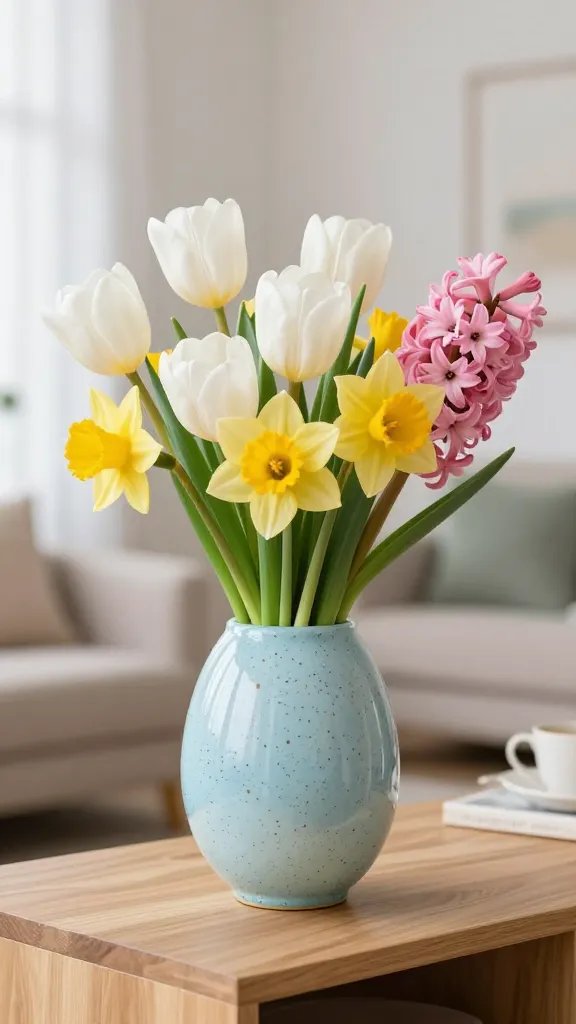
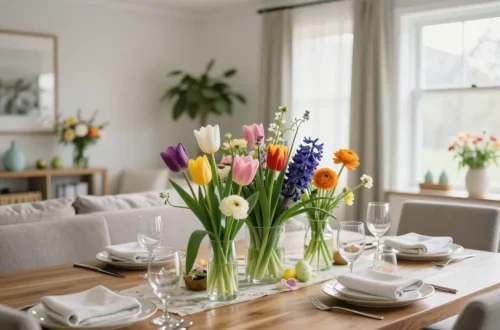
Nothing says “spring has sprung!” quite like a burst of fresh flowers. They instantly brighten any room, adding natural beauty and a lovely fragrance. Why settle for a generic vase when you can craft your own?
DIY Speckled Egg Vase
Elevate your floral display with a vase that whispers springtime elegance. This simple craft turns an ordinary glass vessel into a focal point.
- Materials: A plain glass vase, craft paint in pastel shades (like robin’s egg blue or soft green), a small paintbrush, a stiff-bristled toothbrush, and a piece of cardboard or newspaper to protect your workspace.
- How-To: First, paint your vase a solid pastel color and let it dry completely. Once dry, dip the toothbrush bristles into a contrasting paint color (a darker speckle looks great). Hold the toothbrush a few inches from the vase and run your thumb across the bristles to create small paint splatters. Repeat until you achieve your desired speckled effect.
This personalized vase makes your flowers feel extra special and looks fantastic on a mantel or dining table. It’s a subtle nod to Easter without being overtly themed.
2. Pastel Power: A Color Palette Refresh
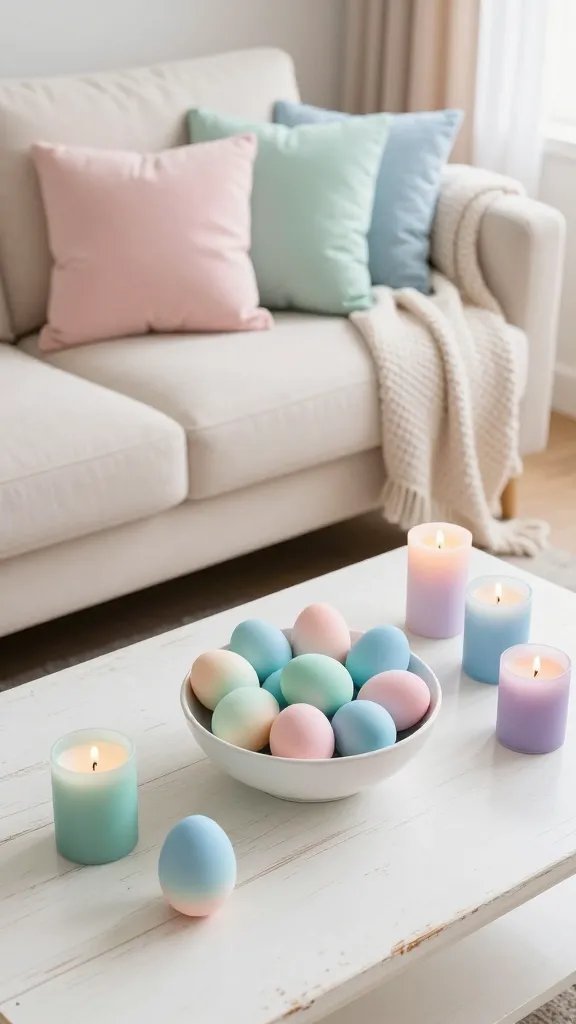
Spring is the season of soft, dreamy hues. Swapping out heavy winter colors for light pastels instantly brightens your home and creates an airy, welcoming feel. Think blush pinks, sky blues, mint greens, and soft lavenders.
You don’t need to repaint your entire house, seriously! Just a few key accents can make a huge difference. Incorporate these colors through throw pillows, blankets, candles, and, of course, some adorable Easter crafts.
DIY Ombre Easter Eggs
Move beyond single-color dyed eggs and create a stunning ombre effect that looks incredibly chic. These aren’t just for the kids; they’re decor!
- Materials: Hard-boiled eggs, food coloring (one color works best for ombre, like blue or pink), white vinegar, several small bowls, and a slotted spoon.
- How-To: Mix your dye bath: 1 cup hot water, 1 teaspoon white vinegar, and 10-20 drops of food coloring in your first bowl (this will be your darkest shade). For the next bowl, use fewer drops, and so on, creating progressively lighter shades. Submerge an egg in the darkest dye for 5 minutes, then move it to the next lightest for 5 minutes, and continue until it’s been in all the shades.
Arrange these beautiful eggs in a bowl or on a tiered tray for a sophisticated Easter display. They add a pop of color and artisanal charm to any surface.
3. Bring the Garden Indoors: Greenery Galore
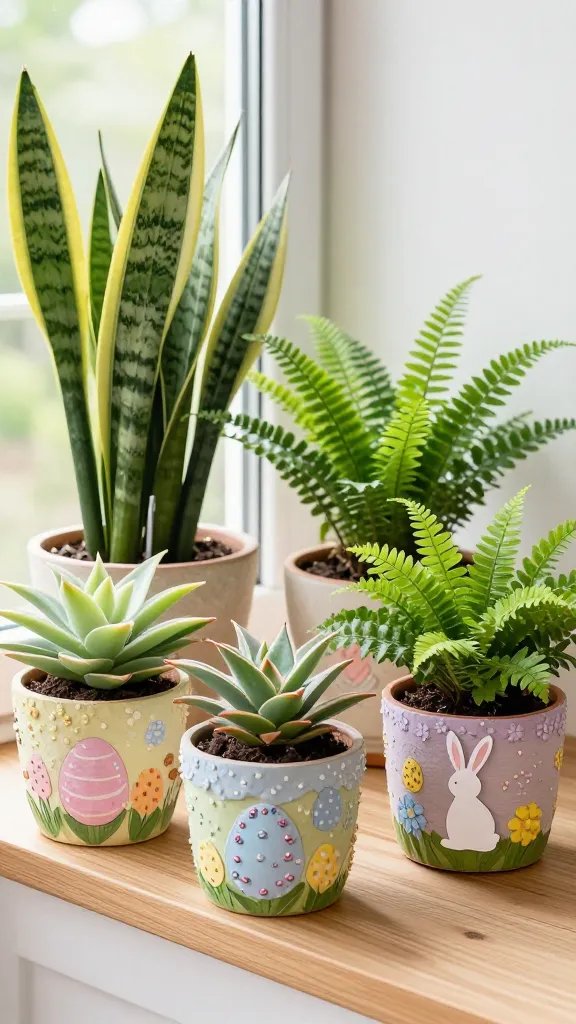
Beyond cut flowers, integrating potted plants and vibrant greenery is a fantastic way to bring life and freshness into your home. They purify the air and add a calming, natural element. Choose plants that are easy to care for, like snake plants, ZZ plants, or small ferns.
Don’t just stick them in any old pot! A little DIY magic can make your greenery even more appealing.
DIY Decoupage Plant Pots
Give your houseplants a spring makeover with custom-decorated pots. This is a super fun way to use up pretty paper napkins or fabric scraps.
- Materials: Terra cotta pots (various sizes), white craft paint, Mod Podge (matte or gloss), pretty paper napkins (with spring patterns), a paintbrush, and scissors.
- How-To: Paint your pots white and let them dry. Separate the patterned layer of your napkins (they usually have 2-3 layers). Cut or tear out desired patterns. Apply a thin layer of Mod Podge to a section of the pot, carefully place your napkin piece, and then brush another thin layer of Mod Podge over the top, smoothing out any bubbles. Repeat until your pot is covered.
These personalized pots instantly upgrade your plant game, making your indoor garden feel cohesive and stylish. They’re perfect for windowsills, shelves, or even as a centerpiece.
4. Light & Airy Textiles: Swap Out the Heavy Stuff
Heavy velvet throws and chunky knit blankets feel amazing in winter, but spring calls for something lighter. Swap them out for breathable fabrics like linen, cotton, and light knits in those lovely pastel shades we talked about earlier. These textiles make your space feel open and breezy.
Think about updating your throw pillows, curtains, and even table linens. A simple change of fabric can dramatically alter the mood of a room. Why not make some of your own?
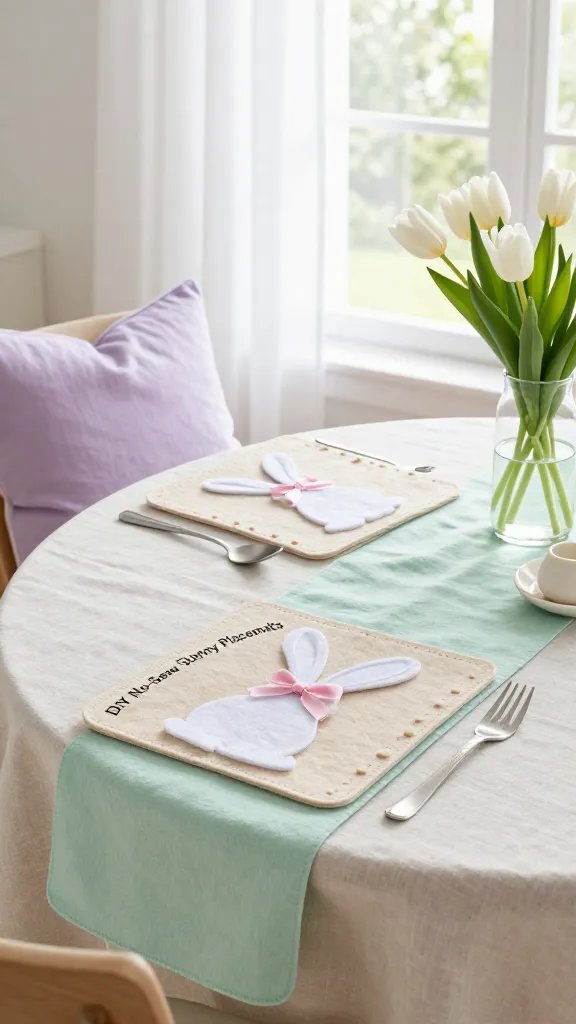
DIY No-Sew Bunny Placemats
Set a whimsical and inviting Easter table with these adorable, easy-to-make placemats. No sewing machine required, FYI!
- Materials: Light-colored felt (white, cream, or pastel), fabric scissors, a bunny ear template (you can print one online), and fabric glue.
- How-To: Cut your felt into rectangular placemat shapes (approx. 12×18 inches). Trace and cut out two bunny ear shapes for each placemat from the felt. Use fabric glue to attach the base of the bunny ears to one end of each placemat, making them stand up slightly. Allow to dry completely.
These placemats add a touch of playful charm to your Easter brunch or dinner, making your guests smile before they even take a bite. They’re reusable and super cute!
5. Whimsical Wreaths: Greet Guests with Spring Cheer
A wreath isn’t just for Christmas, trust me! A beautiful spring wreath on your front door sets the tone for your entire home, welcoming guests with a burst of seasonal cheer. Forget expensive store-bought options; a DIY wreath is far more personal and often more charming.
Choose natural elements like faux flowers, greenery, and maybe a few Easter-specific touches to create a truly unique piece.
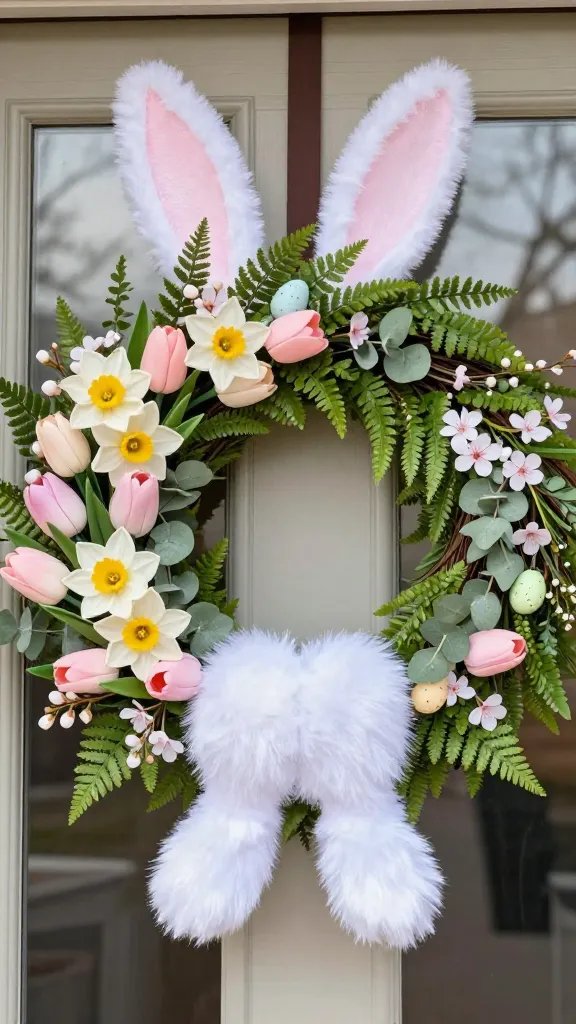
DIY Bunny Butt Wreath
Yes, you read that right! This wreath is undeniably cute and brings a touch of humor to your front door. It’s a guaranteed conversation starter.
- Materials: A grapevine wreath, faux bunny ears (available at craft stores or dollar stores), faux bunny tail (a large white pom-pom works perfectly), floral wire, hot glue gun, and optional faux flowers or greenery.
- How-To: Position the bunny ears at the top of the wreath and secure them with floral wire or hot glue. Attach the bunny tail to the bottom-center of the wreath with hot glue, making it look like a bunny is diving into the wreath. If desired, tuck in some faux flowers or greenery around the ears and tail for extra embellishment.
This playful wreath is perfect for Easter and will bring a smile to everyone who passes by. It’s a delightful way to show off your festive spirit!
6. Tiered Tray Magic: The Ultimate Display
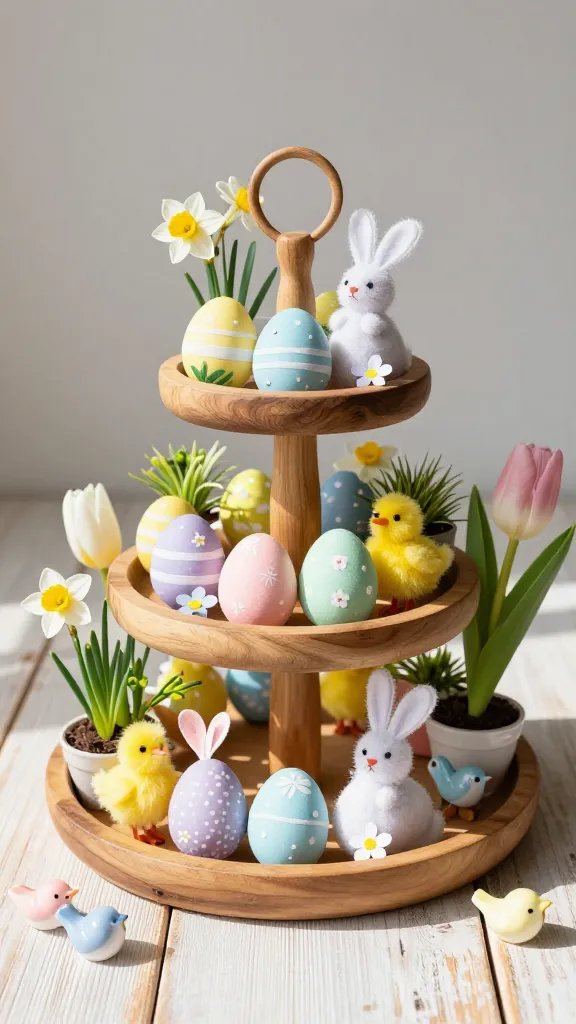
Tiered trays are your secret weapon for seasonal decorating. They are incredibly versatile and allow you to group small items together, creating a cohesive and eye-catching vignette. For spring and Easter, they’re perfect for showcasing a collection of themed goodies.
Think beyond just food; use your tiered tray to display decorative items, small plants, and your latest DIY creations. It’s like a mini-museum for your spring treasures.
Easter-Themed Tiered Tray Styling
Curate a charming display that tells a story of spring and Easter. The key is to mix heights, textures, and themes.
- What to Include:
- Bottom Tier: A small potted plant (like a succulent), a few DIY ombre eggs, or a ceramic bunny figurine.
- Middle Tier: A small jar filled with pastel jelly beans, a mini bird’s nest with tiny faux eggs, or a small candle.
- Top Tier: A miniature sign that says “Happy Easter,” a single large decorative egg, or a tiny vase with a sprig of greenery.
- Tips: Vary the heights of your items. Use small risers if needed. Incorporate different textures like wood, ceramic, and glass. Don’t overcrowd it; less is often more.
A beautifully styled tiered tray becomes an instant focal point on your kitchen counter, coffee table, or entryway console, making your home feel thoughtfully decorated.
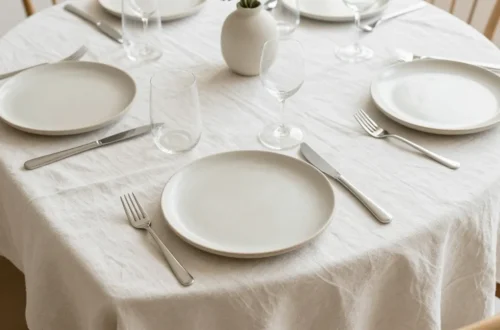
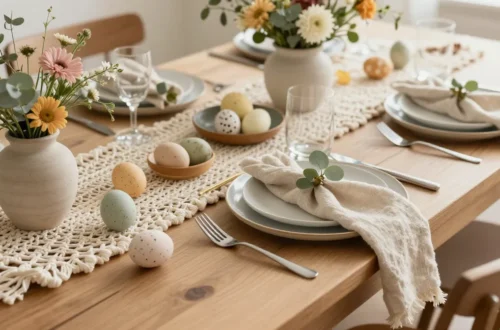
7. Festive Table Settings: Elevate Your Meals
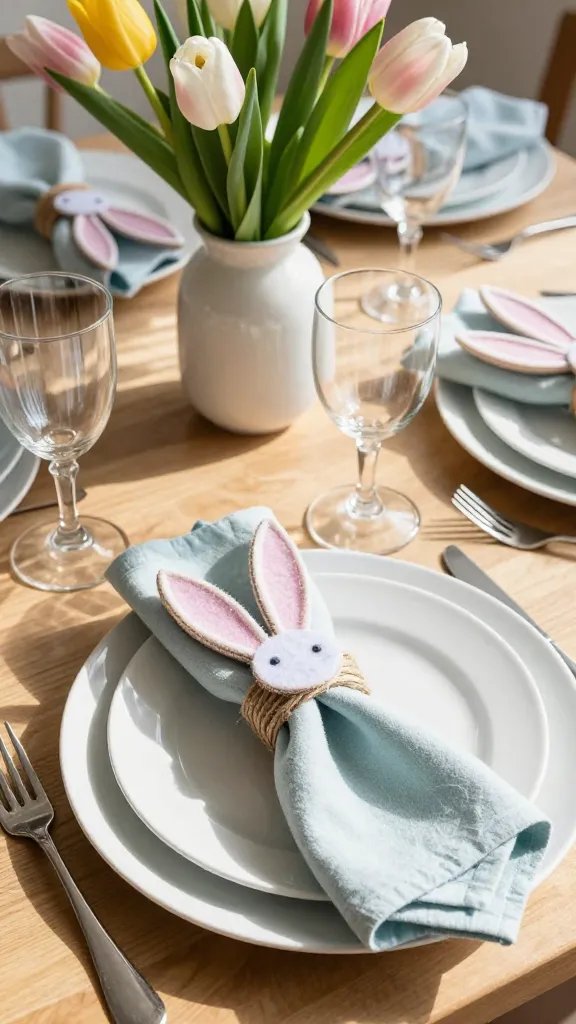
Whether you’re hosting a big Easter brunch or just enjoying a casual spring dinner, a beautifully set table makes every meal feel special. It doesn’t have to be complicated or expensive; often, it’s the small, thoughtful details that make the biggest impact. This is where your DIY skills shine!
Forget paper napkins (unless they’re super cute); fabric napkins with a personalized touch instantly upgrade your dining experience.
DIY Bunny Ear Napkin Rings
These charming napkin rings are ridiculously easy to make and add a playful, elegant touch to your Easter table. Seriously, your guests will be impressed.
- Materials: Stiff felt (white, grey, or pastel), fabric scissors, a hot glue gun, and a template for small bunny ears (about 2-3 inches tall).
- How-To: Cut strips of felt (about 1 inch wide and long enough to wrap around a rolled napkin with overlap). Hot glue the ends of the strip together to form a ring. Cut out two bunny ear shapes for each ring. Hot glue the base of the bunny ears to the top of the felt ring.
These adorable napkin rings are the perfect finishing touch for your spring table. They’re a simple way to add a custom, festive element that shows you put in extra effort.
8. Outdoor Oasis: Don’t Forget Your Porch & Patio
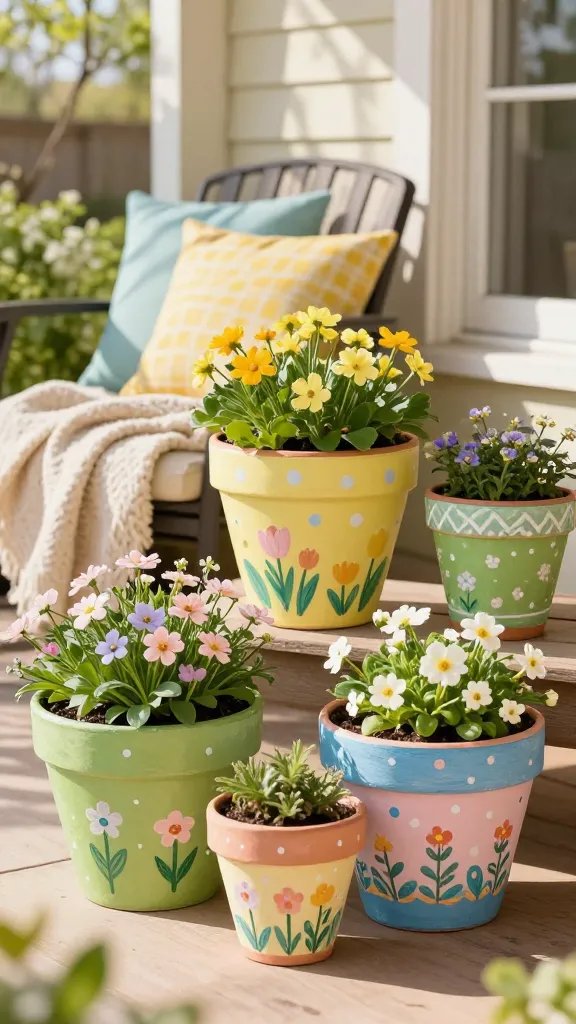
Spring isn’t just about indoor decorating; it’s also time to refresh your outdoor spaces! Your porch or patio is the first impression guests get, so make it inviting. Add some colorful cushions, a cozy throw, and, of course, some vibrant plants.
Old, plain plant pots can be a bit boring, IMO. Give them a fresh, spring-inspired look with a little paint and creativity.
DIY Patterned Painted Pots
Transform basic terra cotta pots into stylish planters that complement your spring decor. This project is super customizable and fun!
- Materials: Terra cotta pots, outdoor-friendly craft paint in spring colors, paintbrushes, painter’s tape, and a clear outdoor sealant spray.
- How-To: Clean your pots thoroughly. Use painter’s tape to create geometric patterns (stripes, chevrons, color blocks) on your pots. Paint the exposed sections with your chosen colors. Once dry, carefully remove the tape. For polka dots, use the eraser end of a pencil dipped in paint. Finish with a clear sealant spray to protect from the elements.
These custom-painted pots will make your outdoor plants pop and add a personal touch to your porch, patio, or garden. They’re durable and add instant curb appeal.
9. Gallery Wall Glow-Up: Seasonal Art Swaps

If you have a gallery wall, spring is the perfect time to rotate out some heavier, darker art for lighter, more cheerful pieces. You don’t need to buy new prints; you can easily create your own spring-themed art that costs next to nothing. This quick swap keeps your walls feeling fresh and relevant to the season.
Think about whimsical illustrations, botanical prints, or even abstract art in pastel shades. DIY is your friend here!
DIY Watercolor Spring Prints
Create beautiful, soft watercolor prints that evoke the delicate beauty of spring. No need to be an artist; the imperfect nature of watercolor is part of its charm.
- Materials: Watercolor paper, watercolor paints, paintbrushes, a cup of water, and frames for your prints.
- How-To: Experiment with simple spring motifs like a single flower, a bird silhouette, or abstract washes of pastel colors. Don’t overthink it; let the water and paint blend organically. For a super easy option, just paint large swaths of different pastel colors, letting them bleed into each other for a dreamy, abstract look. Let dry completely.
These handmade prints add a unique, artistic touch to your gallery wall or stand alone on a shelf. They’re a budget-friendly way to infuse your home with personalized spring art.
10. Kid-Friendly Decor: Involve the Little Ones

Decorating for spring and Easter is a fantastic opportunity to get the kids involved! Not only does it create lasting memories, but their handmade creations add a wonderfully personal and charming touch to your home. Plus, it keeps them entertained, which is a win-win in my book.
Choose crafts that are simple, safe, and allow for plenty of creative expression. The less supervision needed, the better!
DIY Paper Chain Garlands
Paper chains are a classic for a reason: they’re easy, fun, and add a festive pop of color anywhere. For spring, use pastel papers and maybe even some with subtle patterns.
- Materials: Construction paper or scrapbook paper in spring colors (pinks, yellows, greens, blues), scissors, and a glue stick or stapler.
- How-To: Cut paper into strips (about 1 inch wide and 8-10 inches long). Form the first strip into a loop and secure the ends with glue or a staple. Thread the next strip through the first loop, form it into a loop, and secure. Continue linking strips until your garland reaches the desired length.
Hang these cheerful garlands across doorways, windows, or along a mantelpiece. They instantly add a playful, celebratory vibe and showcase your little helpers’ artistic efforts. Everyone loves a good paper chain, seriously!
There you have it! Ten amazing ways to infuse your home with the joyous spirit of spring and Easter. From fresh blooms to adorable DIY crafts, these ideas will make your space feel vibrant, welcoming, and utterly charming. Go forth and decorate, you crafty genius!