Easter is peeking around the corner, and if your wallet is still recovering from, well, everything else, you’re in good company. But who says celebrating has to break the bank? Forget those pricey boutique decorations and complicated craft kits. We’re diving headfirst into the glorious world of dollar store DIY, where creativity meets extreme affordability. Get ready to transform everyday finds into adorable, festive Easter decor that will have everyone asking, “Where did you *buy* that?!” (And you can smugly reply, “Oh, I *made* it.”)
Hop Into Budget-Friendly Decor: Dollar Store Delights!
Let’s kick things off with some show-stopping pieces that look far more expensive than their humble origins. We’re talking about crafts that make your home feel festive without requiring a second mortgage.
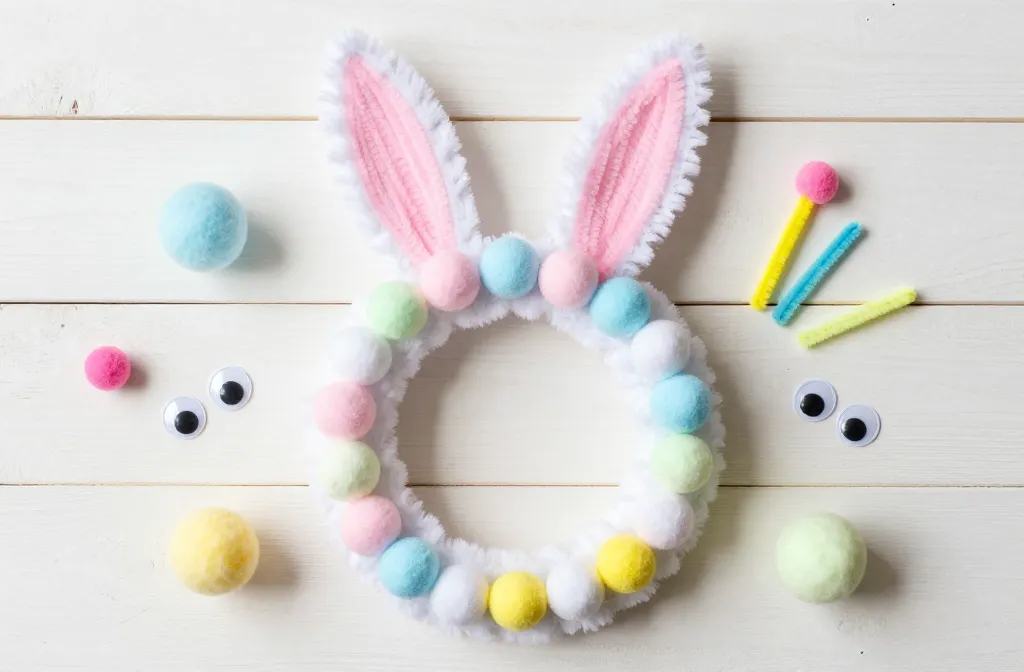
The Adorable Bunny Wreath
Trust me, this one is a crowd-pleaser and shockingly simple. You’ll grab a foam wreath form, some fluffy white cotton balls (or a white feather boa, if you’re feeling fancy), pipe cleaners, googly eyes, and a small pink pom-pom for the nose.
How to make it:
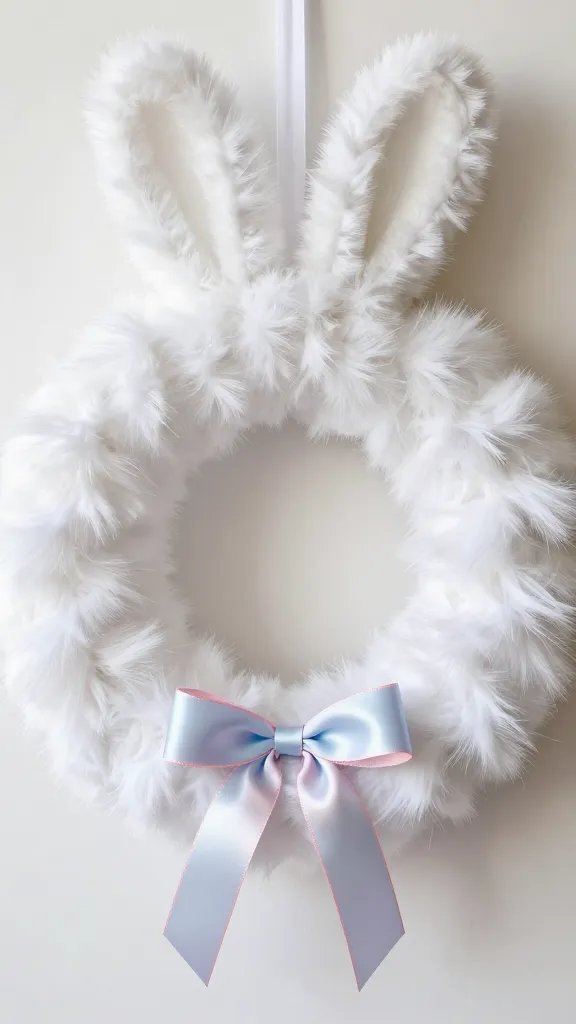
- Cover your foam wreath form completely with hot-glued cotton balls or wrap it tightly with the feather boa. This forms the bunny’s fluffy body.
- For the ears, bend two pipe cleaners into ear shapes and hot glue them to the top of the wreath. You can add a bit of pink felt inside for extra cuteness.
- Glue on your googly eyes and the pink pom-pom nose.
- Finish with a cute ribbon bow at the top or bottom. Voila! Instant door decor.
Chic Ombre Easter Eggs
Plastic eggs are a dollar store staple, and with a little paint, they can go from meh to magnificent. Forget the dye kits; we’re going for sophisticated ombre. Pick up a pack of plastic eggs and a few shades of acrylic paint in the same color family (e.g., light blue, medium blue, dark blue).
How to make it:
- Start with your lightest shade. Paint the bottom third of the egg and let it dry.
- Next, apply the medium shade, overlapping slightly with the first color and extending a bit higher. Blend gently where the colors meet.
- Finish with the darkest shade at the very top, again blending where it meets the medium color.
- Repeat for all your eggs. The key is thin layers and gentle blending for that smooth gradient effect.
Elevate Your Egg Game
Want to take your ombre eggs to the next level? Consider adding a touch of glitter spray after the paint dries, or even a delicate stencil pattern with a contrasting metallic paint. You can also use a sponge to dab the paint on, creating a softer, more textured look. Don’t be afraid to experiment, that’s half the fun!
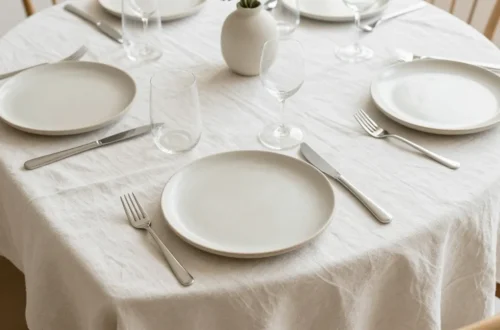
Sweet & Simple Table Settings That Wow
Easter brunch or dinner is a big deal, but your table doesn’t need to scream “expensive decorator.” These dollar store finds will add charm and personality without making your wallet weep.
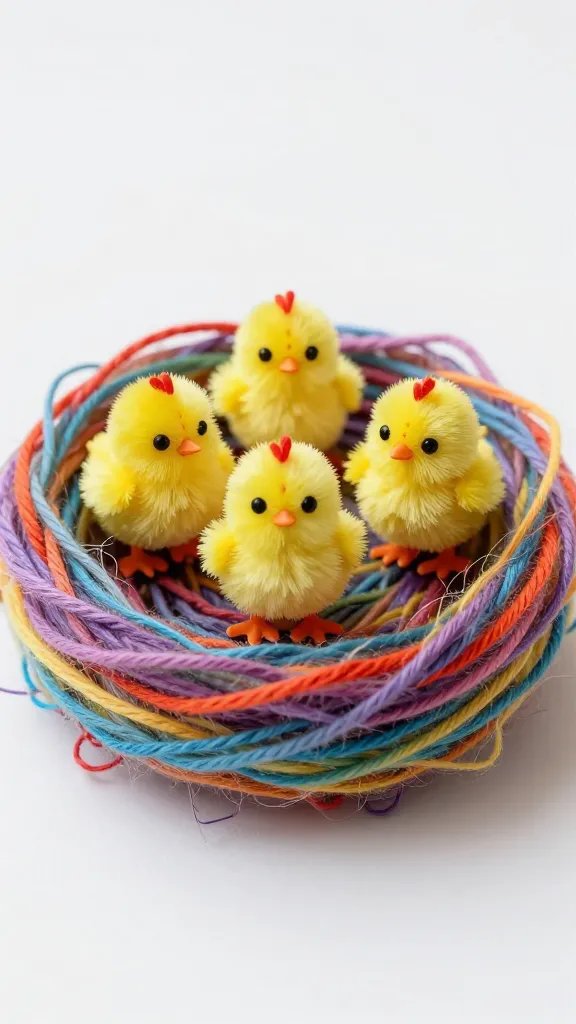
Fluffy Chick Place Cards
These are ridiculously cute and easy. Grab a bag of those tiny plastic chicks, some yellow cardstock, hot glue, and a fine-tip marker.
How to make it:
- Cut small rectangles from your yellow cardstock – big enough for a name.
- Fold each rectangle in half to create a tiny tent card.
- Hot glue a plastic chick to the front of each folded card.
- Write your guests’ names neatly on the card. Instant smiles guaranteed!
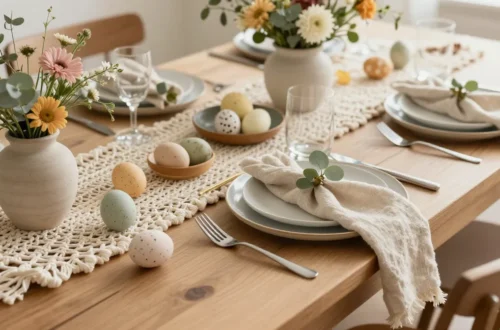
Mason Jar Easter Vignettes
Mason jars are the unsung heroes of dollar store crafting, IMO. Pick up a few jars, some fake grass, tiny plastic bunnies or chicks, and mini foil-wrapped chocolate eggs.
How to make it:
- Layer a small amount of fake grass at the bottom of each mason jar.
- Nestle a tiny bunny or chick onto the grass.
- Scatter a few mini chocolate eggs around the base.
- Optionally, tie a festive ribbon around the rim of the jar. These make charming centerpieces or individual place settings.
Personalizing Your Jars
To make your vignettes truly unique, consider adding a small battery-operated tea light candle for a warm glow, or even a few faux flowers. You can also paint the outside of the jars with pastel acrylic paints for an extra pop of color. The possibilities are endless, and everything is still super cheap!
Kid-Friendly Fun (And Less Mess, We Hope!)
Getting the little ones involved is part of the Easter magic. These crafts are simple enough for small hands and won’t require you to re-mortgage your house for supplies.
DIY Carrot Garland
This craft is perfect for little fingers practicing their cutting skills. You’ll need orange and green construction paper (or felt for a softer look), string or twine, and glue.
How to make it:
- Cut out carrot shapes from the orange paper. Don’t stress about perfection; wonky carrots are charming!
- Cut thin strips of green paper for the carrot tops.
- Glue the green tops to the wide end of each orange carrot.
- Once dry, punch a small hole at the top of each carrot and string them onto your twine. Hang them across a doorway or mantel!
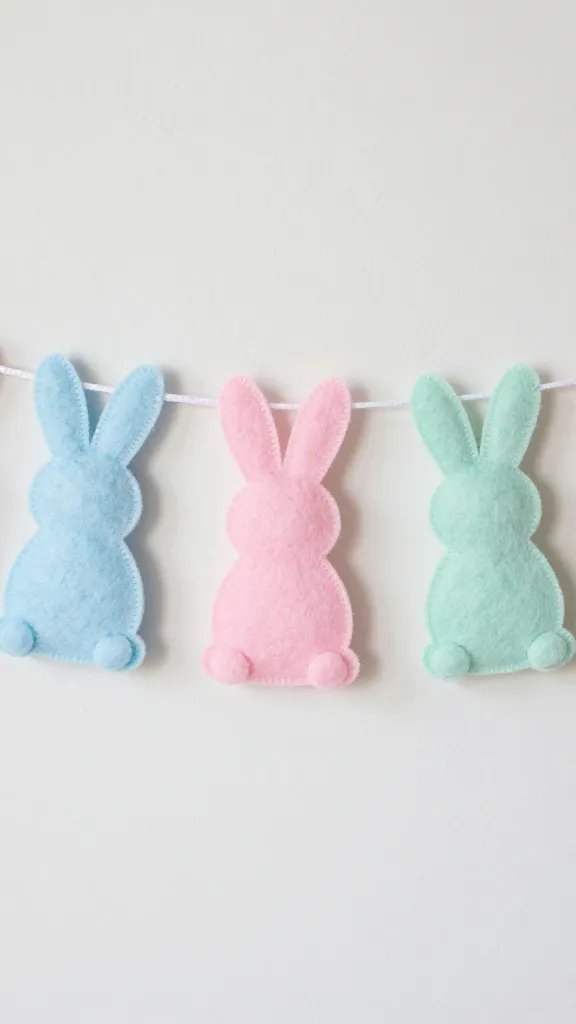
Bunny Ear Headbands
Every kid (and let’s be honest, some adults) loves a good pair of bunny ears. Grab some plain headbands, white and pink felt, pipe cleaners, and hot glue.
How to make it:
- Cut two large ear shapes from the white felt and two slightly smaller inner ear shapes from the pink felt.
- Hot glue the pink inner ear pieces onto the white ear pieces.
- Bend a pipe cleaner into a loop along the bottom edge of each ear. This helps them attach to the headband.
- Hot glue the pipe cleaner loops (and the base of the felt ears) securely onto the headband. Hold them in place until the glue sets.
Gifts & Goodies: Thoughtful Touches Without the Hefty Price Tag
Who doesn’t love a thoughtful handmade gift? These dollar store inspired ideas are perfect for party favors or small tokens of appreciation.
“Carrot Patch” Candy Holders
These are adorable and practical. You’ll need small terracotta pots, green shredded paper (the kind used for gift baskets), and orange-colored candies (like Reese’s Pieces, orange jelly beans, or even small chocolate carrots).
How to make it:
- Fill each terracotta pot with green shredded paper, letting it peek out like carrot tops.
- Bury your orange candies within the shredded paper, so they look like little carrots popping out of the “dirt.”
- You can add a small tag with a “Happy Easter” message if you like!
Easter Bunny Treat Bags
Simple, sweet, and perfect for party favors. Grab some plain brown paper bags, white paper or felt for ears, a pink marker, and cotton balls for tails.
How to make it:
- Cut two long, oval ear shapes from white paper or felt. Draw a pink inner ear on each.
- Glue the ears to the top back of the paper bag so they peek over the top.
- Draw a cute bunny face on the front of the bag with your marker.
- Hot glue a cotton ball to the back of the bag for a fluffy tail.
- Fill with treats!
Bringing the Outdoors In: Springtime Touches
Even if the weather outside isn’t quite cooperating, you can still infuse your home with the fresh vibes of spring using these easy dollar store crafts.
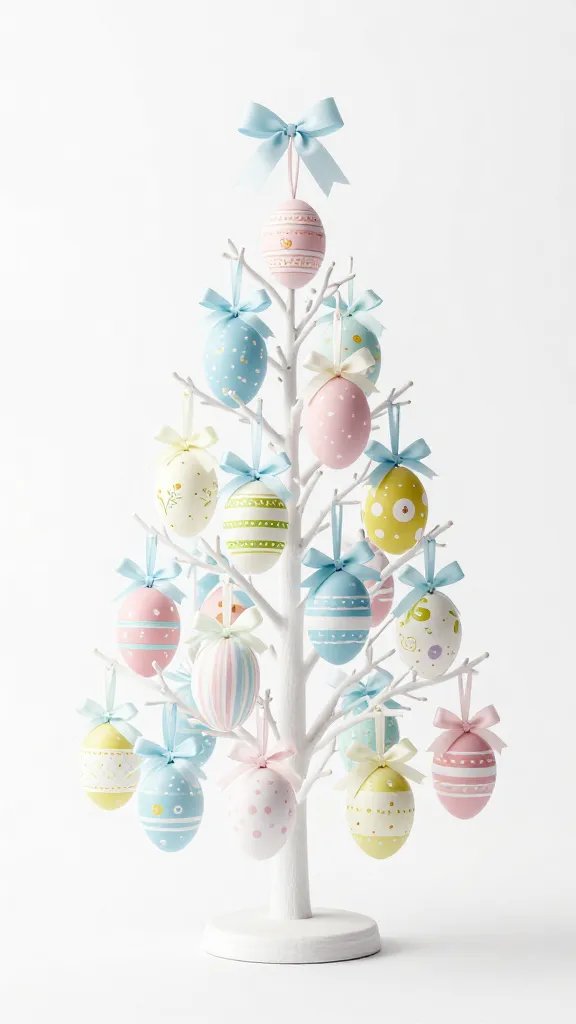
Glittery Egg Tree Branches
This project adds a touch of sparkle and height to your decor. Collect some bare branches from your yard (or buy faux ones if you’re not into foraging), plastic eggs, spray adhesive, and glitter.
How to make it:
- If your plastic eggs don’t have holes, carefully poke a small hole in the top and bottom of each.
- Spray each egg with a light coat of spray adhesive, then immediately sprinkle generously with glitter. Let dry completely.
- Thread a piece of fishing line or thin ribbon through the holes of each egg to create a loop for hanging.
- Arrange your branches in a vase.
- Hang your glittery eggs from the branches. Instant Easter tree!
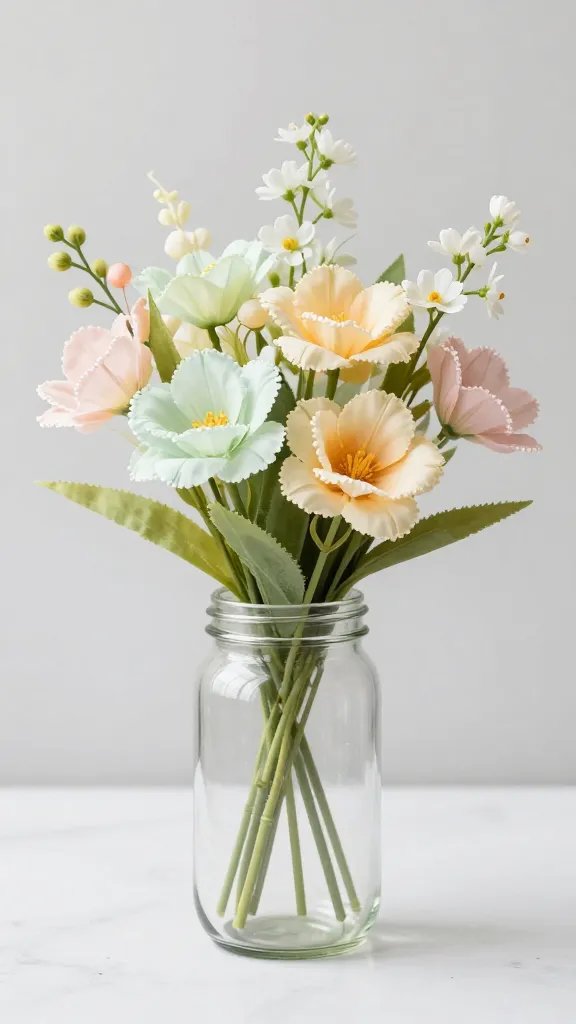
Spring Flower Centerpiece (Faux)
Faux flowers from the dollar store have come a long way, FYI. Grab a simple glass vase (or even a painted mason jar), a few bunches of faux spring flowers (tulips, daisies, cherry blossoms), and some decorative rocks or marbles.
How to make it:
- Fill the bottom of your vase with decorative rocks or marbles – this adds weight and a nice visual element.
- Trim your faux flower stems to varying heights.
- Arrange the flowers in the vase, starting with the tallest in the center and working your way out. Fluff them up to make them look more natural.
Frequently Asked Questions About Dollar Store DIY
Can I really make these crafts look good?
Absolutely! The secret is in the presentation and a little bit of creativity. By grouping items, using a consistent color palette, and taking your time with the details (like neat gluing or blending paint), your dollar store crafts can look incredibly polished and professional. Don’t underestimate the power of a good ribbon or a strategically placed glitter sprinkle!
What’s the best way to get kids involved?
For younger kids, focus on tasks like gluing cotton balls, drawing faces, or arranging items. Older kids can handle cutting, painting, and more intricate assembly. Always supervise with hot glue, of course! The goal is participation and fun, not perfection. Let them choose colors or add their own flair.
How long do these crafts usually take?
Most of these crafts can be completed in 15-30 minutes, especially if you have all your supplies ready. Some, like the glitter eggs, might require drying time between steps. They’re designed to be quick and satisfying, perfect for a spontaneous crafting session or when you need a last-minute decor boost.
Are dollar store craft supplies safe for kids?
Generally, yes, but always check the packaging for age recommendations, especially for paints and glues. Ensure children are supervised, particularly with small parts that could be choking hazards or when using hot glue guns. When in doubt, opt for kid-safe glues and paints.
Any tips for making my dollar store crafts last?
For paper crafts, a light coat of clear sealant spray can protect them. For painted items, a clear topcoat will prevent chipping. Store seasonal crafts carefully in airtight containers to protect them from dust and moisture, ensuring they’ll be ready for next year’s festivities!
Your Easter, Your Way (On a Budget!)
So there you have it – ten ridiculously easy, budget-friendly Easter crafts that prove you don’t need to spend a fortune to make your home feel festive and fun. The dollar store is a treasure trove of potential, just waiting for your creative touch. Go forth, grab those bargains, and craft your way to a wonderfully whimsical Easter. Your wallet (and your sanity) will thank you!