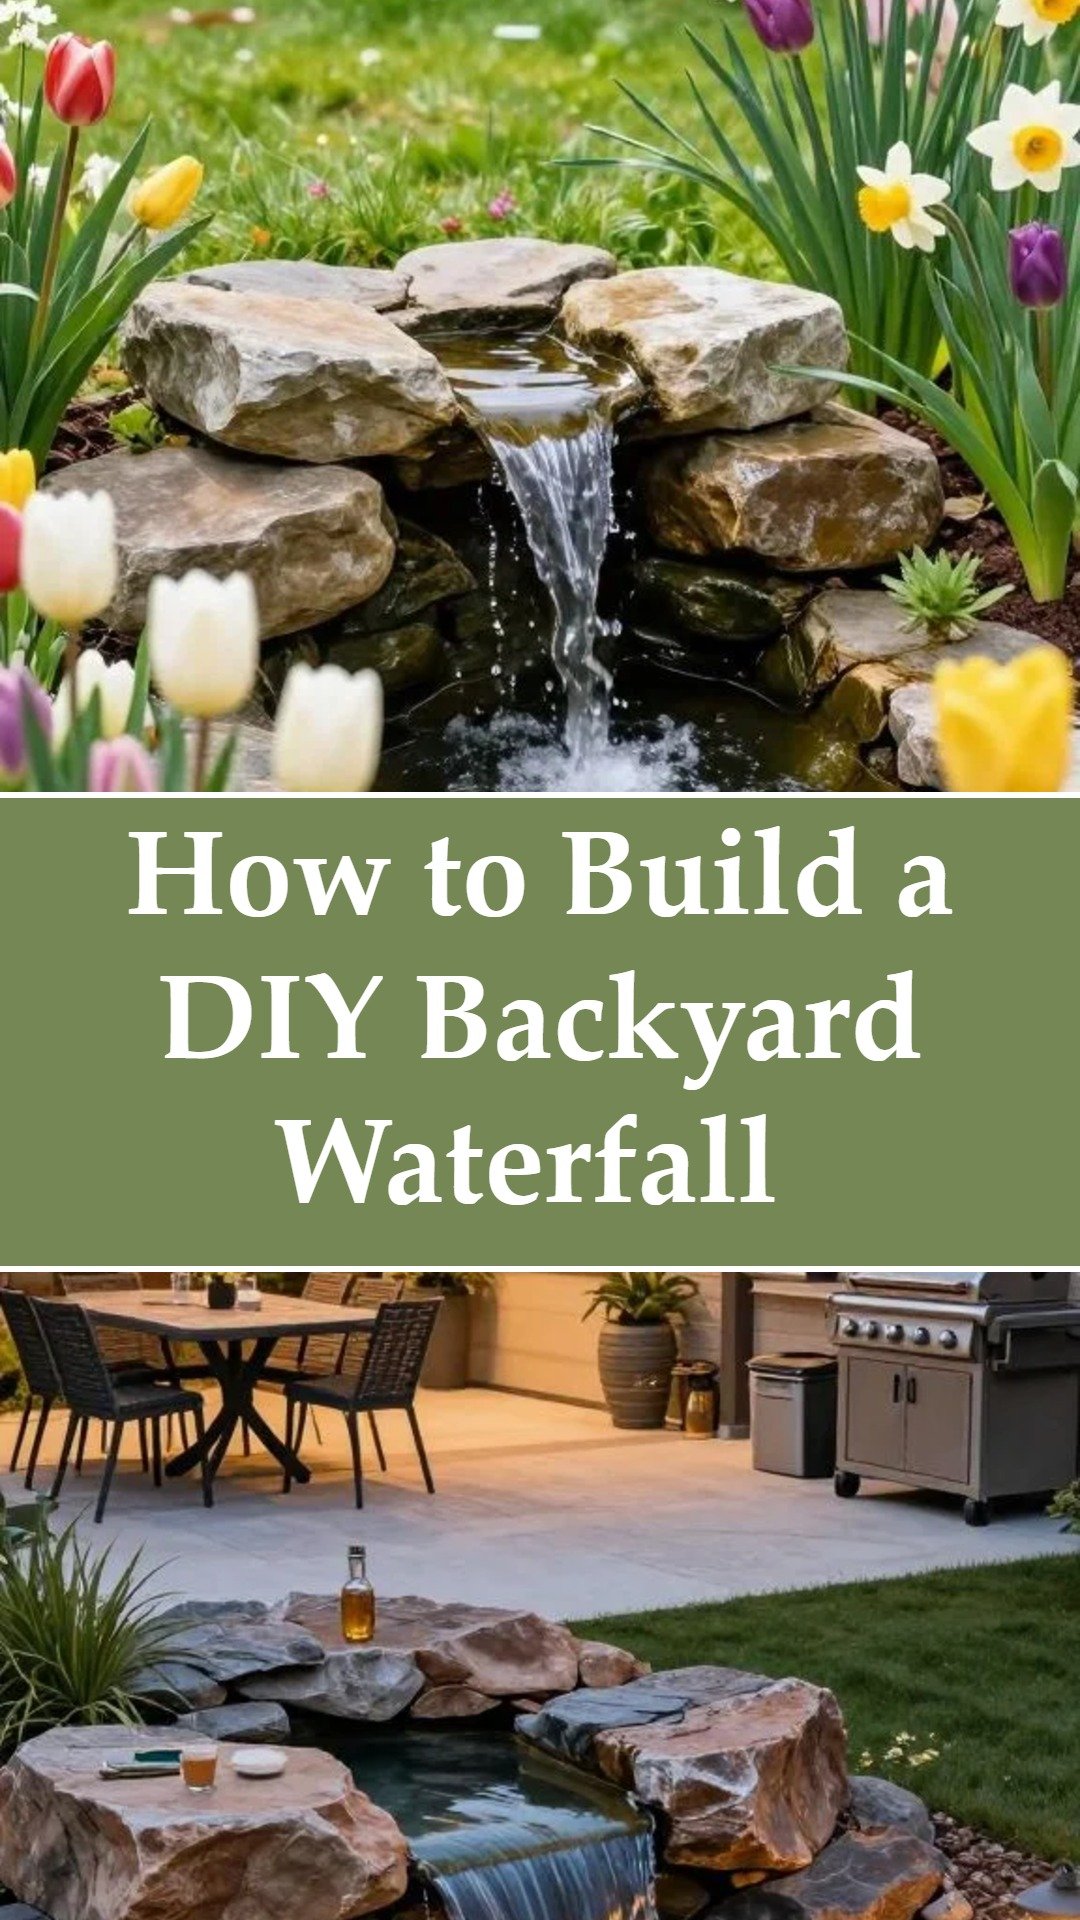
There’s something about the sound of running water that instantly makes a space feel calmer, more alive, and honestly… a bit more magical. If you’ve ever sat near a stream or waterfall and thought, I wish I had this at home, here’s the good news: you actually can. And it’s not nearly as complicated as it sounds.
Let me walk you through how to build a backyard waterfall—like I would if we were standing in your yard planning it out together.
Why You Should Build a Backyard Waterfall
First off, let’s talk about why this is worth doing.
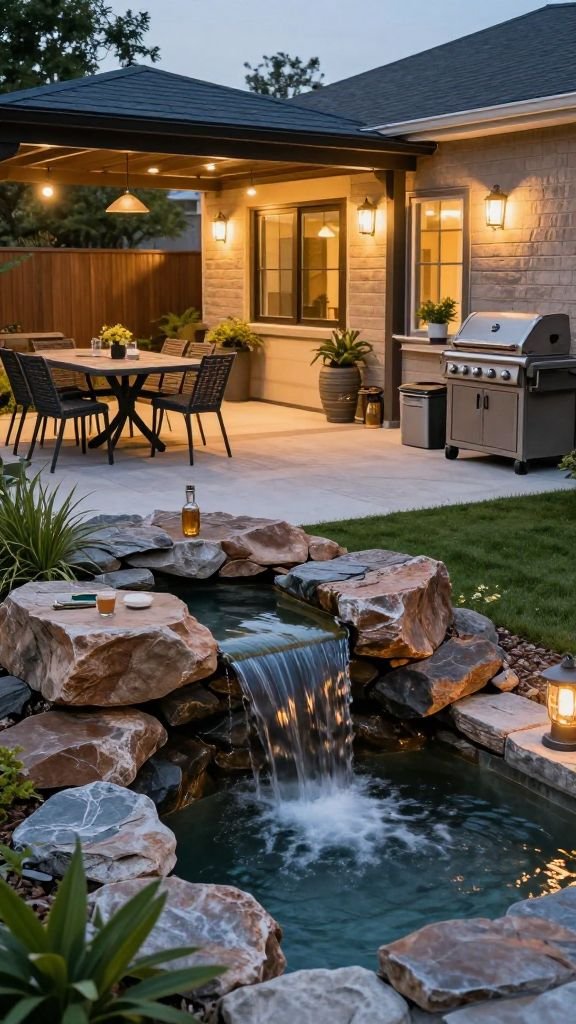
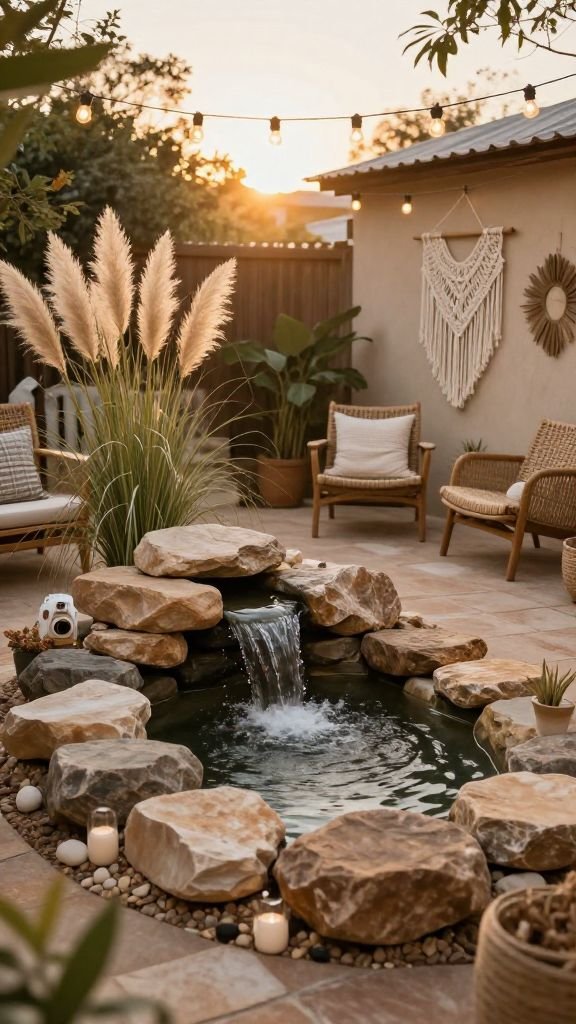
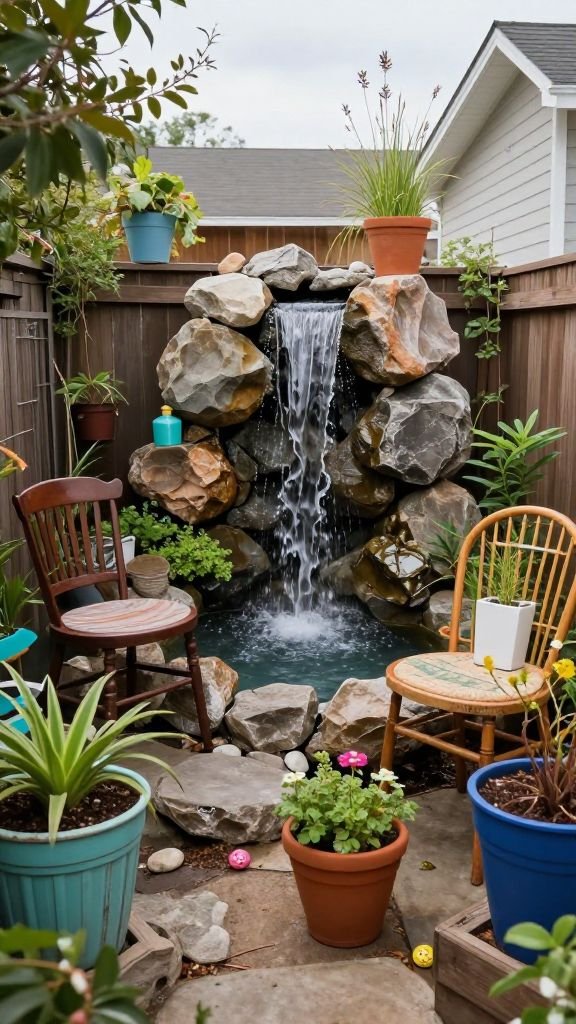
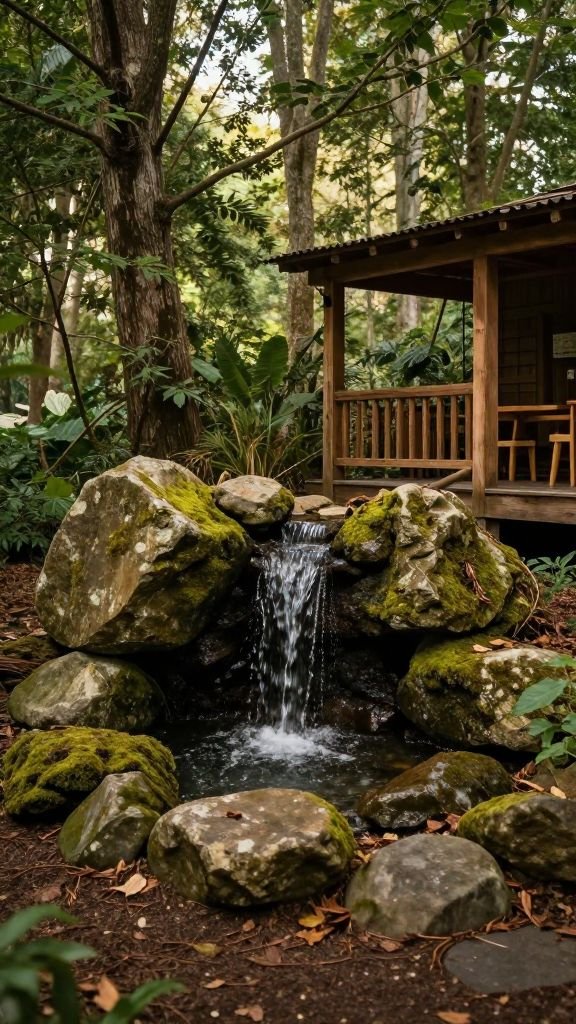
A backyard waterfall isn’t just decoration. It transforms your outdoor space into somewhere you actually want to spend time. The sound of water masks traffic noise, it attracts birds, and it gives your yard that peaceful, resort-like vibe. Plus, if you go with a pondless design (which is what this project uses), it’s surprisingly low maintenance and safe.
And honestly? It’s a super satisfying weekend project. You get to build something real with your hands, and when you flip that pump on for the first time—it’s a great feeling.
Step 1: Pick the Right Spot
This part matters more than people think.
You want a location that:
- Is visible from where you relax (patio, deck, or even inside your house)
- Has a bit of natural slope—or room to build one
- Isn’t too close to large tree roots
Once you’ve picked your spot, you’ll mark out the area where your underground reservoir (basin) will go. This basin is what holds and recirculates the water, so even though you won’t see it, it’s the heart of the whole system.
Step 2: Build the Water Reservoir Foundation
Now comes the digging.
You’ll excavate a hole about 18 inches deep. This will hold:
- A pump vault (where the pump sits)
- Water storage blocks (these hold the water underground)
Try to keep the bottom level and the walls fairly straight. It doesn’t have to be perfect, but the flatter your base, the easier everything else will be.
Pro tip: Don’t toss all that dirt—you’ll use it later to build up the waterfall area.
Step 3: Assemble and Test Fit the Components
Before installing anything permanently, you’ll assemble the water storage blocks (they usually snap together, no tools needed) and place everything into the hole to check the fit.
You want:
- The blocks sitting level
- The pump vault slightly lower than the blocks
Think of this as a dry run. It’s way easier to adjust things now than later.
Step 4: Install Underlayment and Liner
This is one of the most important steps, even though it’s not the most exciting.
You’ll line the entire hole with:
- Underlayment – a thick fabric that protects against roots and rocks
- Rubber liner – this actually holds the water
Lay them in carefully, making sure they conform to the shape of the hole. Leave extra material on one side—this will be important when you build the waterfall itself.
Step 5: Set Everything in Place
Now you can place the blocks and pump vault back into the lined basin.
Once they’re positioned:
- Fold the liner and underlayment over the top
- Backfill around the edges with soil or sand
This locks everything in place so nothing shifts over time.
Step 6: Run the Plumbing
Next, you’ll connect the system that moves the water.
A flexible, kink-free hose runs from:
- The pump (in the vault)
- Up to the waterfall spillway (where water begins flowing down)
You’ll need to dig a shallow trench for the hose so it stays hidden and protected. Once the hose is in place, backfill the trench.
It’s not complicated, but take your time securing the connections—this is what keeps your waterfall running smoothly.
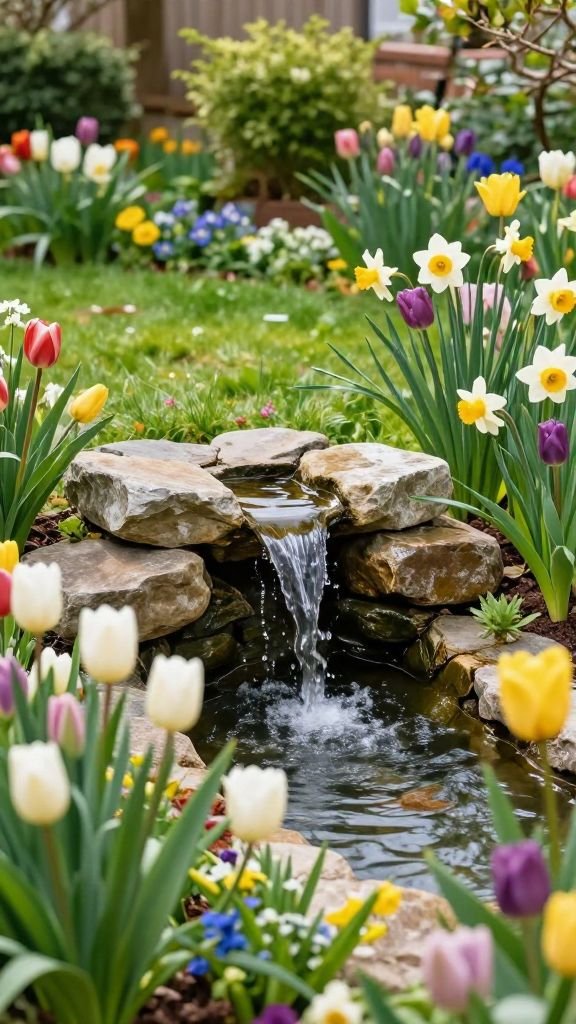
Step 7: Build the Waterfall Structure
This is where things start getting fun—and creative.
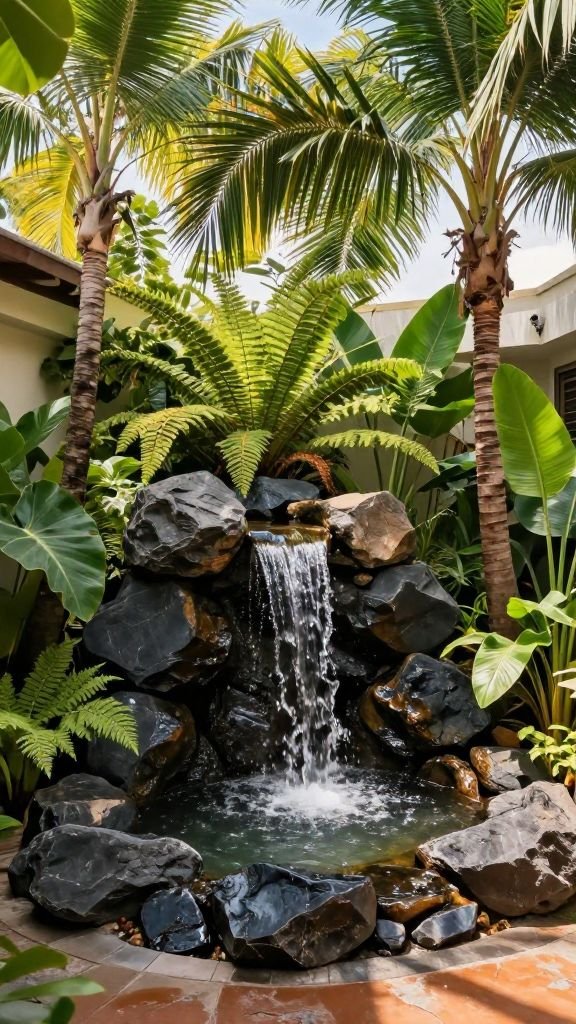
You’ll use rocks and gravel to shape:
- The waterfall drop
- The stream leading back into the basin
Start with larger rocks to frame the structure, then fill in with smaller stones. Try to vary sizes and shapes so it looks natural. Nature isn’t symmetrical, and yours shouldn’t be either.
You can use the dirt you saved earlier to build up height for the waterfall. Even a small elevation change makes a big difference in how it looks and sounds.
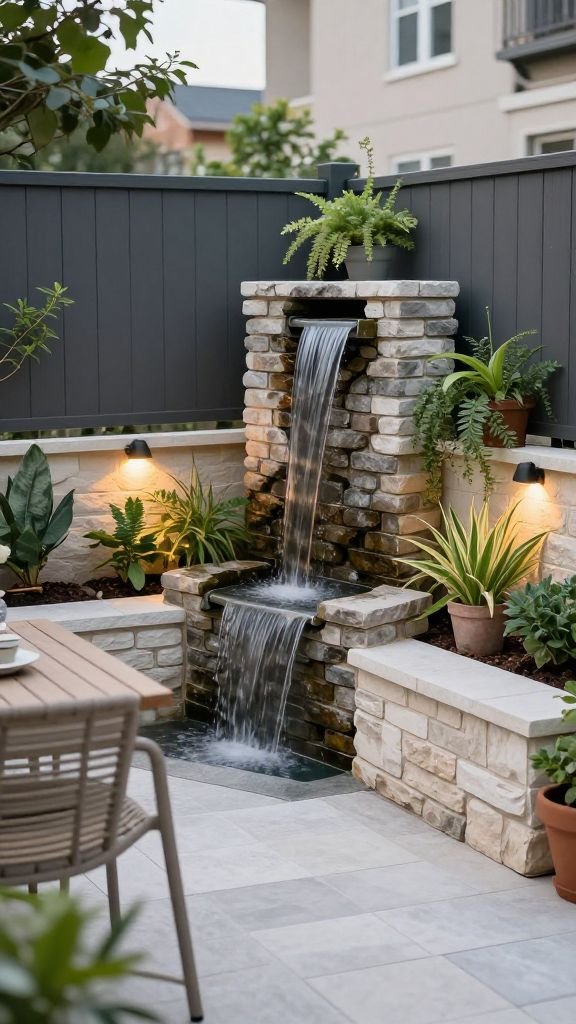
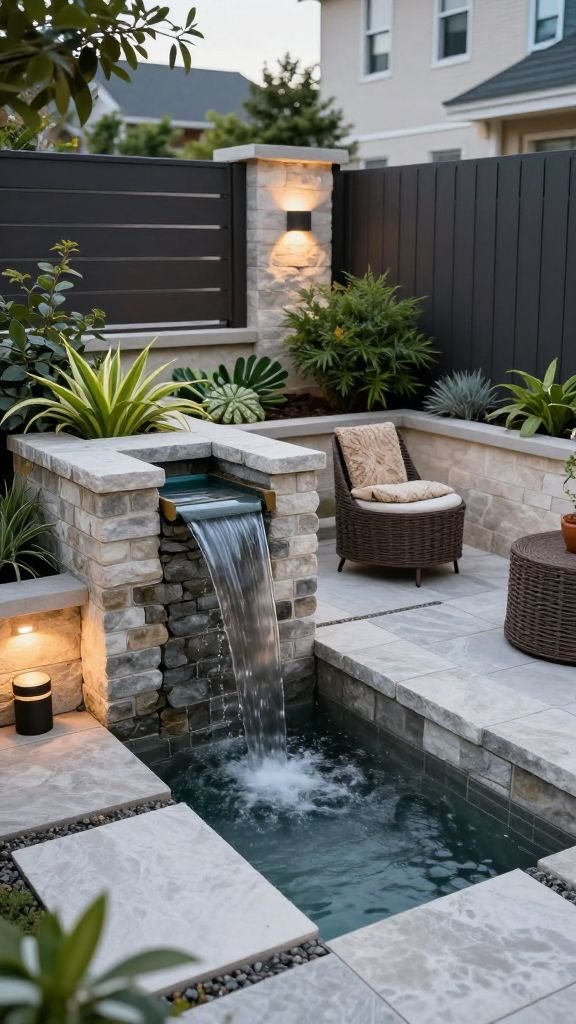
Step 8: Install the Spillway
The spillway is what spreads the water evenly at the top of your waterfall.
To install it:
- Dig a flat, stable spot at the top of your waterfall
- Set the spillway so it’s level
- Connect the hose to the back of it
You’ll also cut a small opening in the liner to attach the plumbing securely. This part needs to be sealed tightly so there are no leaks.
Once everything is connected, you can start blending it into the landscape with rocks and soil.
Step 9: Control the Water Flow with Foam
Here’s a trick that makes a huge difference.
Waterfall foam is used to:
- Fill gaps between rocks
- Direct water over the rocks instead of behind them
Without it, water tends to disappear into cracks, and your waterfall loses that nice flowing look.
Apply the foam in strategic spots, let it set for about 15–20 minutes, then cover it with gravel so it blends in.
Step 10: Add Finishing Touches
Now you’re basically done—it’s just about making it look natural.
You’ll:
- Add gravel to the stream bed
- Place accent stones around the edges
- Trim excess liner
- Create a natural edge using dirt, mulch, or stone
This is also a great time to add plants. They soften the look and help the waterfall feel like it’s always been there.
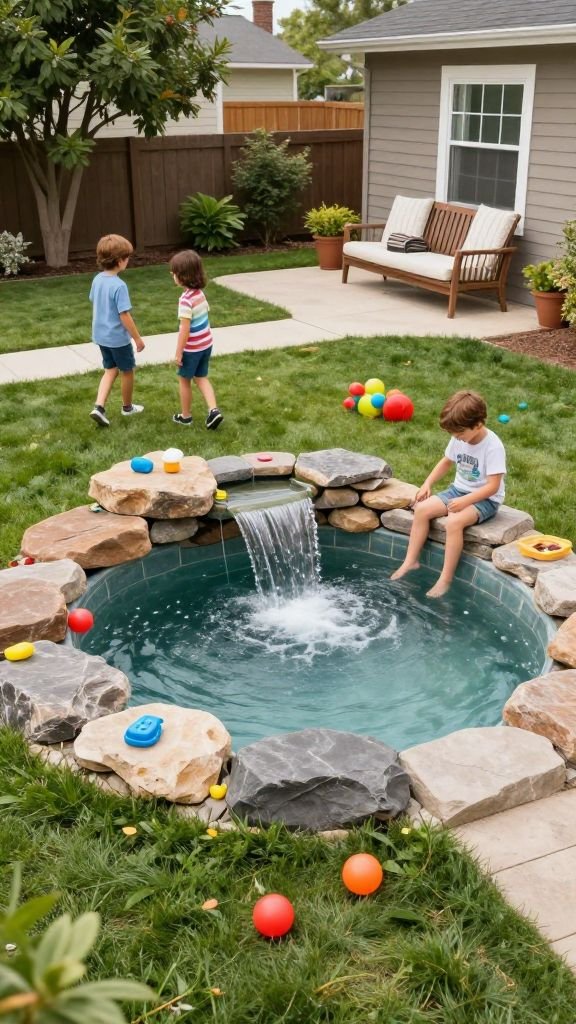
Step 11: Fill It Up and Turn It On
The moment of truth.
Fill the basin with water until it reaches the top, then switch on the pump.
At first, you might need to adjust a few rocks or tweak the flow—but once it’s dialed in, you’ll see (and hear) everything come together.
That sound of water running? That’s your reward.
A Few Final Thoughts
If you’re wondering whether this is worth the effort—yes, it is.
You’re not just building a waterfall. You’re creating a space where you can relax, think, hang out with friends, or just enjoy a quiet moment. And every time you hear that water flowing, you’ll remember: you built that.
It doesn’t have to be perfect. In fact, a slightly imperfect, natural look is exactly what you’re going for.
If you’ve been on the fence about doing something like this, take this as your sign. Pick a weekend, grab the materials, and go for it. Once it’s done, you’ll wonder why you didn’t do it sooner.