Your tiny kitchen isn’t a curse—it’s a design flex waiting to happen. With a minimalist mindset and a little strategy, you can turn that shoebox into a sleek, functional space you actually want to cook in. Ready to make your countertops visible again?
1. Edit Ruthlessly, Then Hide the Rest
Minimalism starts with subtraction. If you haven’t used it in six months, it’s clutter. Be honest: do you really need three whisks and a cake pop maker? Probably not.
Keep Only the MVPs
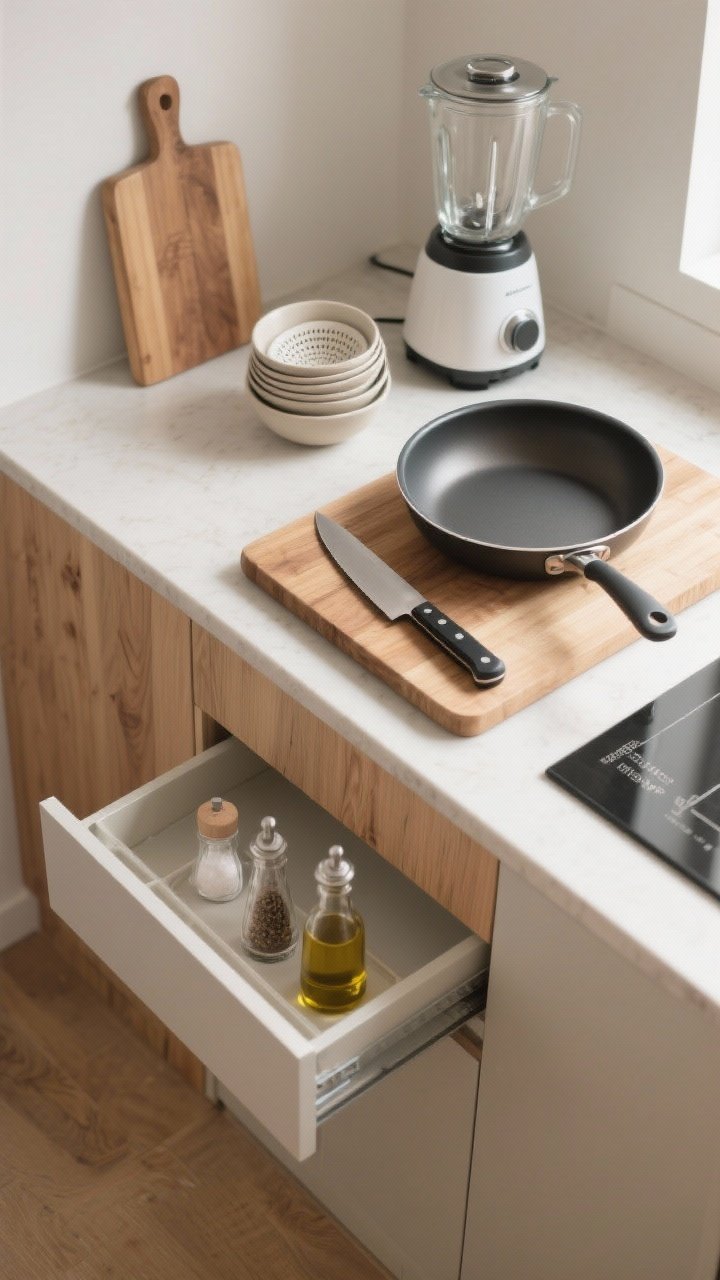
- One-per-task tools: A sharp chef’s knife, a wood cutting board, a lidded skillet, and a small saucepan will carry you.
- Multi-task heroes: Nesting bowls, collapsible strainers, and a blender that doubles as a food processor.
- Hide daily mess: Stash oils, salt, and pepper in a shallow tray you can slide in and out of a cabinet—instant clean look.
FYI, the less you keep out, the bigger your kitchen feels. Clear surfaces = clear mind (and more space for midnight snacks).
2. Go Vertical Like You Mean It
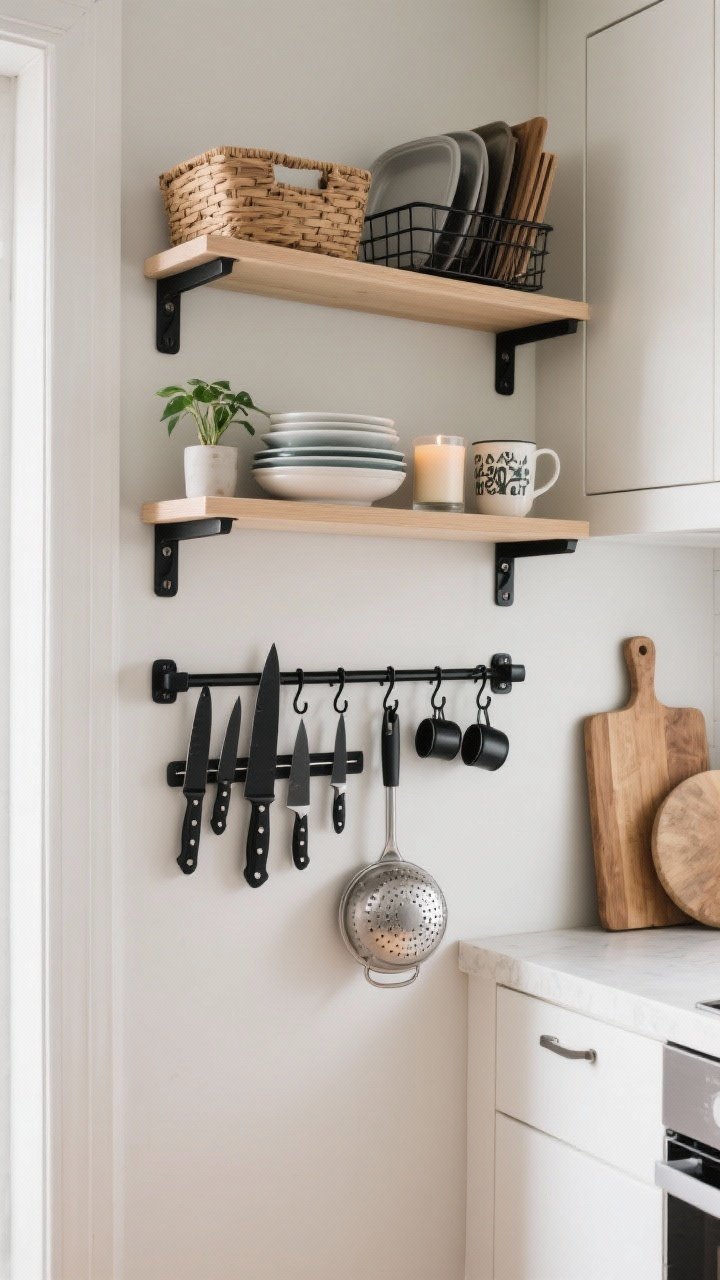
When floor space is limited, walls are your best friends. Think ceiling to counter, not side to side.
Smart Vertical Storage
- Magnetic knife strip: Sleek, safe, and frees up a whole drawer.
- Rail system with hooks: Hang measuring cups, ladles, and a small colander. Keep the pretty stuff visible.
- Floating shelves: One for everyday pieces, one for display (plants, a candle, that cute mug). Keep 20% breathing room so it looks intentional.
- Over-cabinet baskets: Tuck baking sheets and cutting boards vertically—chef vibes, zero clutter.
Pro tip: Repeat materials—like black metal rails and black shelf brackets—for a clean, cohesive look.
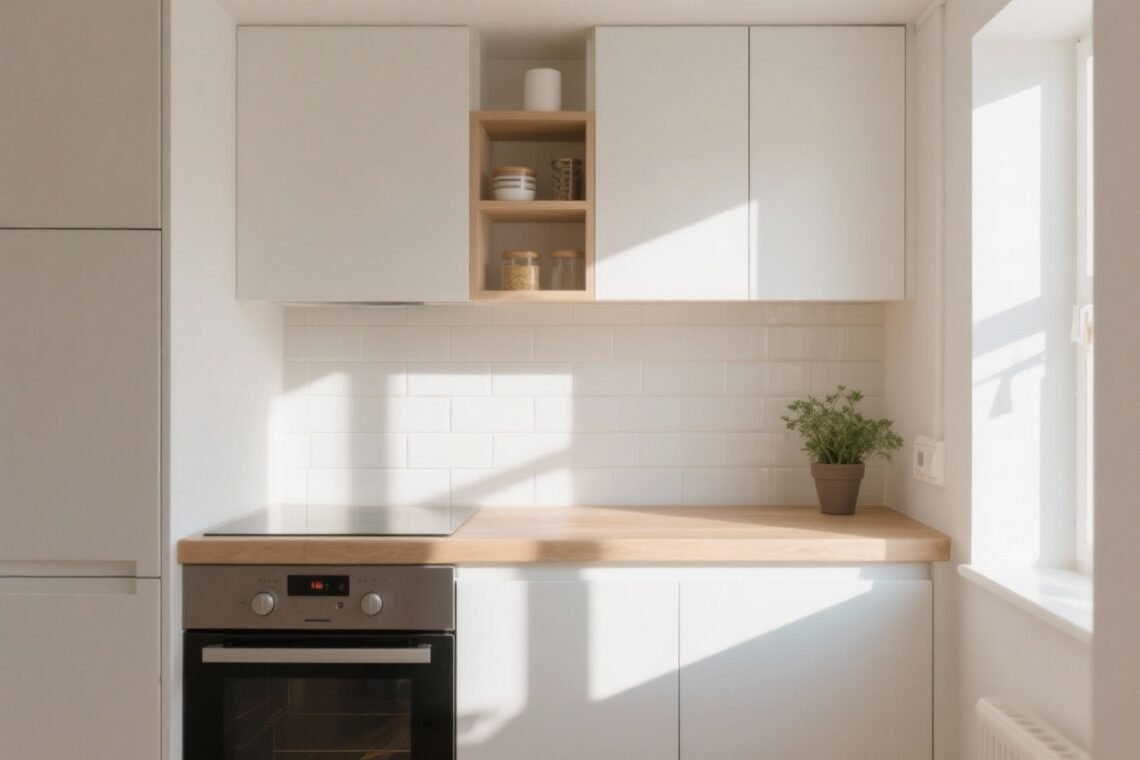
3. Tone-on-Tone Colors = Instant Calm

Minimalist kitchens thrive on a tight color palette. Neutrals FTW, but warm them up so it doesn’t feel clinical.
Color Tricks That Expand Space
- Choose a base: Soft white, warm beige, or light gray. Avoid stark white if your light is harsh.
- Add warmth: Light wood stools, woven trays, or brass hardware. Softens the look.
- Limit accents: One pop color (sage green, denim blue) repeated in tea towels or a utensil crock keeps things cohesive.
- Match your metals: Pick one—brass, black, or chrome—and stick to it for faucets, handles, and rails.
Keep patterns minimal. A small-scale backsplash or subtle veining on counters adds interest without visual noise.
4. Make Every Surface Do Double Duty
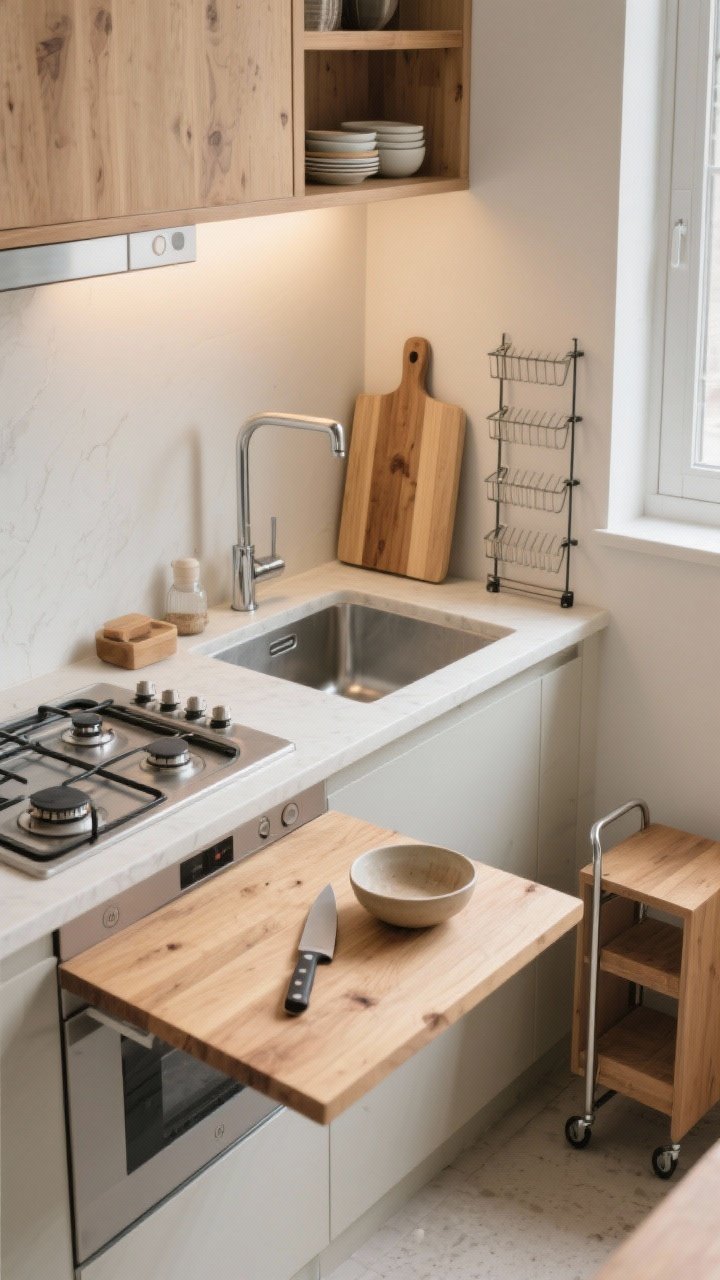
Small kitchens can’t afford divas. If a surface isn’t working hard, you’re losing space.
Workhorse Surfaces
- Over-the-sink cutting board: Adds prep space and hides dishes when company shows up (you’re welcome).
- Stovetop cover board: Converts burners into a temporary counter—great in galley layouts.
- Fold-down wall table: Breakfast bar meets prep station. Fold it flat when you’re done.
- Stackable drying rack: The vertical dish rack keeps counters open and looks cleaner than a sprawling mat.
IMO, a slim rolling cart is the tiny kitchen MVP—extra storage, extra counter, and it tucks away when you’re not using it.
5. Lighting That Fakes Square Footage
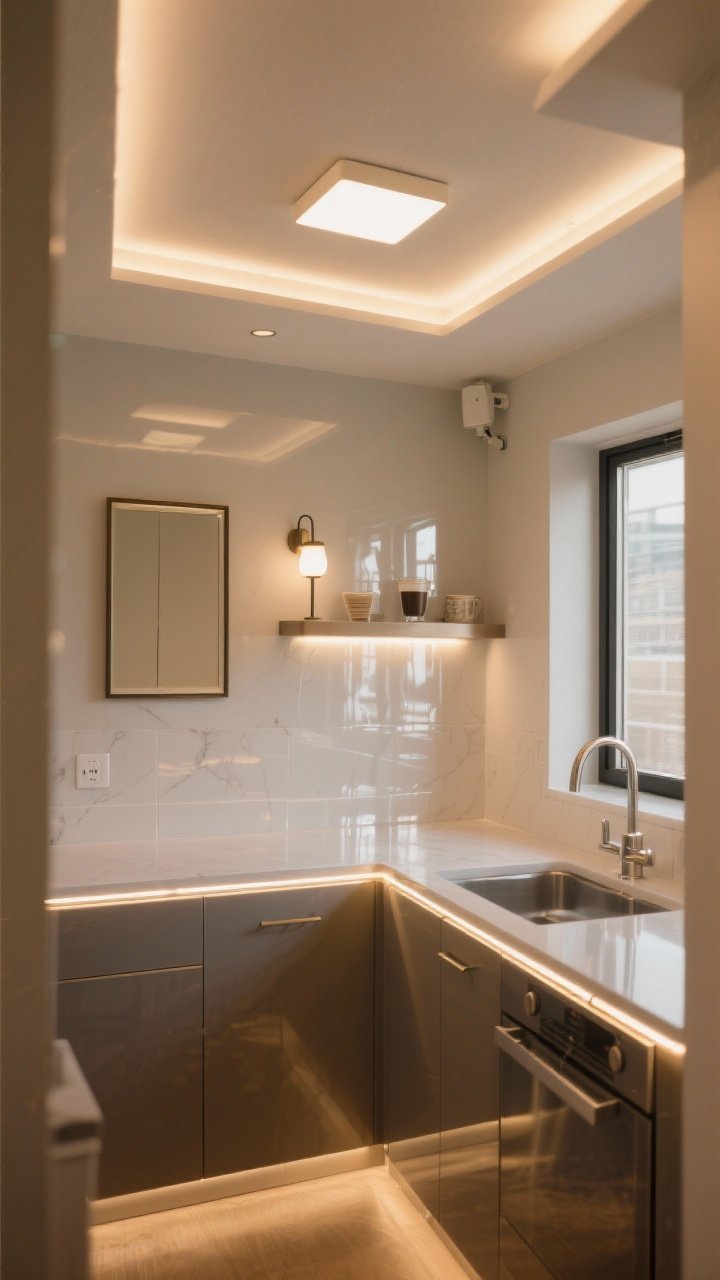
Good lighting makes small spaces feel luxe. Bad lighting makes them feel… like a sad basement. Don’t be that kitchen.
Layered Lighting Basics
- Under-cabinet LEDs: Brighten counters and banish shadows. Choose warm white (2700–3000K) for cozy vibes.
- Slim ceiling fixture: Replace bulky domes with a low-profile option. Clean lines = cleaner look.
- Plug-in sconce: Over a shelf or coffee corner adds charm without hardwiring.
- Reflective surfaces: Glossy backsplash or satin hardware bounces light around without looking flashy.
Mirror trick: A small framed mirror opposite a window or under a shelf amplifies light and makes the kitchen feel deeper.
6. Curate the Counters (Like a Stylist)
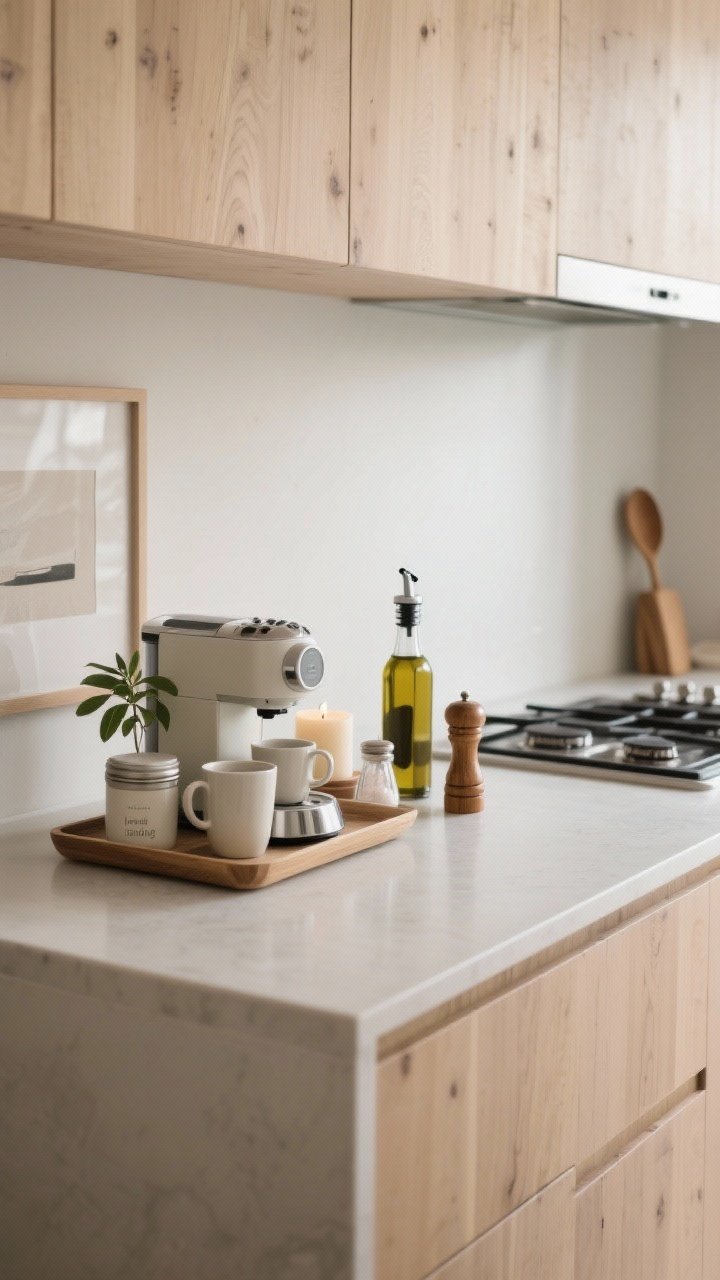
Counters are prime real estate. Treat them like a magazine spread—functional, but make it pretty.
Set Up Stations
- Coffee corner: Keep just the essentials on a tray—machine, mugs, canister. Hide the extra pods in a drawer.
- Daily cooking zone: Olive oil, salt cellar, pepper grinder, and a wooden spoon jar. That’s it.
- Landing pad: Leave clear space next to the stove or sink so you can actually chop without juggling bowls.
Decor matters—but keep it restrained. One plant, one candle, one art piece. Done. Your eyes (and your sanity) will thank you.
7. Systems That Keep It Minimal (For Real)
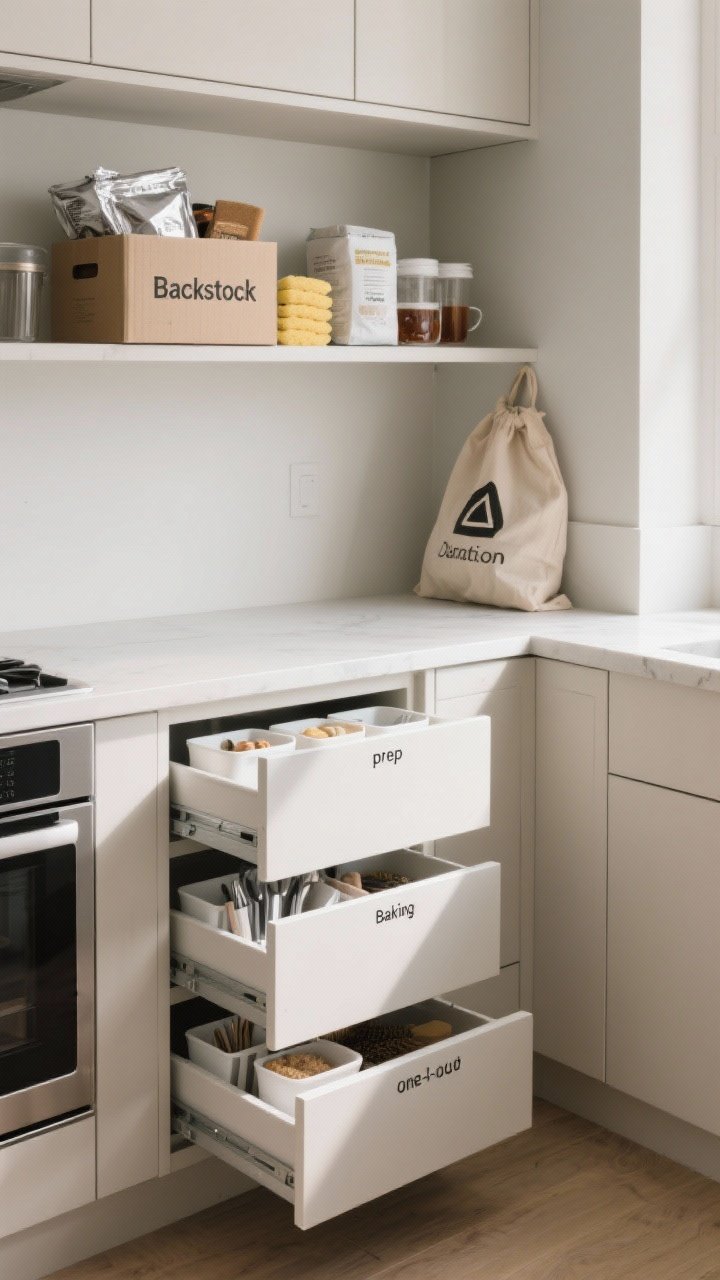
Minimalism isn’t a vibe; it’s a routine. Set up simple systems so your kitchen stays tidy without a daily battle.
Easy-to-Maintain Habits
- One-in, one-out rule: New gadget comes in? Something old goes out. No exceptions.
- Zones in drawers: Use shallow bins to create lanes—prep tools, baking, coffee. Labels help roommates (and future you).
- Sunday reset: 15 minutes to clear counters, wipe the backsplash, and refill canisters. Set a timer, blast music, done.
- Backstock box: Keep extras (foil, sponges, tea) in one labeled bin on the highest shelf to avoid overflow.
And yes, keep a donation bag handy. When you realize you never use that second spatula, toss it in and move on.
Final note: Minimalism doesn’t mean boring. It means every piece earns its place and makes your tiny kitchen feel intentional, airy, and seriously functional. Start with one section—declutter a drawer, add a rail, swap a light—and build from there. You’ve got this.