Easter’s peeking around the corner, and let’s be real, the thought of another store-bought bunny or plastic egg just doesn’t spark joy anymore, does it? You want something fresh, something personal, something that screams “I made this!” without actually screaming. Good news, my friend: I’ve got your back. Forget the crafting intimidation; we’re diving headfirst into 12 ridiculously fun and totally doable DIY Easter crafts that will make your home the envy of every pastel-loving neighbor.
Eggs-travaganza: The Humble Egg, Elevated

Let’s kick things off with the undisputed star of Easter: the egg. But we’re not just talking about dipping them in food coloring anymore. Oh no, we’re going next level, because your Easter basket deserves better.
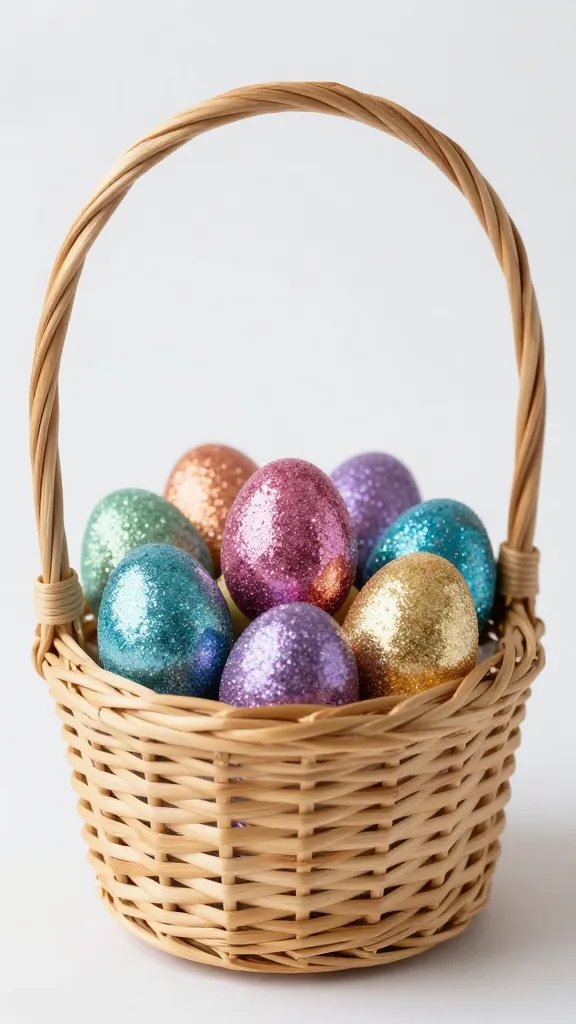
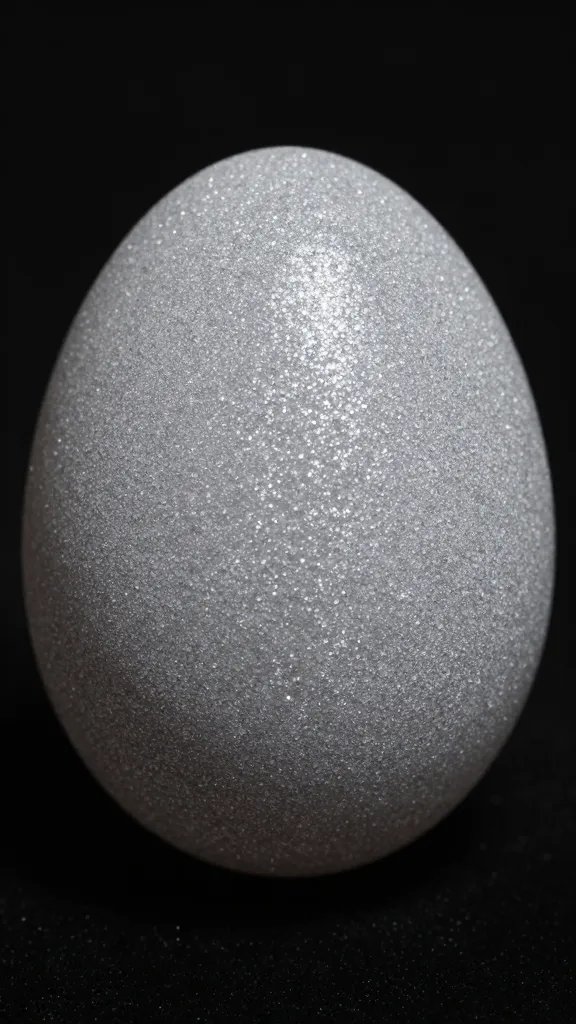
Craft 1: Glitter Bomb Eggs (The Sparkle You Deserve)
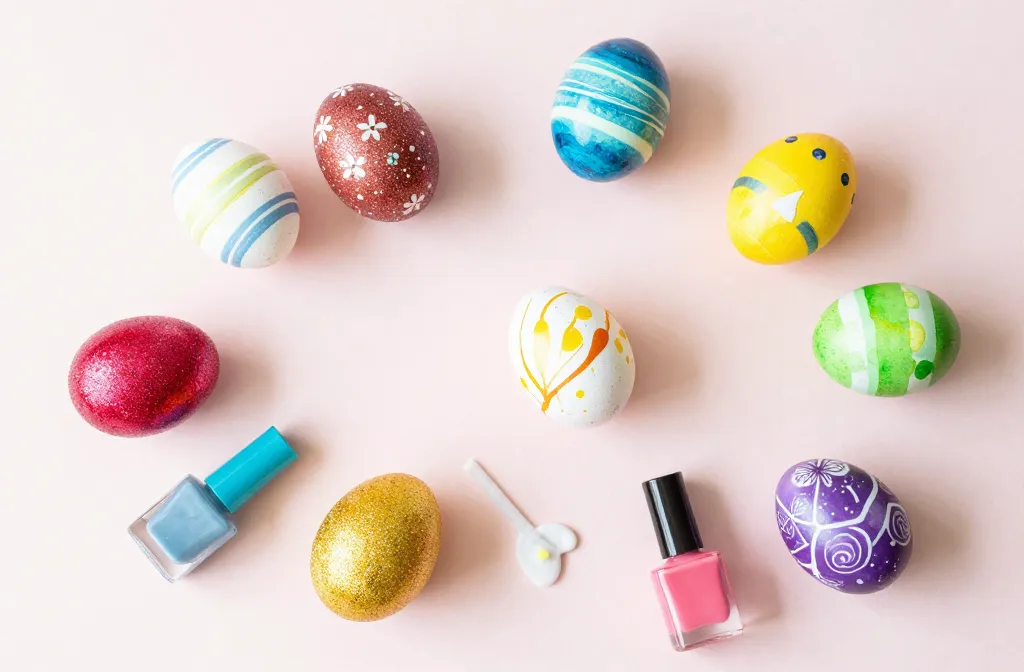
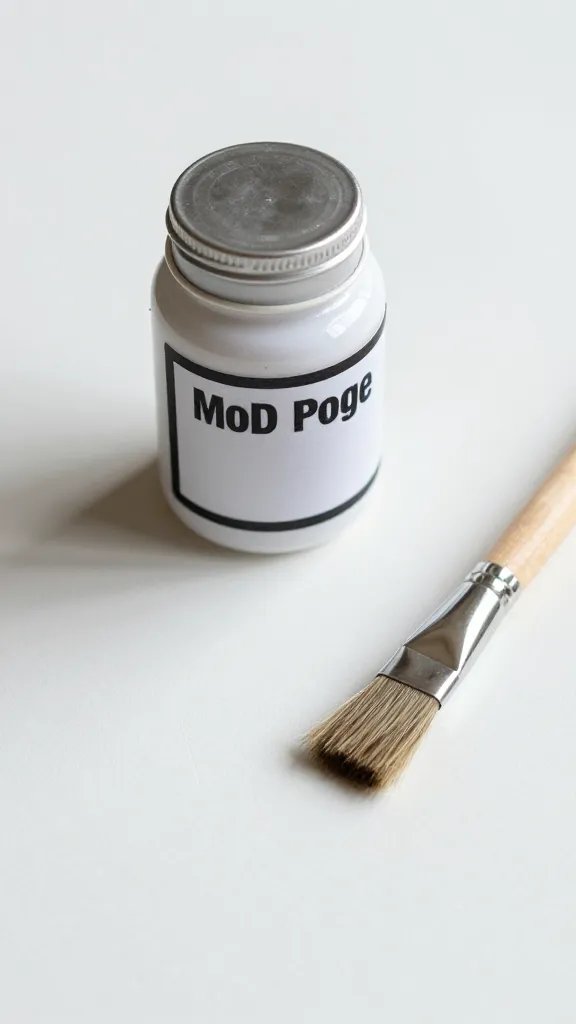
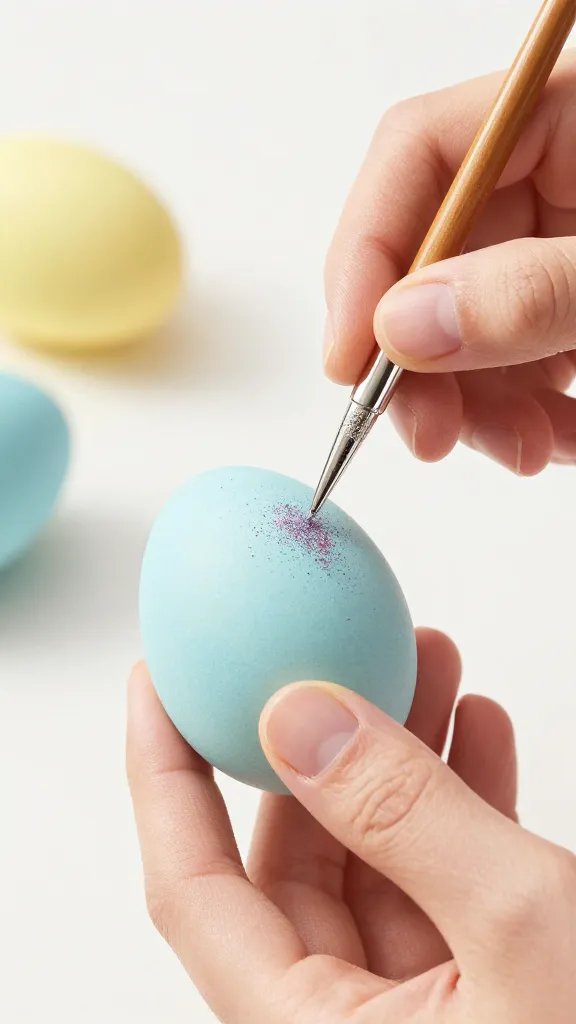
Who doesn’t love a bit of sparkle? Glitter eggs are surprisingly easy and unbelievably effective. You simply paint a thin layer of Mod Podge onto your hard-boiled or blown-out eggs, then roll them in a bowl of glitter. Shake off the excess, and boom! Instant glam. IMO, a mix of fine and chunky glitter gives the best effect.
Craft 2: Marbled Masterpieces (No Two Alike!)
This one feels fancy but is ridiculously simple. You’ll need nail polish, a bowl of room-temperature water, and a skewer. Drip a few drops of nail polish onto the water’s surface, swirl gently with the skewer, then quickly dip your egg. The polish adheres, creating a unique marbled pattern. Just make sure to use blown-out eggs if you plan to keep them, as nail polish isn’t food safe.
Craft 3: Decoupage Dream Eggs (Paper Napkins for the Win)
Got pretty paper napkins lying around? Great! Cut out small sections of the pattern, then use Mod Podge to adhere them to your eggs. Smooth out any wrinkles with a soft brush. This technique lets you create intricate designs without needing an art degree. Think tiny florals, delicate bunnies, or even abstract patterns.
Beyond the Basket: Decorating Your Digs
Why stop at eggs? Your entire home deserves a sprinkle of Easter cheer. These crafts will transform your space into a springtime wonderland.
Craft 4: Yarn-Wrapped Carrots (Cutest. Decor. Ever.)
Grab some orange yarn, a bit of green felt or ribbon for the tops, and some cardboard cones (you can roll them yourself). Start at the bottom of your cone, apply a little glue, and tightly wrap the orange yarn around, working your way up. Glue on the green “fronds” at the top. Arrange them in a basket or on a mantel for an adorable, farmhouse-chic vibe.
Craft 5: Bunny Butt Garland (Because Why Not?)
This one always gets a chuckle. Cut out bunny butt shapes from white cardstock (think a circle with two smaller half-circles for legs). Glue on a fluffy white pom-pom for the tail. Punch two holes at the top of each “butt” and string them onto a ribbon or twine. Hang it across a doorway or fireplace. It’s cheeky, it’s fun, and it’s undeniably Easter.
Craft 6: Mason Jar Vases (Bloom Where You’re Planted)
Give those plain mason jars an Easter glow-up. Paint them with pastel chalk paint (pink, mint, lavender are perfect), then distress them slightly with sandpaper for a rustic look. Tie some burlap ribbon or twine around the neck, maybe add a small paper flower. Fill them with fresh spring blooms like tulips or daffodils. Instant centerpiece!
Little Hands, Big Smiles: Kid-Friendly Fun

Crafting with kids is pure joy (and sometimes pure chaos, but mostly joy). These projects are perfect for involving the little ones, keeping their busy fingers engaged.
Craft 7: Pom-Pom Chicks (Fluffy & Adorable)
You’ll need yellow yarn, a fork, some googly eyes, and orange felt for the beak. Wrap the yarn around the tines of a fork a bunch of times. Carefully slide it off, tie it tightly in the middle, then snip the loops. Fluff it up, trim to shape, and glue on the eyes and beak. These tiny chicks are ridiculously cute and surprisingly simple for kids to make.
Craft 8: Paper Plate Bunnies (Classic & Creative)
A staple for a reason! Kids can paint a paper plate white or pastel, then cut out two ear shapes from another plate or cardstock. Glue the ears to the top, add googly eyes, a pom-pom nose, and draw on whiskers and a mouth. They can even glue cotton balls onto the back for a fluffy tail. Easy peasy, lemon squeezy.
Craft 9: Salt Dough Ornaments (Keepsakes for Years)
Mix 2 cups flour, 1 cup salt, and 1 cup water to form a dough. Roll it out and let the kids use Easter-themed cookie cutters (bunnies, eggs, carrots) to create shapes. Poke a hole at the top of each for hanging. Bake at a low temperature (around 250°F) until hard, then let them cool. Once cooled, they can paint them! These make wonderful, lasting keepsakes.
Wearable Whimsy & Gifty Goodness
Easter isn’t just about decor; it’s about celebrating and sharing. These crafts are perfect for adding a touch of whimsy to your outfit or creating thoughtful gifts.
Craft 10: Easter Tree Branches (A Modern Twist)
Gather some bare branches from your yard (or buy some from a craft store). Place them in a sturdy vase. Now, hang your beautiful glitter eggs, decoupage eggs, or even small, lightweight salt dough ornaments on them. It’s a minimalist yet impactful way to bring spring indoors. You could even add some LED fairy lights for extra sparkle.
Craft 11: Felt Easter Baskets (Handmade Charm)
Forget the plastic baskets! Cut two large oval shapes from stiff felt for the basket base and sides, and a long strip for the handle. Hot glue the side strip around the oval base, then attach the handle. Kids can decorate them with felt cutouts of flowers, bunnies, or even their initials. They’re sturdy, reusable, and so much more charming.
Craft 12: Bunny Ear Headbands (Instant Costume!)
This is a quick win for instant Easter fun. Take a plain headband, cut out two long ear shapes from felt (pink for the inner ear, white for the outer). Glue the pink felt onto the white, then glue the finished ears to the headband. You can even add a few tiny felt flowers or a bow at the base of the ears. Perfect for Easter brunch or just being adorable around the house.
Your Crafting Toolkit: Essentials for Success
Before you dive into your DIY adventure, make sure you have a few key supplies on hand. Having these basics makes any project smoother and way less frustrating.
* Mod Podge: Seriously, this stuff is liquid gold for so many projects.
* Hot Glue Gun & Glue Sticks: For quick, strong bonds. Safety first, especially with kids!
* Scissors & Craft Knife: Sharp tools make clean cuts.
* Assorted Paints (Acrylic, Chalk Paint): A good range of colors opens up possibilities.
* Glitter: Because everything is better with glitter.
* Yarn & Felt: Versatile for textures and soft creations.
* Cardstock & Construction Paper: Essential for cutting shapes and adding structure.
* Googly Eyes & Pom-Poms: The ultimate craft enhancers, IMO.
Remember, the goal here isn’t perfection; it’s about having fun, getting creative, and making memories. Don’t stress if your marbled egg looks more like a tie-dye explosion or your bunny butt garland has a slightly lopsided tail. That’s the beauty of handmade!
FAQ Section
What kind of eggs should I use for these crafts?
For most decorative crafts like glitter eggs, marbled eggs, or decoupage, blown-out eggs are your best bet. They last indefinitely and won’t spoil. If you’re just doing a quick craft for immediate display or consumption, hard-boiled eggs work, but remember they have a shelf life! For salt dough, you don’t need real eggs at all.
How do I blow out an egg without making a huge mess?
Gently poke a small hole at each end of the raw egg with a pin or thumbtack. Wiggle the pin around to make the holes a bit larger. Hold the egg over a bowl and blow forcefully into one hole. The egg whites and yolk will come out the other side. Rinse the inside of the shell and let it dry completely before crafting. It takes a bit of practice, but you’ll get the hang of it!
Are these crafts suitable for very young children?
Many of them are! Crafts like paper plate bunnies, pom-pom chicks, and salt dough ornaments are fantastic for toddlers and preschoolers with adult supervision. For crafts involving hot glue or sharp tools, adults should handle those steps, letting the kids do the decorating and assembling. Always choose age-appropriate materials and tasks.
Where can I find affordable craft supplies?
You don’t need to break the bank! Check out dollar stores for basic supplies like glue, googly eyes, and construction paper. Craft stores often have sales, and don’t forget your local hardware store for things like twine or paint. Sometimes, the best supplies are things you already have at home, like old yarn, fabric scraps, or empty jars.
How can I make my crafts last longer?
For paper or felt crafts, a coat of Mod Podge can add durability and a protective finish. For salt dough ornaments, a clear sealant or varnish after painting will protect them from moisture and wear. Storing delicate items carefully in tissue paper or individual boxes also helps prevent damage year after year.
Time to Get Crafty!
So there you have it, 12 fantastic Easter DIY crafts just waiting for your personal touch. Whether you’re a seasoned crafter or just dipping your toes into the glitter-filled waters, these projects offer a perfect blend of fun, creativity, and undeniable charm. Grab your supplies, crank up some tunes, and get ready to transform your home into an Easter wonderland. Happy crafting, my friend!