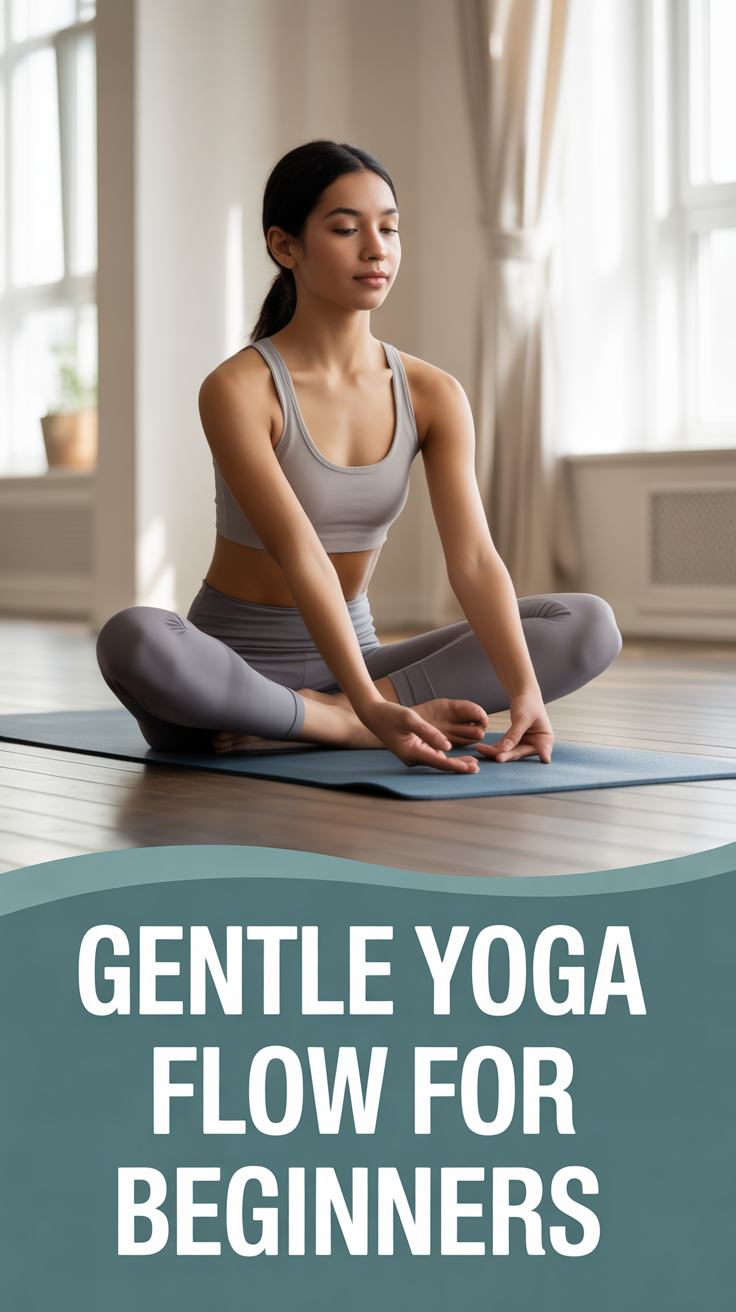
You want to try yoga, but incense and mantras aren’t your thing. Cool. You just want to feel less stiff, breathe better, and not injure yourself.
Perfect—this gentle yoga flow sticks to the basics: movement, breath, and clear instructions. No chanting, no crystals, no secret handshakes.
What “Gentle Yoga” Actually Means
Gentle yoga means slow, simple movements that feel good and build confidence. You won’t pretzel your body or balance on your hands.
You’ll move your joints, wake up sleepy muscles, and learn how to breathe on purpose. Think of it as mobility training with better vibes. You’ll improve flexibility, reduce tension, and increase calm—not by grinding, but by staying curious and moving with patience.
What You Need (Spoiler: Not Much)
You can do this flow with a yoga mat and some household items.
No premium gear required.
- Mat: Or carpet. You just want a non-slip surface.
- Support: A firm pillow, folded blanket, or a stack of towels.
- Chair: Optional, but great for balance or getting up/down.
- Timer or calm playlist: Set the vibe without overthinking it.
Pro tip: Wear comfy clothes you can stretch in. Jeans will betray you.

Before You Start: How to Breathe Without Overcomplicating It
You’ll match your movement to your breath.
That’s the whole secret.
- Inhale through your nose when you open or lengthen.
- Exhale through your nose or mouth when you fold, twist, or soften.
- Keep it smooth—no forcing big breaths. Gentle and steady wins.
A 60-Second Reset
Sit or stand tall. Inhale for 4, exhale for 6.
Repeat for five rounds. You just downshifted your nervous system. Magic?
No. Science.
The Gentle Flow: 20–25 Minutes, Beginner-Friendly
Move slowly. If anything hurts, back off.
If it feels delicious, linger. You’re the boss of your body.
1) Seated Arrival (2–3 minutes)
Sit cross-legged or on a chair. Rest your hands on your thighs. – Inhale: Roll your shoulders up. – Exhale: Roll them back and down. – Do 5 slow rounds.
Then gently circle your neck. Small circles, no cranking. Breathe calmly.
2) Cat–Cow for the Spine (3 minutes)
Come to hands and knees (or do this seated with hands on your thighs). – Inhale: Drop your belly slightly, lift your chest, look forward (Cow). – Exhale: Round your spine, tuck your chin (Cat).
Move with your breath for 8–10 rounds. Keep your core lightly engaged so your lower back feels supported.
3) Thread the Needle (2 minutes per side)
From hands and knees: – Inhale: Reach your right arm up. – Exhale: Slide it under your left arm, lowering your right shoulder and cheek to the mat. – Option: Slide your left hand forward for a deeper stretch. Breathe for 5–8 slow breaths. Switch sides.
You’ll feel it between the shoulder blades—aka desk detox.
4) Low Lunge + Hamstring Rock (4 minutes)
Step your right foot forward into a low lunge. Back knee on the floor. – Inhale: Lift your chest, hands on blocks or the floor. – Exhale: Shift hips back and straighten your right leg a bit, flexing the foot (half-split). Rock gently between lunge and half-split for 5–8 rounds. Only go as far as you can breathe comfortably. Switch sides.
5) Downward Dog… or Puppy Pose (2–3 minutes)
Option A: Down Dog.
From hands and knees, tuck toes, lift hips. Bend your knees a lot. Press through your palms.
Keep the neck relaxed. Option B: Puppy Pose. Keep knees down, walk hands forward, melt chest toward the floor.
Take 5–8 breaths. If Down Dog feels meh today, Puppy Pose is gold. IMO, both count.
6) Supported Sphinx (2–3 minutes)
Lie on your belly, prop onto your forearms.
Elbows under shoulders, chest open. – Inhale: Lengthen the crown of your head forward. – Exhale: Relax your jaw and glutes. If you feel pressure in your lower back, move elbows forward or place a folded towel under your ribs. Aim for gentle front-body opening.
7) Supine Twist (2 minutes per side)
Lie on your back.
Hug both knees in. Drop them to the right. Spread your arms wide. – Inhale: Lengthen your spine. – Exhale: Let your knees get heavy.
Switch sides. Keep both shoulders relaxed. Twists are like a full-body sigh.
8) Figure Four (2–3 minutes)
On your back, cross your right ankle over left thigh.
Gently pull the left leg toward you. – Flex the right foot. – Keep shoulders relaxed. Feel a stretch in your right outer hip. Switch sides.
If it’s too intense, use a strap or towel behind the thigh.
9) Final Rest—Supported (3–5 minutes)
Lie on your back with a pillow under your knees. Palms up. Eyes closed.
Breathe naturally. Notice what feels different—subtle counts. Do nothing on purpose. That’s the point.
Form Tips That Make Everything Easier
Let’s keep your joints happy and your ego quiet.
- Neutral spine > dramatic shapes. Prioritize length and ease over depth.
- Micro-bends save knees and hamstrings. Locking joints is not “strong,” it’s just crunchy.
- Spread your fingers, press evenly. In any hand-based pose, ground through your fingertips and knuckles.
- Knees over toes, not past them. In lunges, stack joints to protect them.
- Breathe like you mean it. If you can’t breathe smoothly, you’ve gone too far. Back off 10%.
Common Mistakes (Totally Fixable)
– Holding your breath while stretching.
Classic. Count your inhales and exhales to stay honest. – Chasing the deepest version of the pose. Big stretch isn’t better stretch. – Speeding through transitions.
The transitions are the practice. Slow down. – Comparing flexibility. FYI, bodies vary.
Consistency beats genetics.
How Often Should You Do This?
Short answer: repeat 3–5 times a week. Even 10 minutes helps. Consistency builds mobility and calm faster than “weekend warrior” marathons.
Want a simple plan?
- Mon, Wed, Fri: Do the full flow.
- Tue, Sat: Do Cat–Cow, Low Lunge Rocks, and a 3-minute rest.
- Any day: Sprinkle a 60-second breath reset when you feel frazzled.
Make It Yours: Easy Modifications
Bodies come in all versions. Customize like a pro.
- Bad wrists? Use fists or forearms. Puppy Pose instead of Down Dog.
- Tight hips? Sit on a pillow or folded blanket.Instant relief.
- Sensitive knees? Double up your mat or put a towel under the knee in lunges.
- Limited balance? Keep a chair nearby. No bonus points for wobbling.
- Stiff hamstrings? Bend the knees. Always allowed, always smart.
Progress Without Forcing It
– Hold shapes for one extra breath each week. – Add one more round of Cat–Cow or Lunge Rocks. – Notice when daily stuff—like tying shoes—feels easier.
That’s progress, IMO.
FAQ
Do I need to be flexible to start yoga?
Nope. You do yoga to become more flexible, not the other way around. If you can breathe and move a little, you can do this flow.
How long until I feel results?
Many people feel calmer after the first session and notice less stiffness within a week or two of consistent practice.
Small wins add up fast when you don’t force it.
Can I do this if I have back pain?
Gentle movement often helps, especially Cat–Cow, supported twists, and the hamstring rocks. That said, skip anything that spikes pain and check with a healthcare pro if you have a known injury or nerve symptoms.
What if I can’t get on the floor?
Do a chair version. Cat–Cow on a chair, seated twists, and seated figure four all work beautifully.
You’ll get many of the same benefits without wrestling the floor.
Is this a workout or relaxation?
Both, just dialed down. You’ll build mobility, light strength, and better breathing. You’ll also leave feeling clearer.
Low intensity doesn’t mean low impact on how you feel.
Do I need special music or lighting?
Nah. If a soft playlist helps you focus, go for it. Otherwise, silence works.
The biggest upgrade is simply turning off notifications for 20 minutes.
Wrap-Up: Start Simple, Stay Curious
You don’t need fancy gear or mystical vibes to enjoy yoga. You just need a mat-ish surface, a few slow breaths, and the patience to move gently. Try this flow a few times this week and notice what shifts—less tension, better sleep, a nicer mood.
Low effort, high payoff. Pretty great trade, right?