Easter is peeking around the corner, and honestly, your front porch is probably feeling a little left out. While everyone else is busy hiding eggs and debating the merits of chocolate bunnies (ears first, obviously), you could be transforming your entryway into a springtime wonderland. Forget those flimsy store-bought decorations that fall apart after one season. We’re talking handmade, heart-filled, and utterly whimsical DIY crafts that will make your neighbors stop, stare, and maybe even ask for your secret. Ready to ditch the drab and embrace the fab? Let’s get crafting!
Let’s Get Your Porch Hopping!
Your porch is the first impression, the welcoming committee, the “hello, spring!” statement. Why not make it memorable? These first few projects are guaranteed to bring a smile to anyone who walks by.
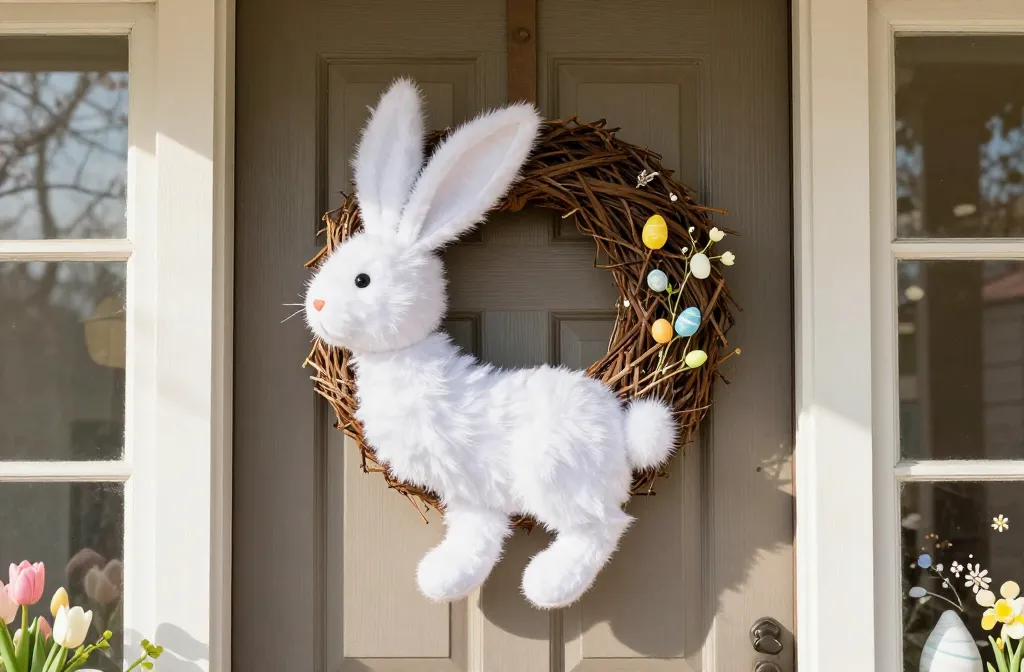
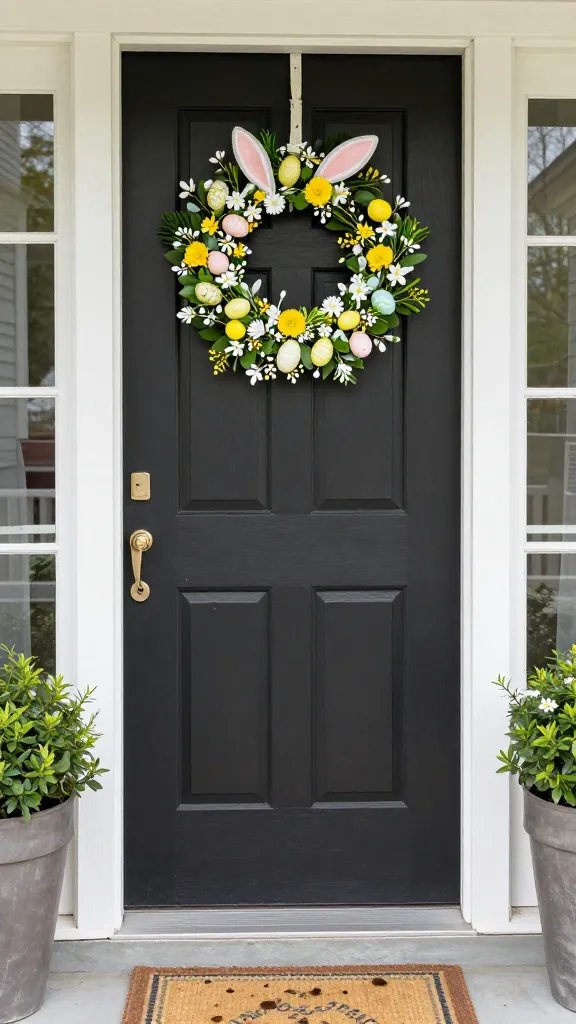
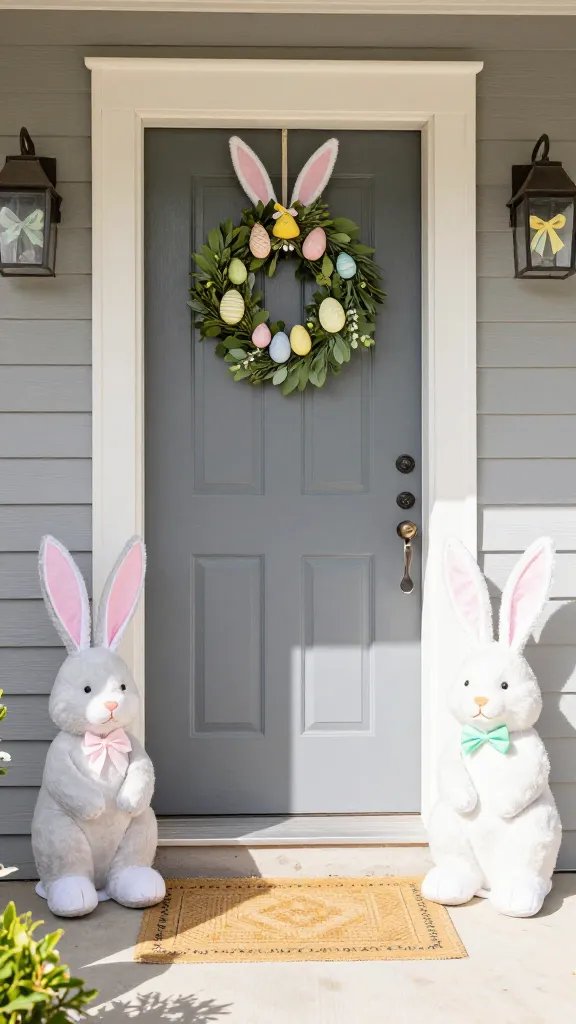
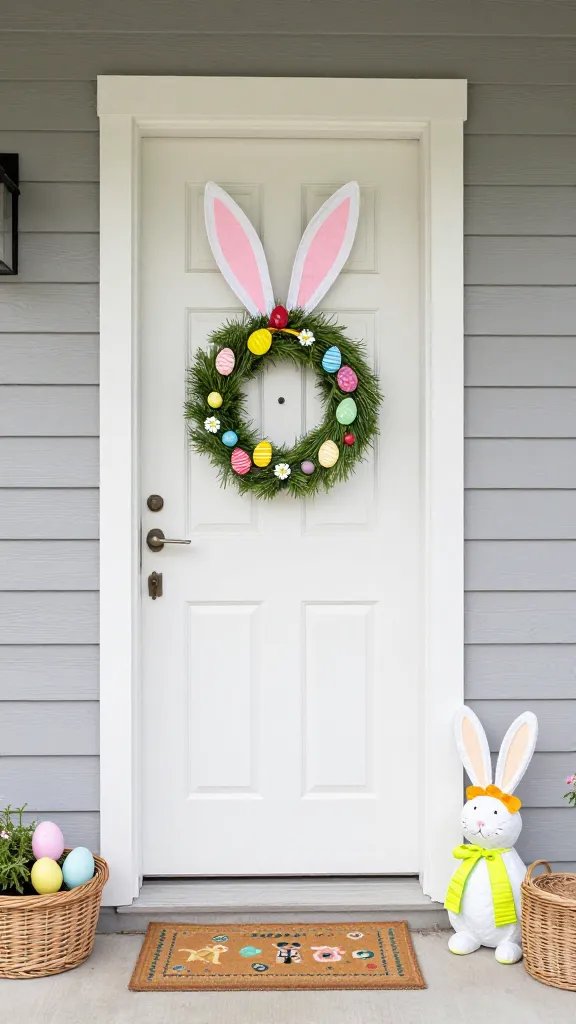
The “Bunny Butt” Wreath: A Fluffy Welcome
Okay, seriously, who can resist a fluffy bunny butt peeking out from a wreath? Not me, that’s for sure. This craft is surprisingly simple and delivers maximum charm. You’ll need a grapevine wreath, some faux fur, a bit of felt for the feet, and a pom-pom for the tail.
Here’s the lowdown:
- Cut two oval shapes from the felt for the feet, then add smaller pink ovals for the paw pads.
- Attach the felt feet to the bottom of the wreath using hot glue.
- Cut a larger oval from the faux fur to create the bunny’s body, then glue it above the feet.
- Finally, hot glue a fluffy white pom-pom right in the center of the fur for that undeniable bunny tail.
Hang it on your door and prepare for compliments. It’s hilariously cute, IMO.
Giant Carrot Door Swag: Orange You Glad to See Me?
A carrot that’s bigger than your head? Yes, please! This whimsical door swag is a fantastic alternative to a traditional wreath and makes a bold, cheerful statement. You’ll need some orange fabric (burlap works great for a rustic vibe), green fabric or ribbon for the “greens,” and some stuffing.
How to make it:
- Cut two large carrot shapes from your orange fabric. Think big – we’re going for giant here!
- Sew them together, leaving the top open.
- Stuff the carrot firmly with poly-fill or old fabric scraps until it’s plump and inviting.
- Gather green fabric strips or ribbons, tie them together, and insert them into the open top of the carrot. Secure with hot glue or by sewing the opening shut around the greens.
- Add a loop of twine or ribbon to the top for easy hanging.
It’s a vibrant pop of color that screams spring.
Eggs-travagant Accents for Every Corner
Easter wouldn’t be Easter without eggs, right? But we’re not just talking about the ones you dye for breakfast. These egg-centric crafts take things up a notch, adding delightful details to your porch decor.
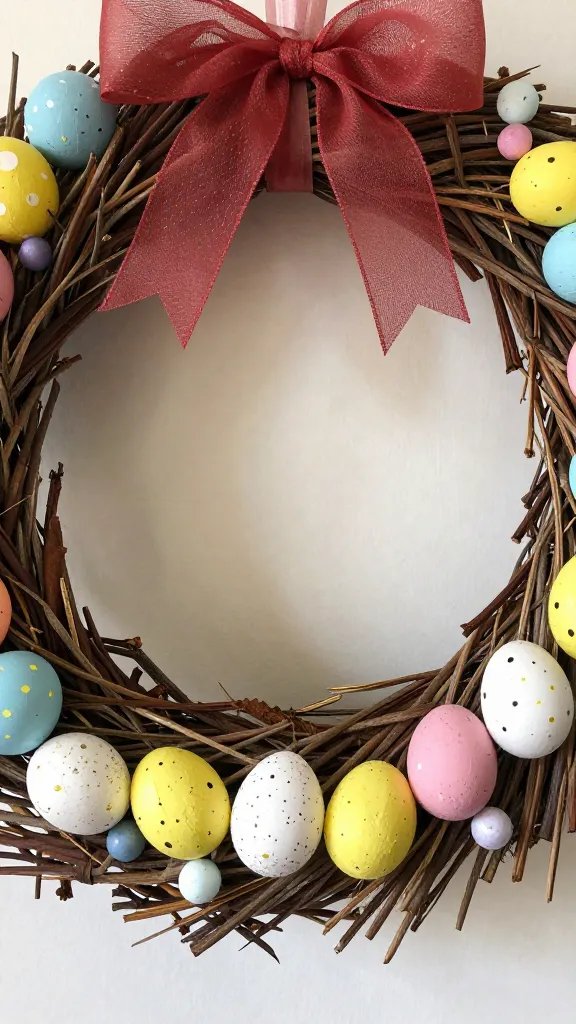
Ombre Egg Garland: A String of Spring Hues
Garlands are the unsung heroes of porch decor. They add instant festivity! For this ombre beauty, you’ll need plastic or paper mache eggs, acrylic paints in varying shades of one color (or a few complementary colors), and twine.
The process is pretty straightforward:
- Paint your eggs, moving from the darkest shade to the lightest, creating a beautiful gradient. Let them dry completely.
- Carefully thread a needle with twine and string the eggs together, spacing them out evenly.
- Hang your garland along a railing, across a doorway, or draped over a bench.
It looks surprisingly sophisticated for something so simple. Plus, no fear of them cracking if they take a tumble!
Painted Terra Cotta Bunny Pots: Planters with Personality
Your plants deserve some Easter spirit too! Grab some terra cotta pots, white and pink paint, and a black permanent marker. These bunny pots are ridiculously cute and super easy to make.
Here’s how to give your pots a glow-up:
- Paint your terra cotta pots white. You might need a couple of coats.
- Once dry, paint the rim of the pot pink for the inner ear.
- Using your black permanent marker, draw two simple bunny ears peeking over the rim, and then add two dots for eyes and a small “X” for the nose.
- Seal with an outdoor-safe sealant if you want them to last through spring showers.
Fill them with pansies, daffodils, or even faux grass for an adorable display.
Easter Egg Topiary Tree: A Burst of Color
Why limit eggs to baskets? Transform a simple branch into a vibrant topiary that will catch every eye. You’ll need a sturdy branch, a pot, floral foam, moss, and plenty of colorful plastic Easter eggs (the kind that snap open are perfect!).
Crafting your egg tree:
- Secure your branch firmly in a pot using floral foam and cover the foam with moss.
- Drill small holes into the bottom of your plastic eggs (or use hot glue) and attach them to the branches. You can string them with fishing line or simply glue them directly.
- Arrange the eggs to create a full, colorful “foliage.”
This craft is a fantastic way to use up all those leftover plastic eggs from previous years. Upcycling for the win!
Light Up the Spring Nights (and Days!)
Evenings on the porch are magical, and a little soft glow can make all the difference. These luminaries are charming day or night.
Mason Jar Luminaries: Glow with the Flow
Mason jars are the ultimate DIY chameleon, and for Easter, they become enchanting luminaries. You’ll need mason jars, tissue paper in spring colors, Mod Podge (outdoor safe if possible), and battery-operated tea lights.
Making your glowing jars:
- Tear or cut tissue paper into small squares or shapes.
- Apply a layer of Mod Podge to the outside of the mason jar, then press the tissue paper onto it, overlapping the pieces.
- Once the jar is covered, apply another layer of Mod Podge over the tissue paper to seal it.
- Once dry, pop in a battery-operated tea light.
You can also add bunny silhouettes cut from black paper before the final Mod Podge layer for an extra touch of whimsy. These look absolutely gorgeous as the sun sets.
Repurpose & Rejoice: Upcycled Easter Charm
Who doesn’t love a project that uses what you already have? These crafts are all about giving new life to old items, proving that one person’s trash is another’s porch treasure.
Floral Rain Boot Planters: Puddle-Proof Pretty
Got some old rain boots gathering dust in the garage? Don’t toss them! They make the most adorable and unexpected planters for your porch. This is probably one of my favorite hacks, FYI.
Transforming your boots:
- Clean your old rain boots thoroughly.
- Drill a few drainage holes in the bottom if you plan to use real plants.
- Fill them with potting soil and plant your favorite spring flowers – pansies, tulips, or daffodils look fantastic.
- Alternatively, fill them with floral foam and arrange a beautiful display of faux flowers.
Place them by your front door, on steps, or even hang them from a porch hook. They add a playful, rustic touch.
DIY Wooden Pallet Bunny Sign: Rustic & Ready
Pallet projects are still going strong, and for good reason – they’re versatile and add a lovely rustic vibe. A simple bunny silhouette on a pallet board is both charming and easy. You’ll need a small pallet board (or a few planks nailed together), white paint, black paint, and a bunny stencil or a steady hand.
Creating your bunny sign:
- Clean and lightly sand your pallet board.
- Paint the entire board white as your base.
- Once dry, use a bunny stencil to trace a bunny silhouette onto the board.
- Fill in the silhouette with black paint. You can add a little pink for the inner ear if you’re feeling fancy.
- Add a sawtooth hanger to the back for easy display.
This sign is perfect leaning against a wall or hanging proudly by your door.
Faux Peep Topiary: Sweetness That Lasts
Marshmallow Peeps are iconic, but real ones on a porch? Not so much for longevity. Enter the faux Peep topiary! Grab a foam ball, a dowel, a small pot, plaster of Paris or floral foam, and a *ton* of colorful faux Peeps (you can find these at craft stores).
Building your sweet topiary:
- Secure the dowel into the foam ball and then into the pot using plaster of Paris or floral foam.
- Starting from the bottom of the foam ball, hot glue your faux Peeps in rows, overlapping slightly, until the entire ball is covered.
- You can use a single color for a striking look or mix colors for a rainbow effect.
This vibrant topiary is a guaranteed conversation starter and brings all the sugary charm without the ants.
Materials You’ll Likely Need
Before you dive in, here’s a quick hit list of supplies you might want to have on hand for most of these projects:
- Hot glue gun and glue sticks (your best friend for DIY!)
- Acrylic paints in various spring colors
- Paintbrushes
- Twine or ribbon
- Scissors
- Plastic or paper mache eggs
- Faux flowers and greenery
- Mod Podge (outdoor safe is a plus)
- Old fabric scraps or poly-fill stuffing
FAQs: Your Burning Easter Craft Questions Answered

Can these crafts withstand outdoor weather?
Most of these crafts are designed with some outdoor resilience in mind, but direct, heavy rain or strong winds can be tough on anything handmade. For best results, use outdoor-safe paints and sealants where possible. If a major storm is brewing, consider bringing them under a covered porch or indoors temporarily.
How long do these projects usually take?
That really depends on your skill level and how much detail you want to add! Most of these are designed to be completed in an afternoon or a couple of hours. The “Bunny Butt” Wreath or the Painted Terra Cotta Pots are quick wins, while the Egg Topiary Tree might take a bit more time for assembly and drying.
Where can I find affordable supplies?
Hit up your local dollar store, craft stores (especially with coupons!), or even thrift stores for items like mason jars or old rain boots. Don’t forget to raid your own craft stash – you’d be surprised what you already have!
What if I’m not “crafty”?
Nonsense! These projects are chosen for their simplicity and forgiving nature. The beauty of DIY is that it doesn’t have to be perfect; its charm comes from being handmade. Embrace imperfections – they add character! Start with something simple like the Ombre Egg Garland or the Floral Rain Boot Planters.
How do I store these crafts after Easter?
Carefully! Once Easter is over, gently clean any dust, wrap delicate items in tissue paper or bubble wrap, and store them in clearly labeled bins in a cool, dry place. This way, they’ll be ready to make an appearance for many Easters to come.
Ready, Set, Craft!
There you have it – nine whimsical, wonderful, and wonderfully doable DIY crafts to transform your front porch into an Easter-tastic spectacle. So, grab your glue gun, unleash your inner creative genius, and get ready to make your entryway the envy of the neighborhood. Your porch (and your inner child) will thank you. Happy crafting, spring chickens!